Installing the eiConsole
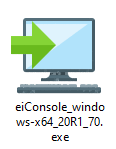
To install the eiConsole, you will first need a copy of the installer. This tutorial assumes that you have already been provided with such a file and that the user you are operating under has correct permissions to install and run applications. The installer will be available wherever you downloaded or copied it to. Since it is an executable, you should just need to double click the icon, which will probably look something like this:
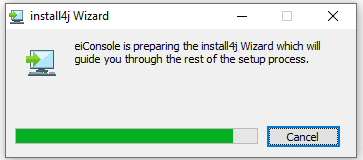
After running the installer, you will be presented with a dialog indicating initialization progress. On slower systems, particularly those with encrypted hard-drives, this can take several minutes.
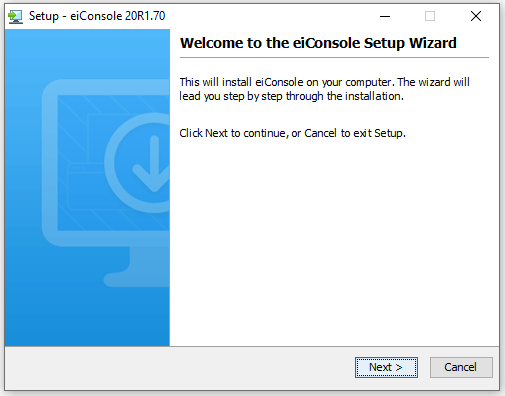
The next dialog you’ll encounter follows a typical Windows installation process, where you will be queried for various installation options and asked to press “Next” to continue and “Back” to make modifications. You may cancel the installation at any point.
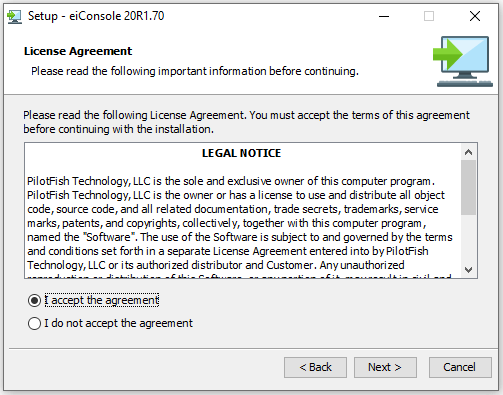
The legal notice that you have to read and accept to continue the installation.
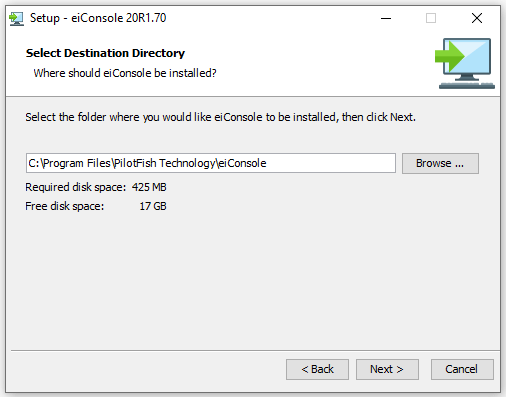
The next decision you’ll need to make in regards to a fresh installation is for a location. The default path is C:\Program Files\PilotFish Technology\eiConsole. You may change this path as desired or needed.
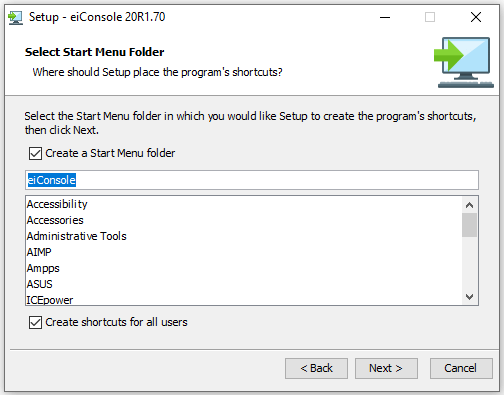
Next, you will need to determine a Start Menu location (if one is desired) and for which users the shortcut be installed. By default, the application is installed at an administrator (root) level, available to all users on the system.
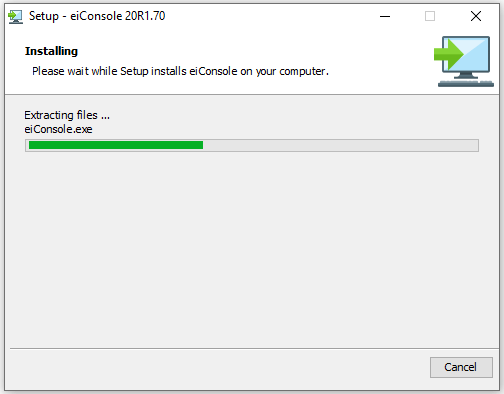
The application will now begin to install. Largely, this consists of the installer extracting the various installation components to the specified installation path.
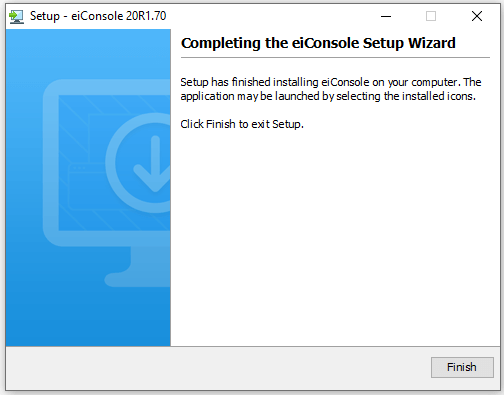
Finally, you may exit the installer in order to run the application.