Tutorial
eiConsole Foundation
Source Transformation / File Specification Editor
You will need to download sample files to do this tutorial. If you have not done so yet, please click this LINK. Unpack them to any folder on your disk. In our case is c:\Program Files\PilotFish Technology\Samples\data\
Note: the Tutorials in eiConsole Foundation, 1-13, are modular and are designed to be used in the sequence presented.
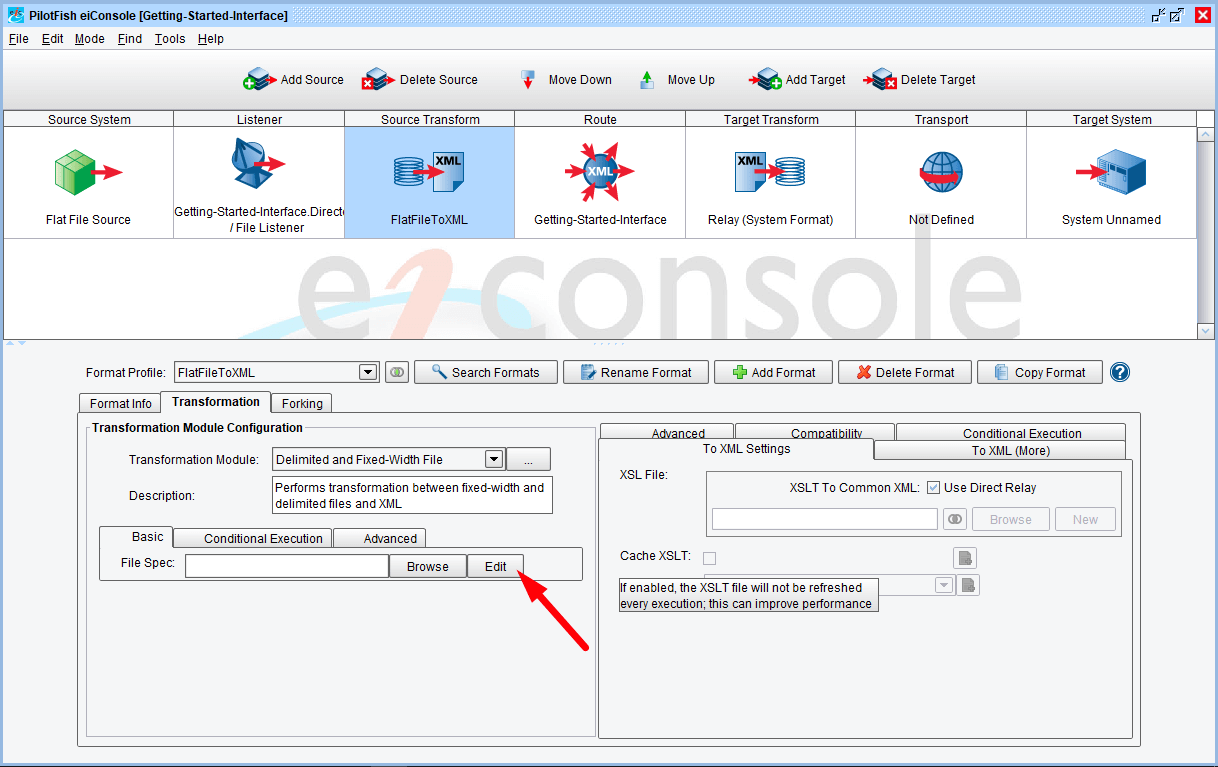
The Delimited and Fixed-Width File Transformation Module uses file specifications to describe the logical layout of a flat or delimited file. These file specifications are built using a tool in the eiConsole called the File Specification Editor. To launch the File Specification Editor, click the Edit button to the right of the File Spec configuration item.

This will launch the File Spec Editor (File Specification Editor). Here the developer will describe the logical structure of the inbound file so that it can be parsed and translated into XML. When you create a new file specification you will have the ability to import the description of that file from a number of different formats. In this case, you will leave the pre-selected Import Field Names from Tab-delimited File option selected.
Take a moment to click the down arrow to see the other available options, for example: Import From Cobol Copybook Definitions. After you do set it back to Import Field Names from Tab-delimited File and click Next.
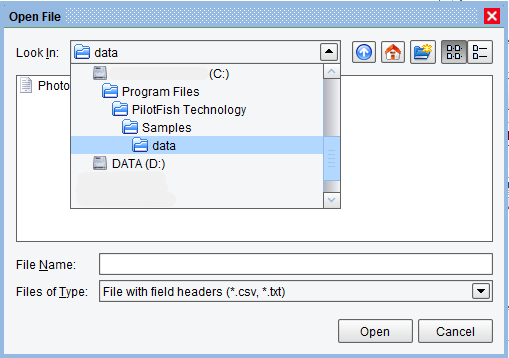
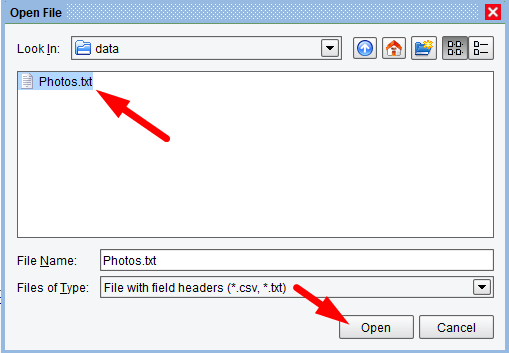
You will be presented with an Open File dialogue that allows you to point the File Spec Editor at a sample Tab-delimited file. In the data folder of the Sample Interface, provided with your distribution. In this case is C:\Program Files\PilotFish Technology\Samples\data. You will see Photos.txt which is a sample input file. Select this and choose Open.
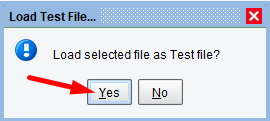
Select Yes to Load selected file as Test file.

The record structure tree on the left is now populated with a green node and several blue nodes. Green nodes represent logical records within the file. Blue nodes represent fields underneath that record. The File Specification Editor processed the inbound tab-delimited file. Notice that the first line contains column headers that can be easily translated into the field names.
Next, to parse this file into an XML structure, click Execute Transform to XML.
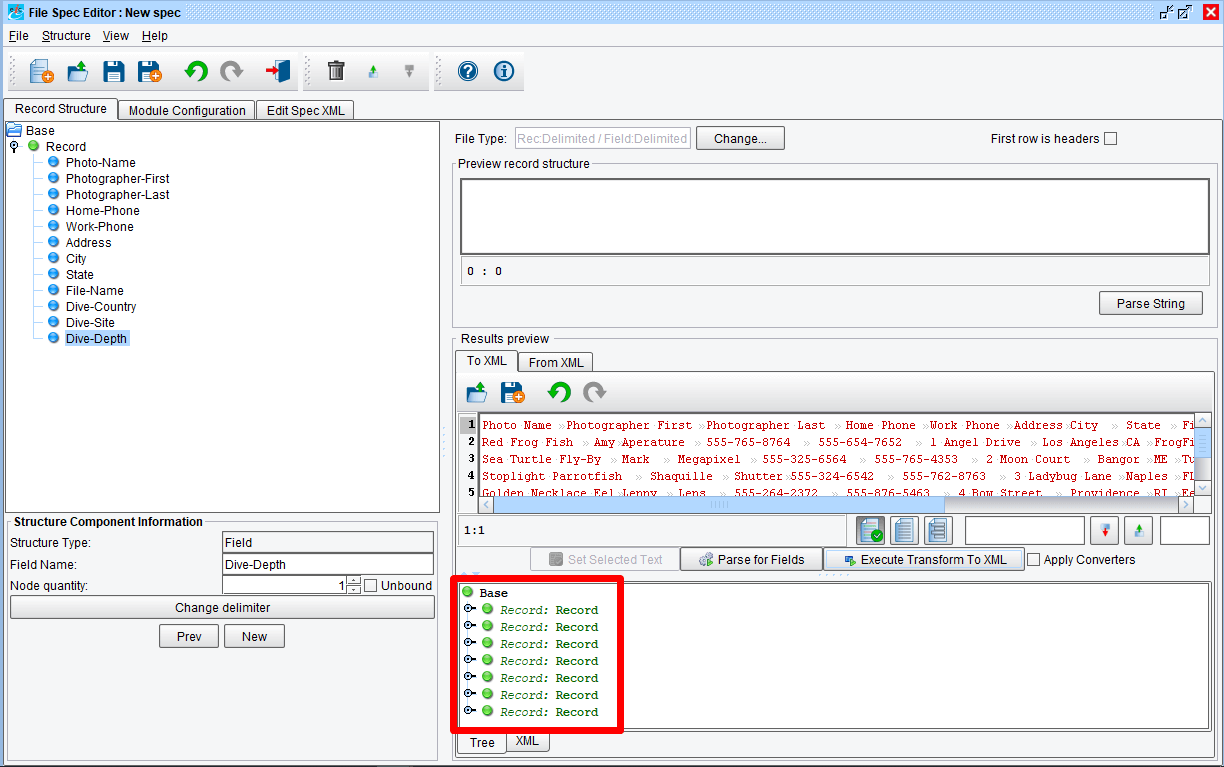
You will see that the file has been parsed into a set of logical records.

Double click the nodes to expand the record. As you scroll and expand each record, you can see the information that it pulled from each field.
You can see that the tool has recognized the first line in the file, which in fact contains headers as data. To change this, select the First row is headers checkbox at the top of the panel.
Then click Execute Transform to XML again.
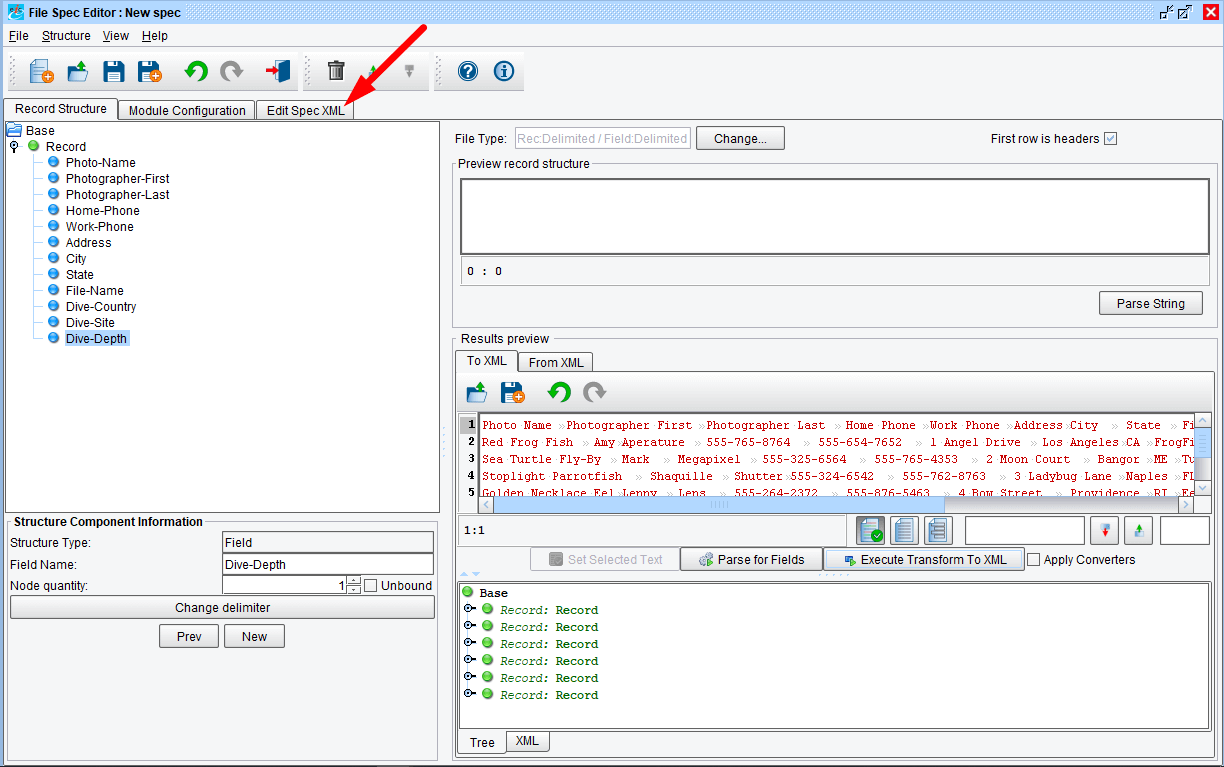
Now you will see that the tool correctly recognizes the records within the file. Under the covers the File Specification Editor saves this information in an XML file. Click the Edit Spec XML tab.

After you have clicked the Edit Spec XML tab you will be presented with this window:
Since the tool is correctly processing the file, no additional work is needed. Click the Save icon at the top.
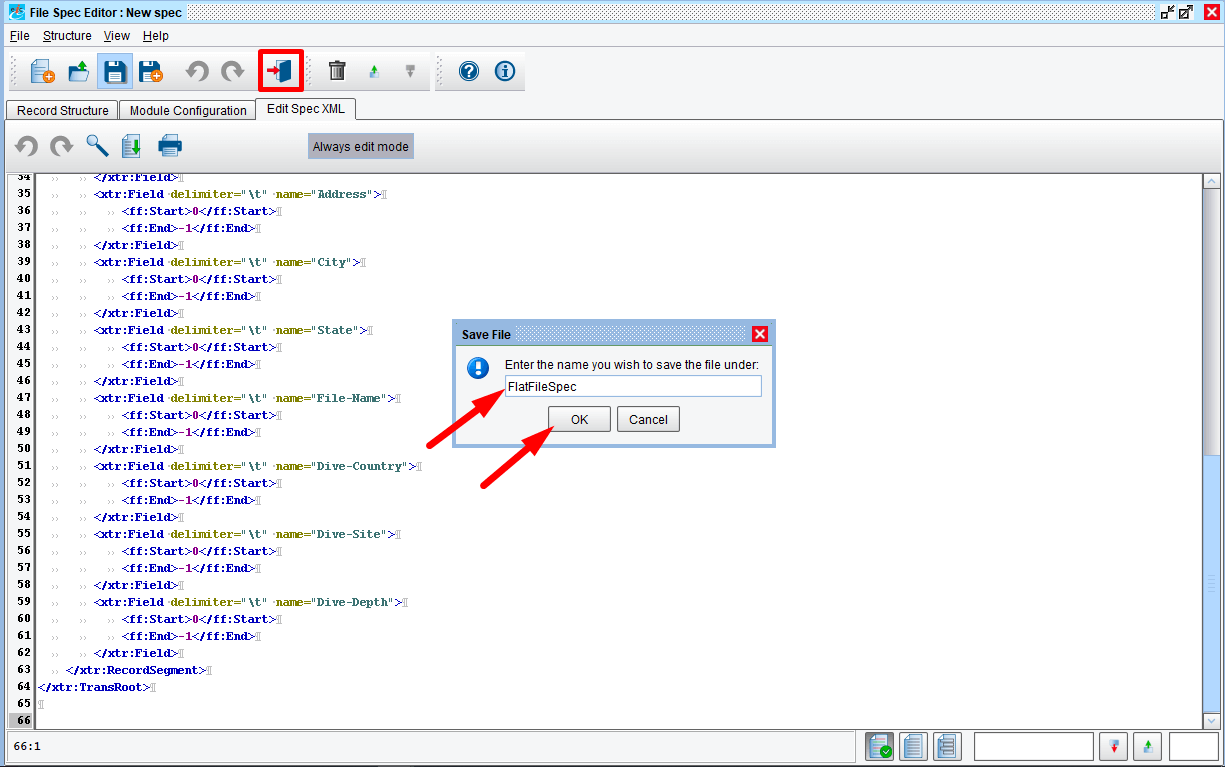
Give the file specification a name: “FlatFileSpec”, then click OK.
Next click the Return to Console icon at the top.
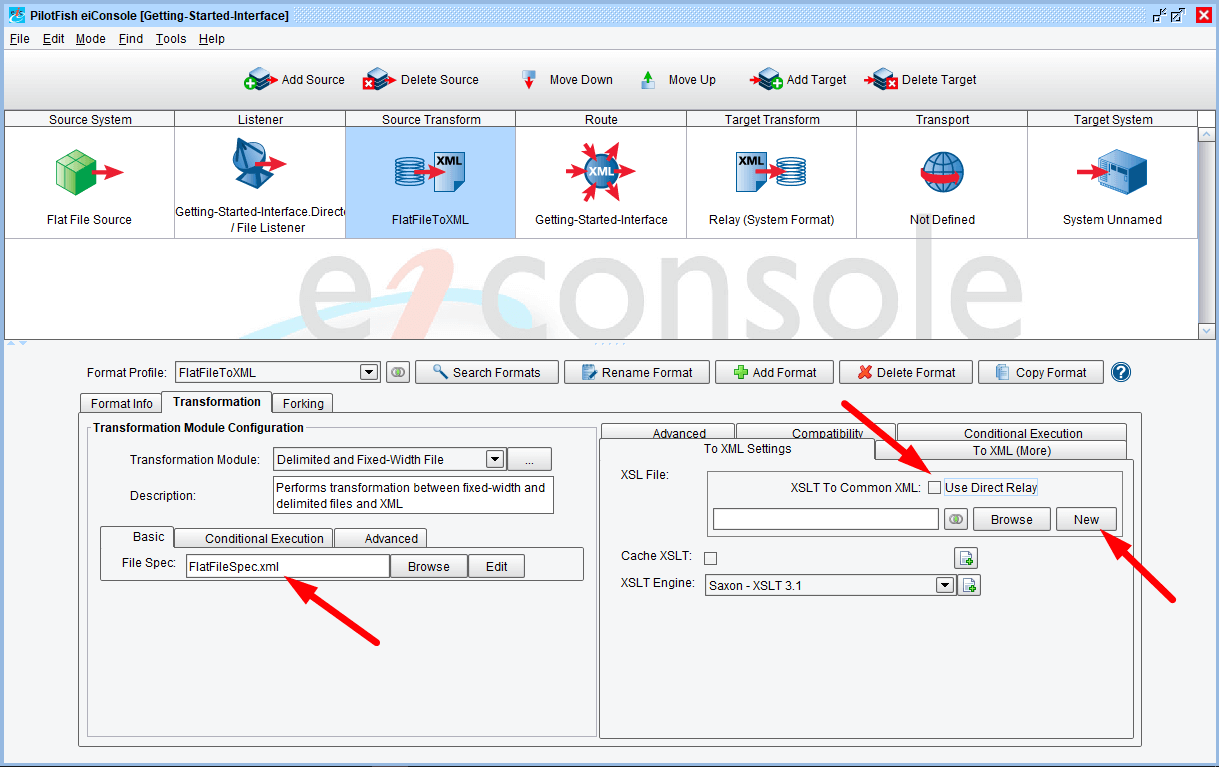
You will now see that the Delimited and Fixed-Width File Transformation Module is now configured to point at the FlatFileSpec.xml.
The next step is to develop the logical data transformation between the XML output of the File Specification Engine and your chosen XML schema. To do this, first unselect the Use Direct Relay checkbox.
Lastly, select New (in the XSLT Configuration right panel) to move on to the next step.