eiConsole v.21R1
Tutorial & Interface
Creating a Simple Mapping
Overview
In this tutorial, we’ll cover using the Data Mapper to create XSLT to map between one format of XML and another. This tutorial expands on the concepts covered in “Using Transformers,” so users are expected to be familiar with that material.
Synopsis
This interface and related tutorials demonstrate the use of the Data Mapper in Route configurations to transform between XML Formats. In this particular exercise, an existing Route (from “Training – Creating a Simple Route”) is modified to transform a “PeopleA” XML format to a “PeopleB” XML format.
Core Concepts:
- Routes
- Formats
- Transformers
- Directory / File Listener
- Directory / File Transport
- eiConsole Testing Mode
- XSLT Transformer
- Data Mapper
- Format Readers
- XML Format Reader
How to Use This Example
Click the links below for the files you will need for this tutorial, then DOWNLOAD INTERFACE to get started. (Once logged into the eiConsole it immediately shows up in your “PIE” inbox for use.)
If you are not logged in to the eiConsole, you will be prompted to log in before the Interface downloads into your eiConsole “PIE” inbox. If you have not downloaded and installed a FREE eiConsole 90-Day Trial you will have the opportunity to register via a simple process after you click DOWNLOAD INTERFACE. Once you are logged in the interface will automatically download into your “PIE” inbox.
Next, use the tutorial and walk through it step-by-step. You may check your work against the Route (Sample Data) provided above.
Creating a New Route and Configuring a Directory/File Listener/Transport Pair
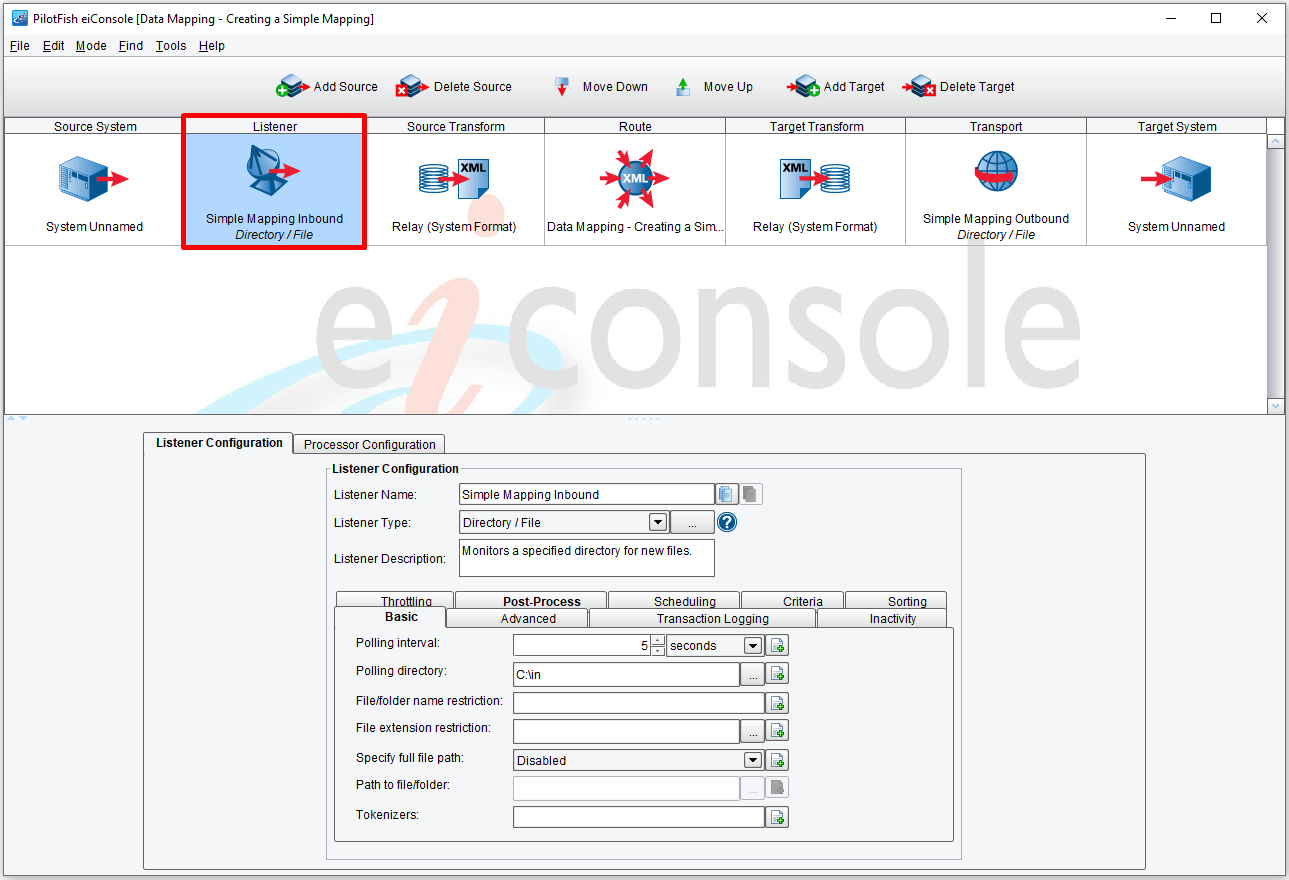
You can configure XSLT at either the Source or Target Transform. The reasons for choosing one or the other are usually due to topographical concerns. For this tutorial, it does not matter which we use, so we’ll just arbitrarily choose the Target Transform.
Select this stage and add a new Format. We’ll call this PeopleB XML to PeopleA XML:

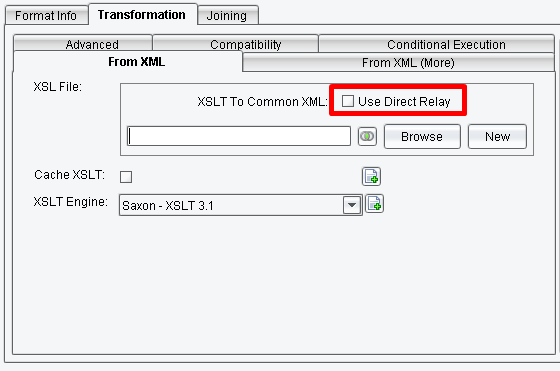
You now have a variety of options available to you. You can type in the name of an existing XSLT file, browse to one, edit one, specify if you wish to cache the XSLT, and even select which XSLT engine to use. Using the defaults for these options is more than sufficient for most transformations regardless of complexity.
Editing a New Mapping
As we have no existing XSLT document to edit, simply clicking the New button with no document selected will open the Data Mapper to edit a new mapping:

This will open the Data Mapper:
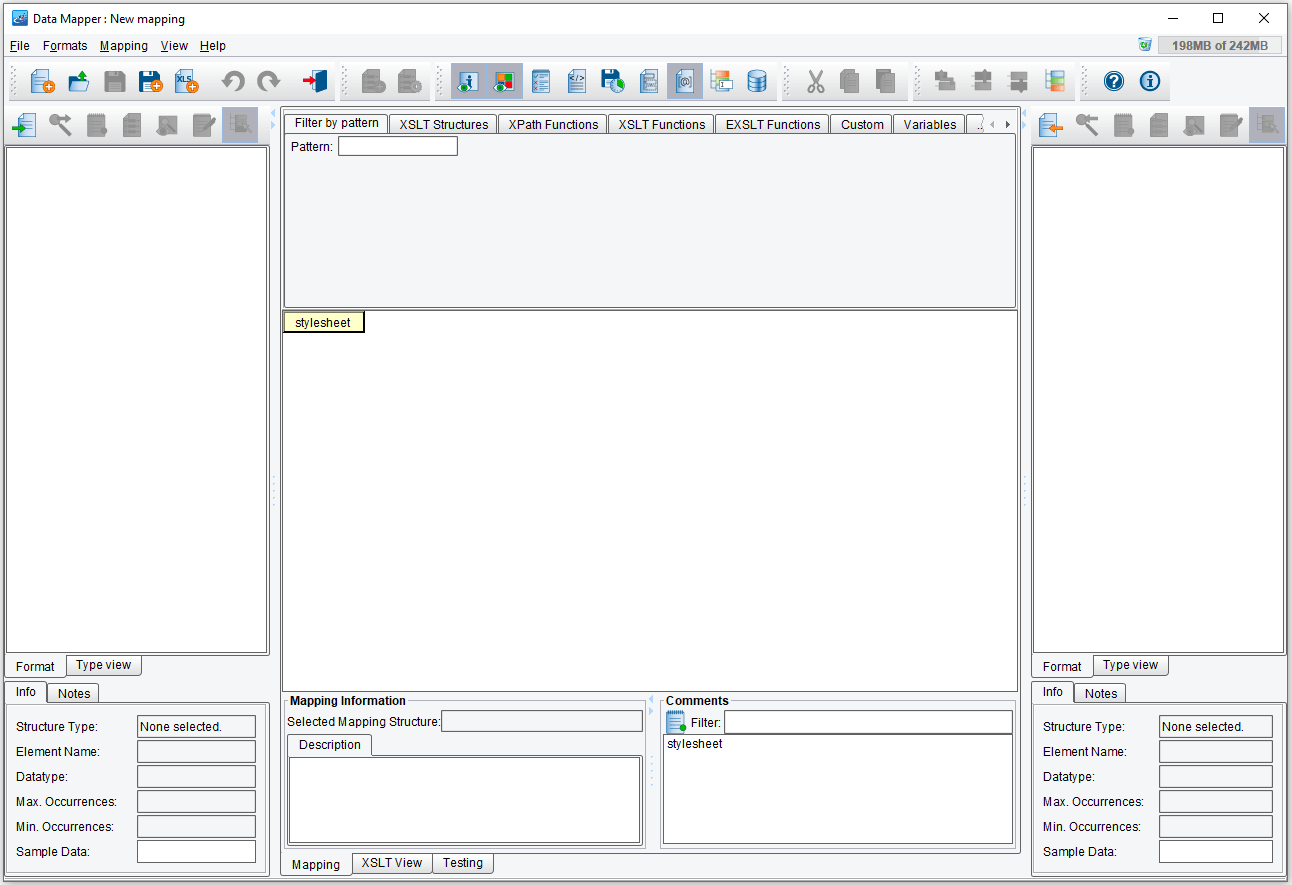
The Data Mapper makes use of 3 main panels. On the left side of the screen is a tree representing the Source format. The right side of the screen is a tree representing the Target format. The middle panel represents the mapping logic, also organized into a tree. At the bottom-center of the screen are tabs for switching between Mapping, XSLT, and Testing modes.
Loading in the Source and Target Formats
The first thing you’ll typically do when creating a new mapping is to load in the Source and Target formats you’ll be working with. To do this for each panel, click the Open Source Format button at the top. We’ll start by loading the Source format:
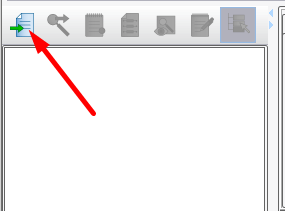
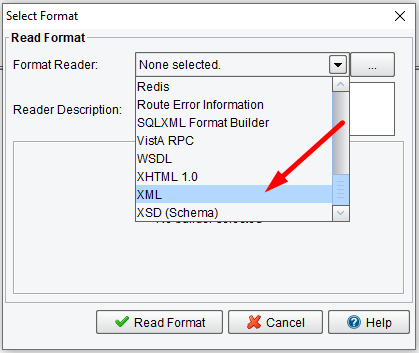
This will raise a dialog allowing you to pick from a list of Format Readers. Format Readers are components that generate a format structure from some source, be it an XML file, schema file, File Specification, database, etc. For this tutorial, we’ll use the XML, which allows us to use an XML sample file to infer a structure from:
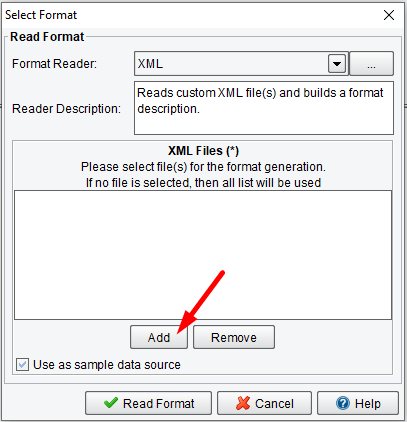
Next, we’ll need to add our sample file. Click Add and browse to PeopleB.xml, which should have been provided with this tutorial:
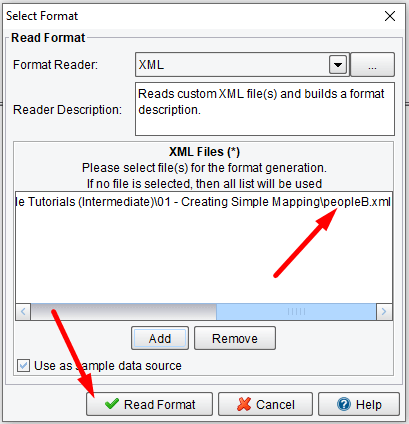
Next, click Read Format. You’ll be asked if you want to use the sample file loaded for testing. Select Yes. You should now have a Source panel that resembles this:

Reading the Target Format
We’ll now wish to read our Target format. Select the same button on the Target panel at the right side of the screen, select the XML again. You should see the previous sample listed; click Remove to remove it. Click Add and this time, browse to PeopleA.xml:
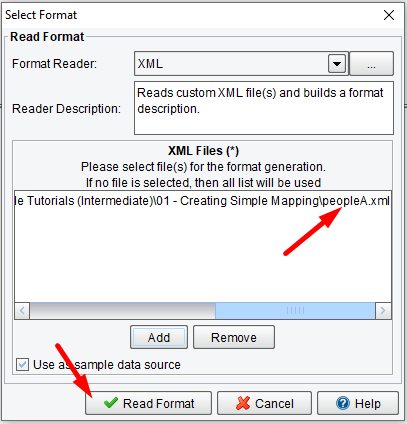
Click Read Format, select Yes, and then review the Target format panel:
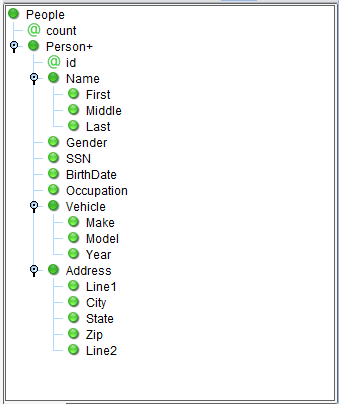
For this mapping, there’s not a significant difference between the two formats except for one detail: the Source format has a “People” root element, and the “Person” elements underneath it repeat. Our Target has only one Person. We’ll simply be directly mapping the first Person in the Source to the only Person in the Target.
Constructing the Mapping
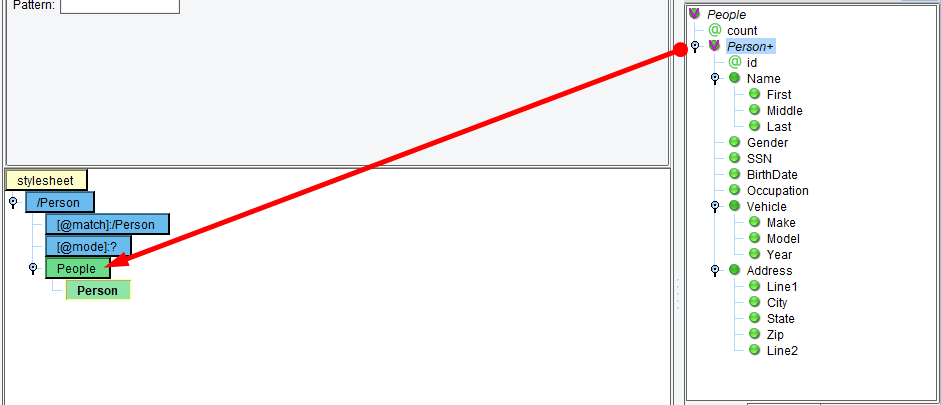
The first thing to do in constructing the mapping itself is to provide a “template” match. This is some element from the Source which we’ll match against and take some set of actions against. Select the “Person” element from the Source and drag & drop it onto the “stylesheet” element in the center:
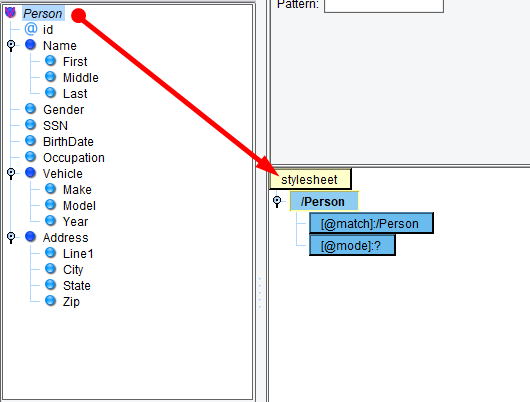
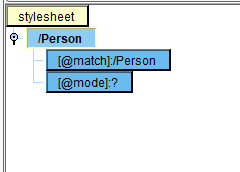
This will create a “Person” template in the center:
Creating People from the Target
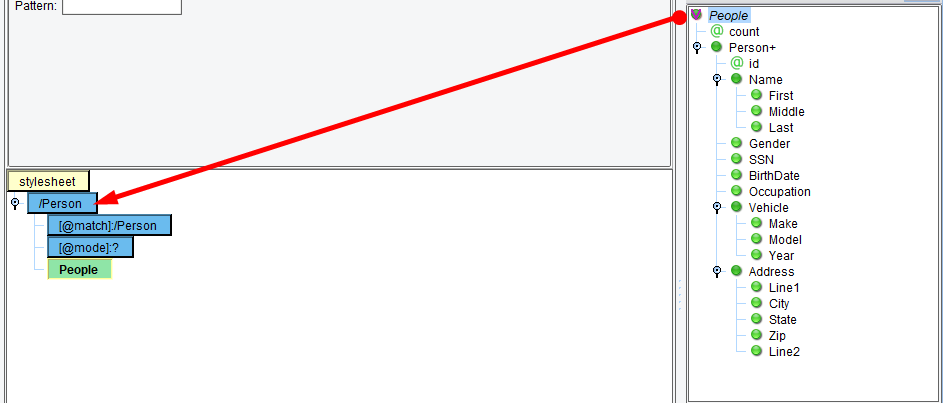
In XSLT, this is creating an instruction called a “template” with an attribute called “match” containing the XPath expression for the Person element in the Source. It effectively means, “when I encounter some Person element, run these instructions.” The action we want to take is to create a People from the Target; effectively, we want to say, “When I encounter some Person element, I want to create a People element.” To do this, drag “People” from the Target format onto “Person” in the center:
If we were to test this mapping against our Source sample, we’d get an XML output with only a “People” element. We’ll now want to create the various elements shown in the Target format.
First, drag & drop the “Person” child element onto “People”.
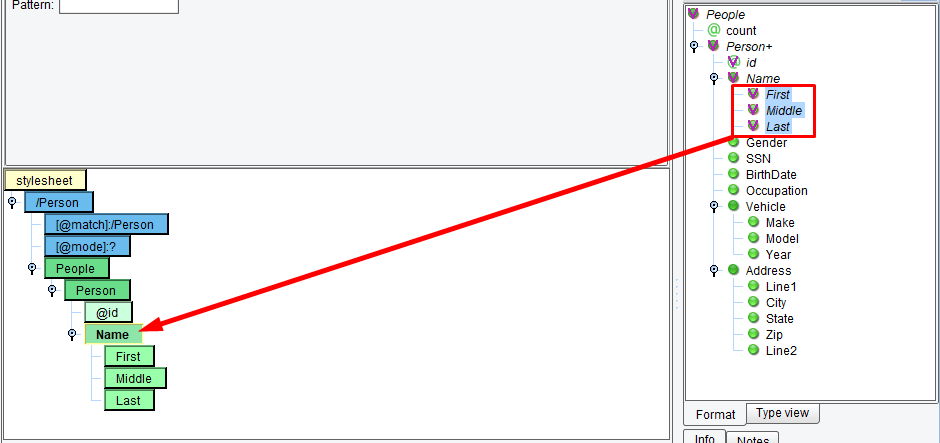
Then, drag & drop each child from the format onto the “Person” in the center. Note those child elements will need to be dragged onto the respective parents. For example, “First” should be dragged onto “Name” instead of onto “Person”:
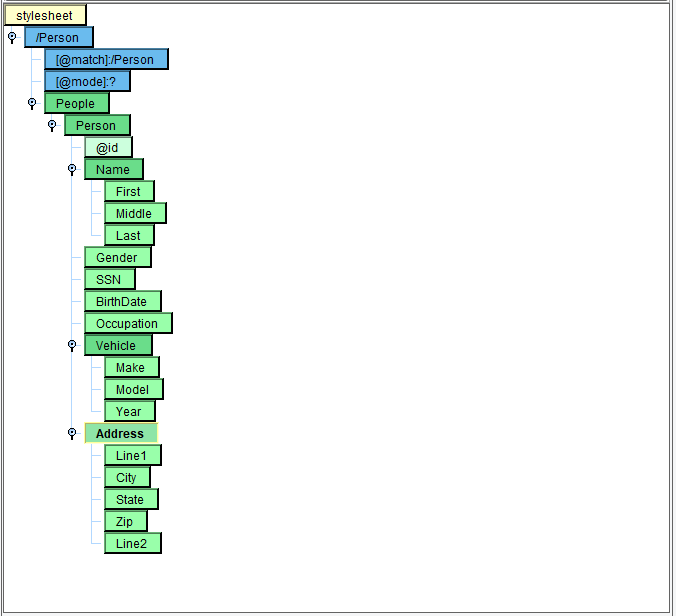
The center mapping should look exactly like this:
Providing Values
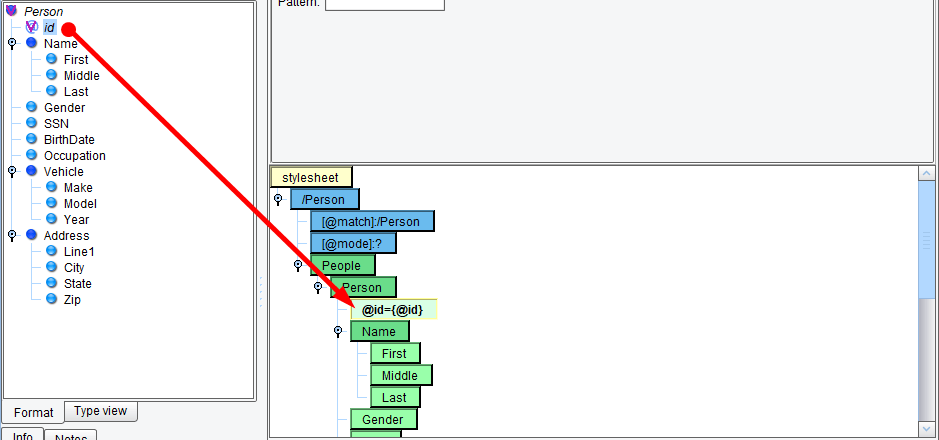
If we were to run this transformation now, we’d get a single People element, with a single Person element, with lots of empty child elements. What we need to do now is to provide each of these with values. To populate the “@id” attribute, drag the corresponding “@id” attribute from the Source format onto it:
Continue this for each of the values. Note that you will not drag “Name” onto the center “Name” – only it’s child elements (so “First” onto “First”). When you’re finished, it should look something like this:

We have two other sections to investigate now. First, click the XSLT View tab at the bottom of the screen:
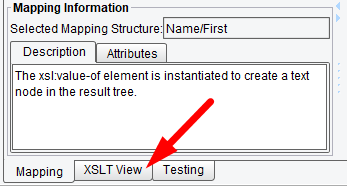
This will change the mapping panel to show the underlying XSLT:
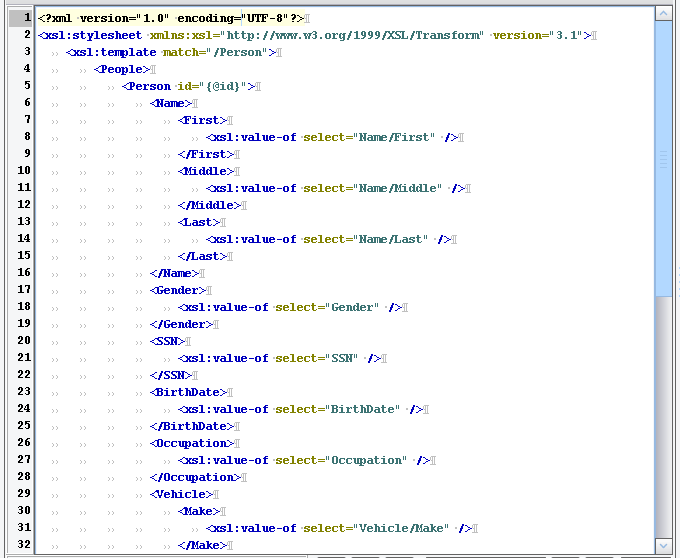
Making changes directly to the XSLT view
You can make changes directly to the XSLT view and they will show up in the Mapping (GUI) view. This particular editor features auto-completion, auto-formatting, and a few other useful features for doing manual editing. Next, click the “Testing” tab:

This will open the Testing mode for the Data Mapper:

This is made up of three panels. The first is the Source sample which, if you used the XML Format Builder, should already have our “PeopleB.xml” file loaded for testing. The second panel is the “Results” panel, which shows the results of the transformation. Finally, the “Output” panel shows any messages from the XSLT engine, such as errors or warnings.
Executing the Transformation
To execute the transformation, click the “Execute Transformation” button:
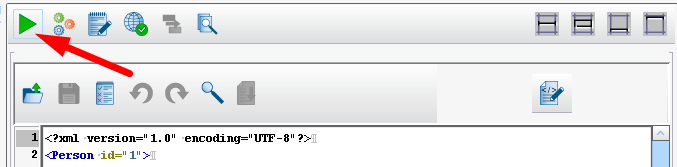
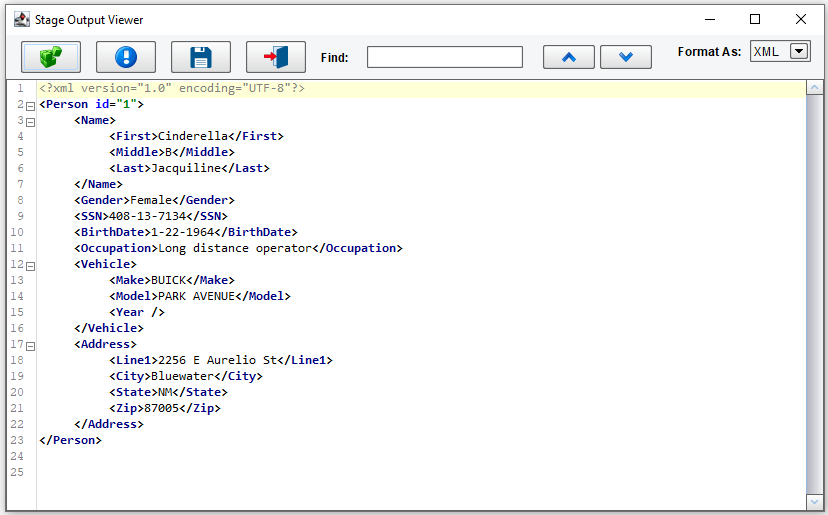
The “Results” panel will change to show the results of the transformation:

We’ve now completed our basic mapping. Save the mapping using the “Save” button or menu item (we’ll name ours “Simple Mapping”) and close the Data Mapper to return to the eiConsole.
Reviewing the Before and After
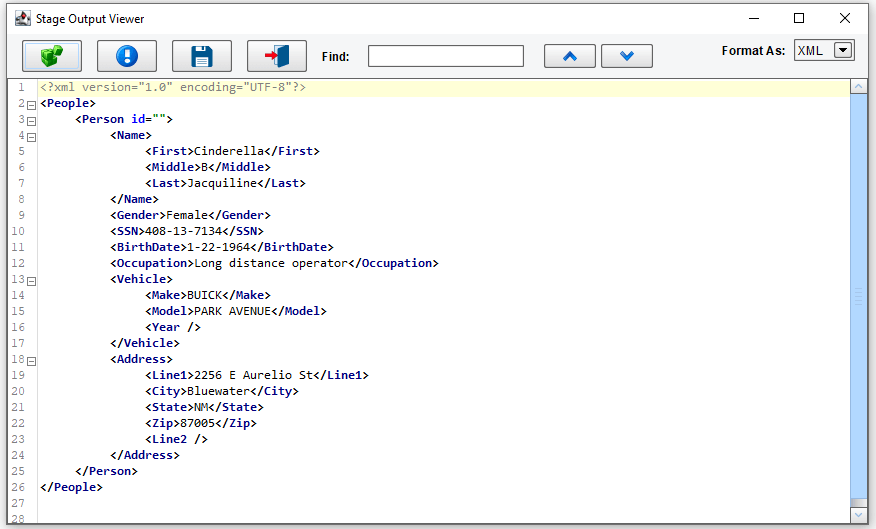
From the eiConsole, switch to the Testing Mode, execute a test and review the before-and-after. Our before:
And our resulting “after”:
As you can see, performing mappings is simply a matter of dragging & dropping between the Source and Target formats. Use the “Using Iteration” tutorial, to review the complexity and functionality a bit through iteration.