eiConsole v.21R1
Tutorial & Interface
Using Tabular Mappings
Overview
This interface and related tutorials demonstrate the use of the Data Mapper in Route configurations to transform between XML Formats. In this particular exercise, an existing Route (from “Data Mapping – Using Functions”) is modified to transform a “PeopleA” XML format to the “PeopleE” XML format, which makes use of the Tabular Mapping tool to convert between Gender code sets. In the tutorial, we’ll cover using the “Tabular Mappings” feature of the Data Mapper to convert between Source and Target code sets. This tutorial expands on concepts covered in “Data Mapping Using Functions”, so users are expected to be familiar with that content.
How to Use This Example
Click the links below for the files you will need for this tutorial, then download the INTERFACE to get started. (Once logged into the eiConsole it immediately shows up in your “PIE” inbox for use.)
Note: If you are not logged in to the eiConsole or have arrived at this page via a browser, you will be prompted to log in before the Interface downloads into your eiConsole “PIE” inbox. Or if you have not downloaded and installed a FREE eiConsole Trial you will have the opportunity to register after you click the Interface Download link. Once you are logged in the interface will automatically download into your “PIE” inbox. First, you’ll see a screen pop up indicating that a new product is ready for download. Select the Download Now button. Once you’ve downloaded the Interface you can drag it into your current Working Directory and begin.
Next, follow the tutorial and walk through it step-by-step. You may check your work against the provided Route (Sample Data).
Creating and Configuring a New Route
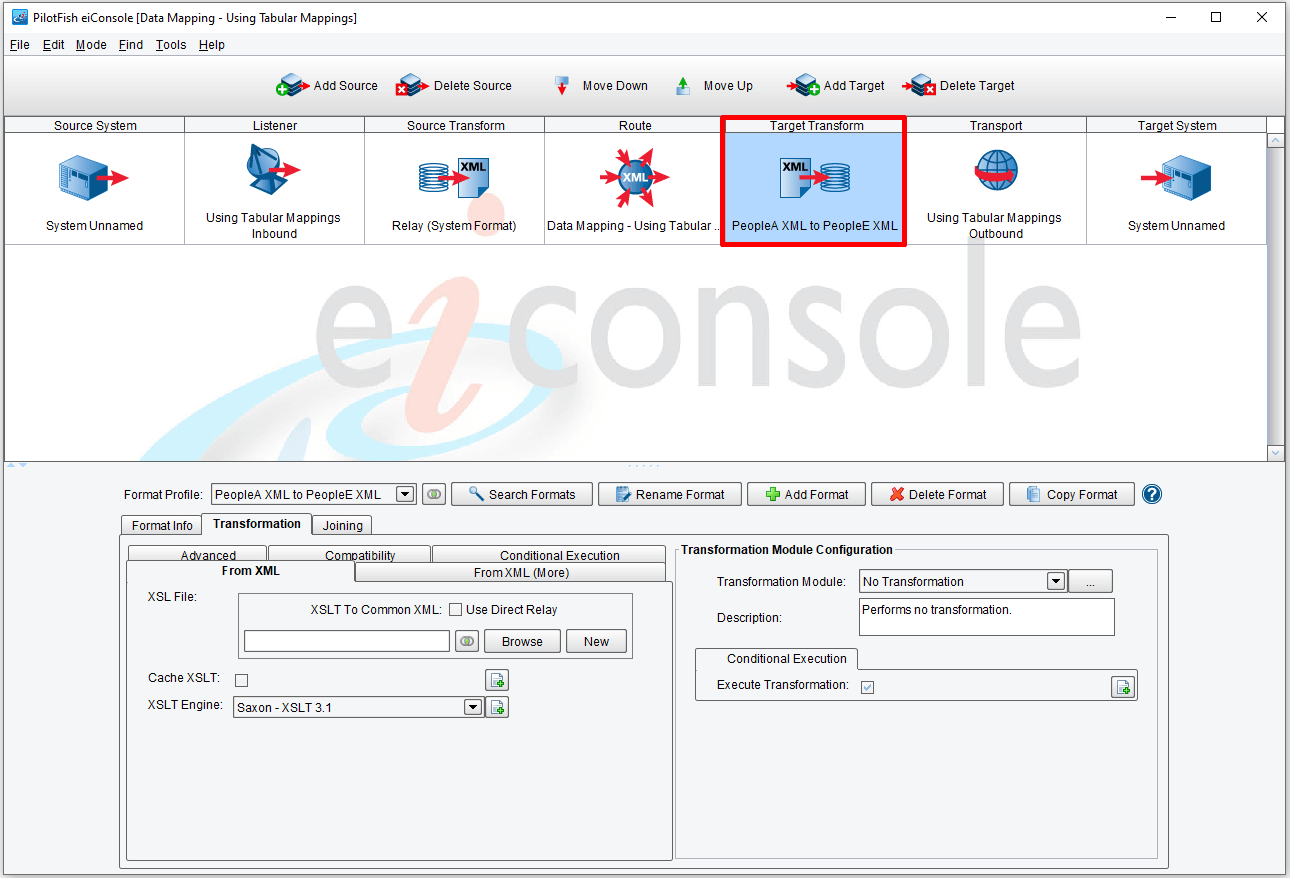
Start by creating and configuring a new Route similar to the prior tutorial. Add a new Format named “PeopleA XML to PeopleE XML” on the Target Transform, and uncheck “Use Direct Relay”:
Click “New” to open the Data Mapper. Load “PeopleA.xml” for the Source and “PeopleE.xml” for the target:

Mapping Exercise
Repeat the mapping exercise from the previous tutorial, or copy the XSLT using the “XSLT View” tab:

This mapping is pretty much identical to the last except for one detail: in the Source format, Gender is represented by “Male” or “Female,” while in the Target, Gender is represented by “M” or “F.” Most formats that make use of similar, coded values do not share entry values. For example, one format might represent marital status with “Single” or “Divorced,” while in another those respective values could be “1” and “6.” While you can build out these conversions using the choose / when / otherwise instructions, there’s a much simpler way: Tabular Mappings.
Scroll down to the Gender mapping in the panel:
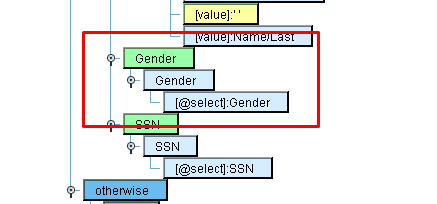
Adding Tabular Mapping
You can see that Gender gets its value from Gender in the Source. To apply a Tabular Mapping to this mapping, drag “Tabular Mapping” from Custom → Uncategorized onto it:

This will open the Tabular Mapping dialog, where you can select from a list of existing mappings:
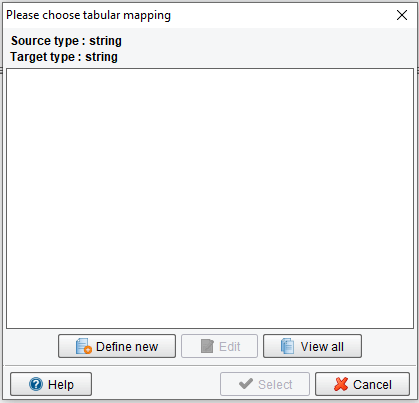
Of course, we have no such mappings defined yet, so click “Define New” to open a dialog to create a new Tabular Mapping:

This dialog provides a field to name the mapping as well as a table of currently mapped values. If the Source or Target formats loaded in provide enumerations (such as from an XSD or certain industry-specific standards) then the Source and / or Target value columns will have rows pre-populated. As this is not the case for our sample, we’ll have to manually add rows. We’ll start by naming our mapping:
Naming our Mapping
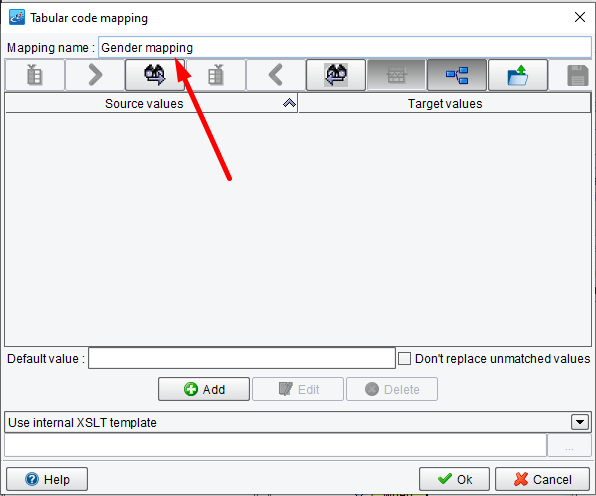
Next, click the “Add” button to define a new row:
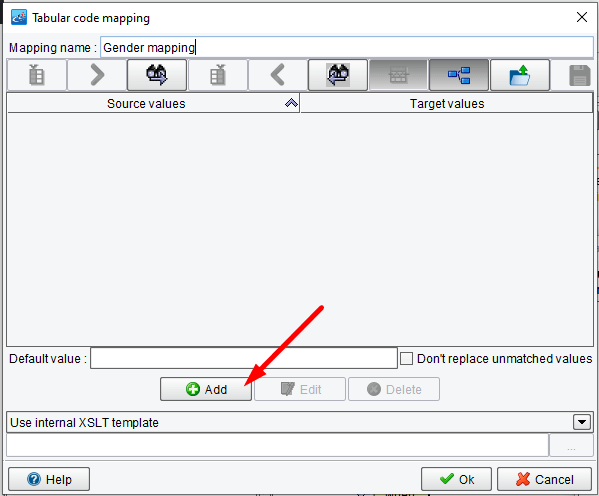
The raised dialog will provide fields to enter the Source and Target values. Since we’re converting between “Male” / “Female” and “M” / “F” codings, provide “Male” and M” for the first row:
Click “OK,” then click “Add” again and do the same for “Female” and “F.” You should now have a table with two rows:

Next, we’ll need to define a “Default Value” – the value that is chosen if the Source “Gender” is neither “Female” nor “Male.” We’ll default to “Unknown”:

Finally, click “OK,” select the new mapping in the previous dialog, and click “Select”:

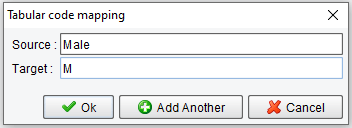
The resulting mapping element should now look like this:
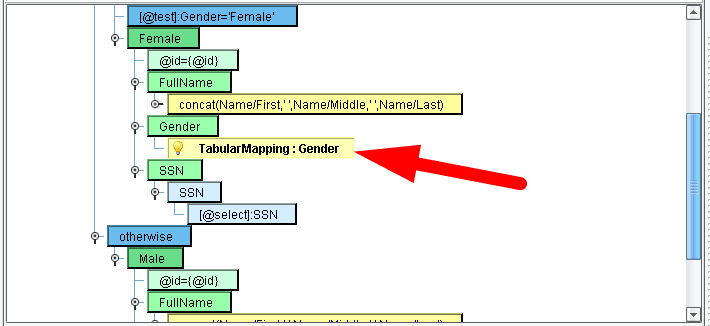
Finally, drop into the XSLT view to see how the Tabular Mapping is handled:
If you scroll further down, you can see the implementation of the “template” which is called here to see the choose / when / otherwise logic that the Tabular Mapping tool generated automatically:
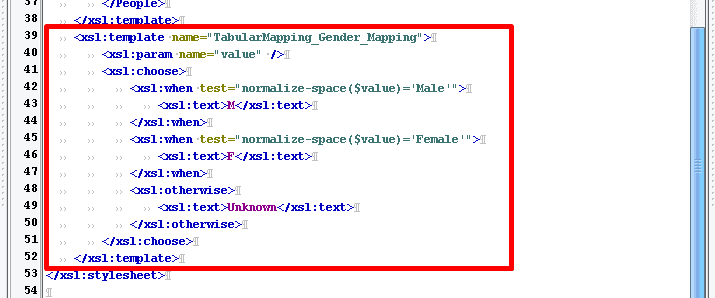
As you can see, Tabular Mappings are a powerful tool for handling conversion between code lists and values and can save you considerable amounts of time as you tackle larger mappings.
This concludes the tutorial.