eiConsole v.20R1
Tutorial & Interface
Using Conditions
Overview
In this tutorial, we’ll cover the use of XSLT‘s conditional statements to map Person elements to “Male” or “Female” elements based on “Gender.” This tutorial expands on concepts covered in “Data Mapping Using Iteration,” so users are expected to be familiar with that material.
How to Use This Example
Click the links below for the files you will need for this tutorial, then download the INTERFACE to get started. (Once logged into the eiConsole it immediately shows up in your “PIE” inbox for use.)
If you are not logged in to the eiConsole, you will be prompted to log in before the Interface downloads into your eiConsole “PIE” inbox.
If you have not downloaded and installed a FREE eiConsole 90-Day Trial you will have the opportunity to register via a simple process after you click DOWNLOAD INTERFACE. Once you are logged in the interface will automatically download into your “PIE” inbox.
Next, use the tutorial and walk through it step-by-step. You may check your work against the Route (Sample Data) provided above.
Creating and Configuring a New Route
Start by creating and configuring a new Route following the same steps as in the Getting Started Tutorial. Add a new Format named “PeopleA XML to PeopleC XML”:
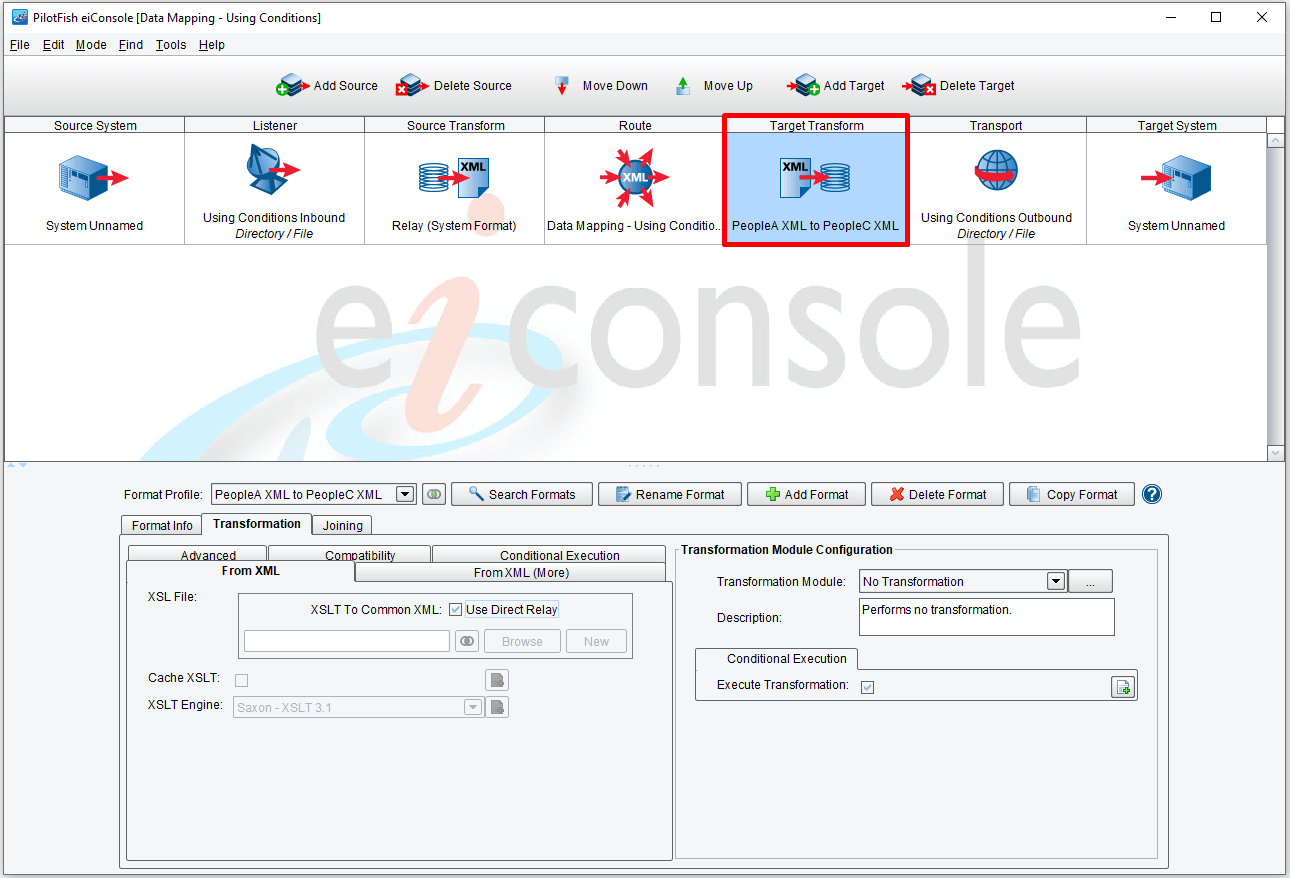
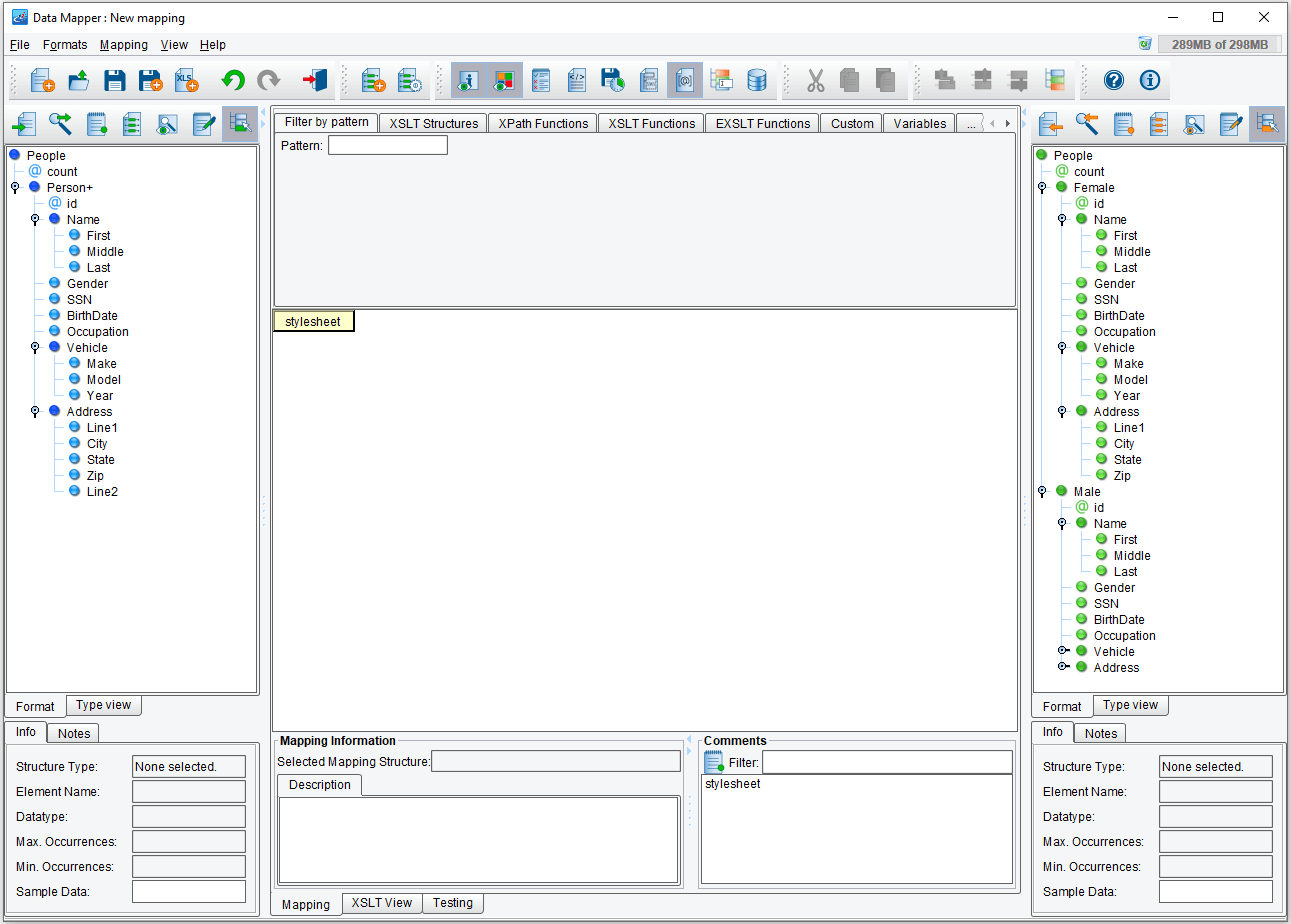
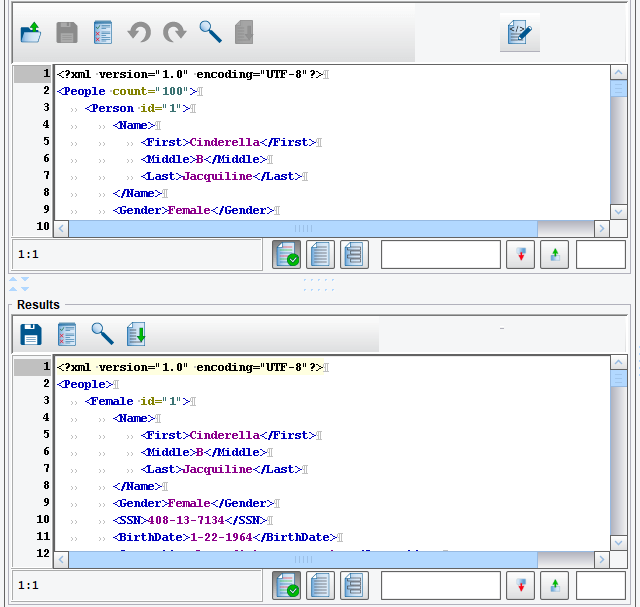
Uncheck “Use Direct Relay” and click “New” to open the Data Mapper. Using the XML Format Reader, read “PeopleA.xml” as the Source and “PeopleC.xml” as the Target:
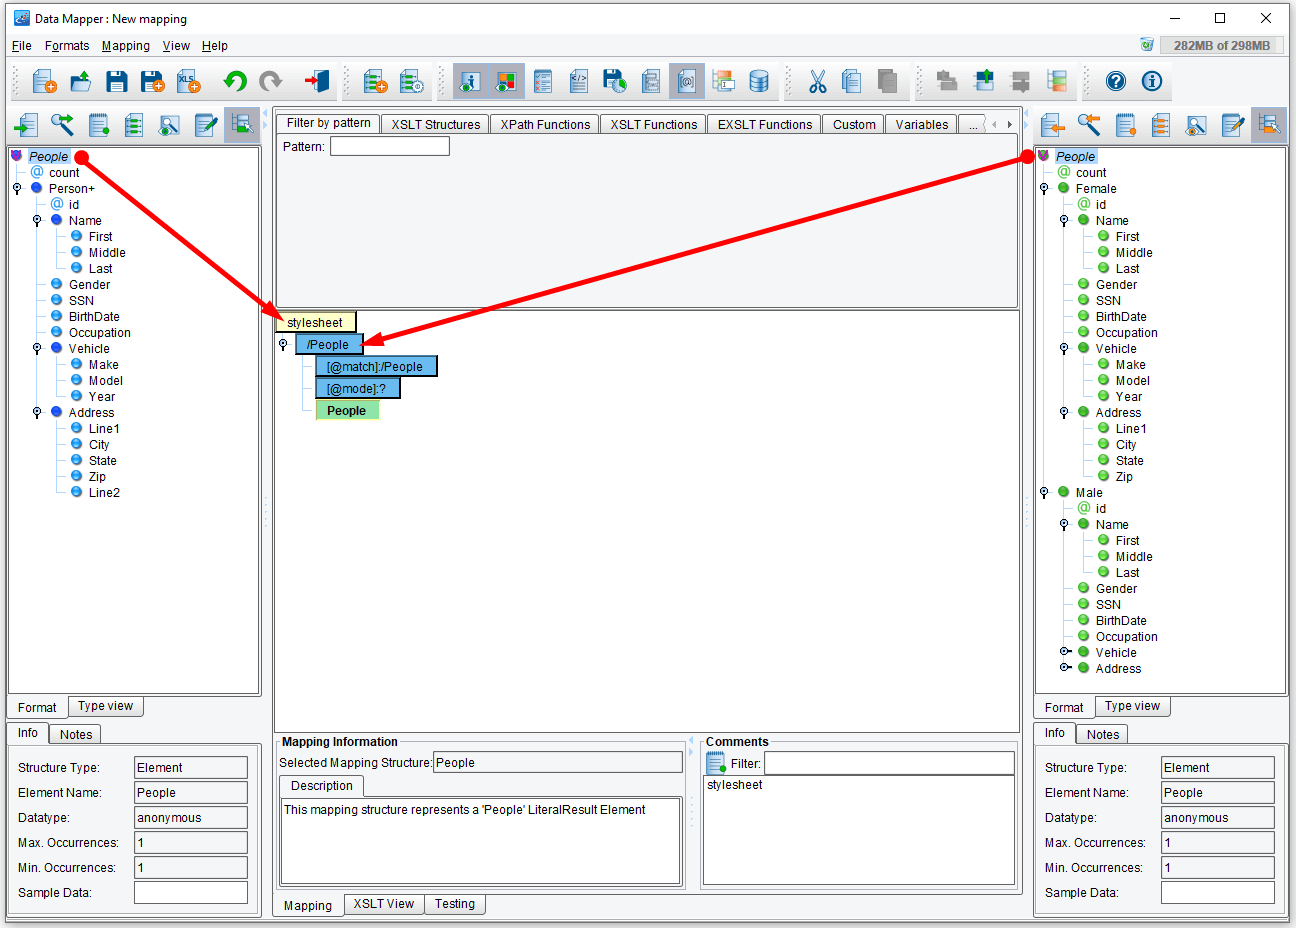
Using XSLT Structures → Flow Control, drag a “for-each” instruction onto the People element from the Target in the panel, then drag “Person” from the Source onto its “@select” attribute: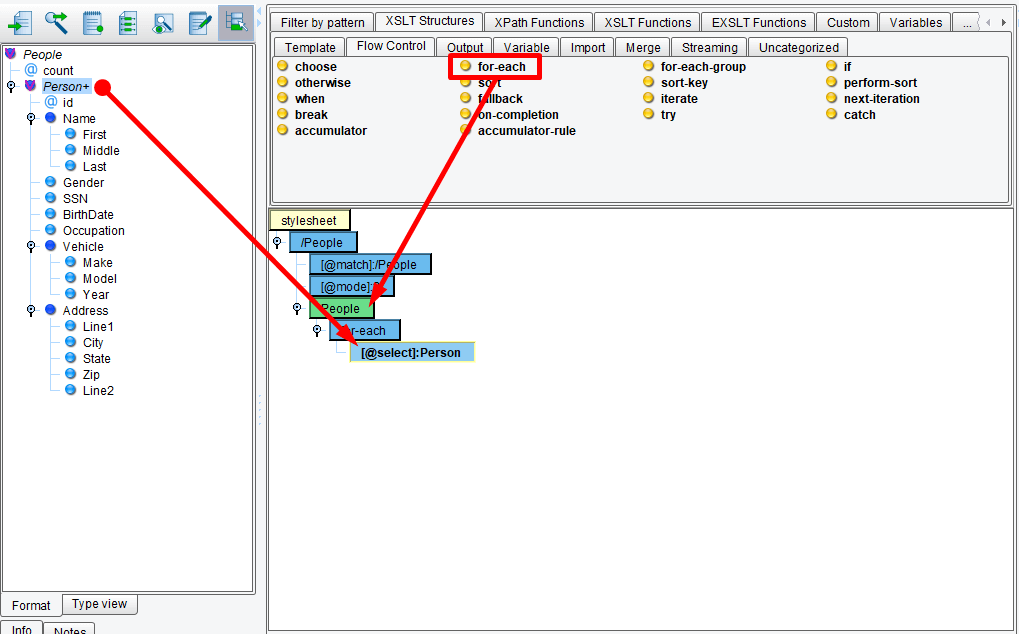
If you review the Target format, you’ll see that instead of the “Person” elements from before, we instead have “Female” and “Male” elements. The child elements of these are the same, but their names differ. We’ll want to conditionally create either a Male or a Female element based on a given Person’s “Gender” from the Source. There are a variety of ways to do this, but we’ll use the simplest and most straightforward: XSLT’s choose / when / otherwise instructions.
Handling Conditions
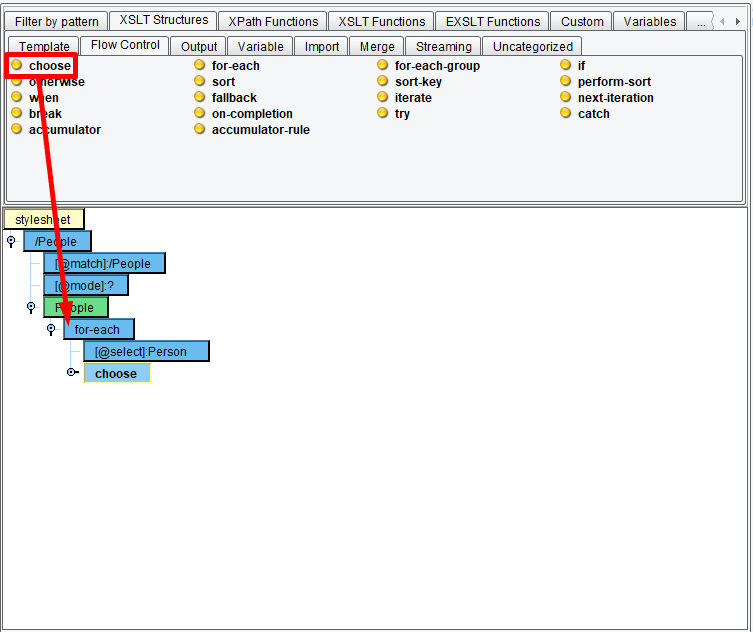
XSLT has three ways of handling conditions: the “if” instruction, the “choose,” “when,” and “otherwise” instructions, and predicates (“where” clauses on expressions). There is no “else” or “else if” in XSLT, so “if” is only useful for evaluating single expressions unless each subsequent expression has the added complication of testing its prior “if” instruction’s expression, as well. For this tutorial, we’ll use the “choose” method. Drag “choose” from the XSLT Structures → Flow Control palette menu onto the “for-each” element:
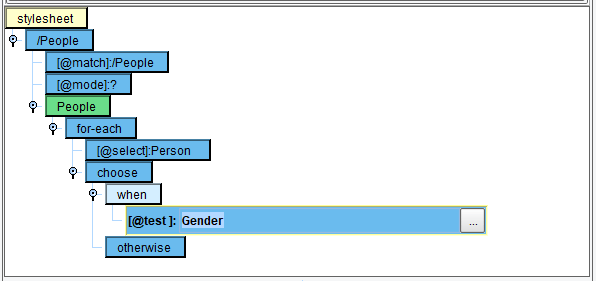
This will create a “choose” element in the mapping with a single “when” element and an “otherwise” element:

A “choose” instruction can have one or more “when” elements; if you require more, simply drag the “when” palette item onto an existing “choose.” Our mapping only makes use of a single case, however; we’ll test if Gender is “Female” and use the “otherwise” to default to “Male.” Drag “Gender” from the Source onto the “when” instruction’s “@test” attribute:

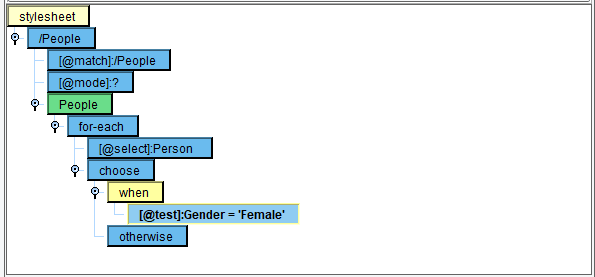
This will establish the basis of our test expression. However, as-is, “@test” will have only the value of Gender for its expression, which isn’t a particularly useful test. We’ll need to modify it. Double-click on “@test” in the mapping to edit it:
You can use the “…” button to open an XPath Expression Editor, but for this case, we’ll simply type our expression in. Modify it to read:
Gender = 'Female'
Then hit enter to save the changes. Clicking elsewhere will revert the expression to its previous value:
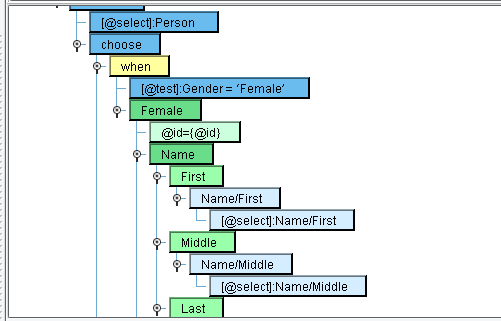
Next, drag the “Female” element from the Target onto “when”:
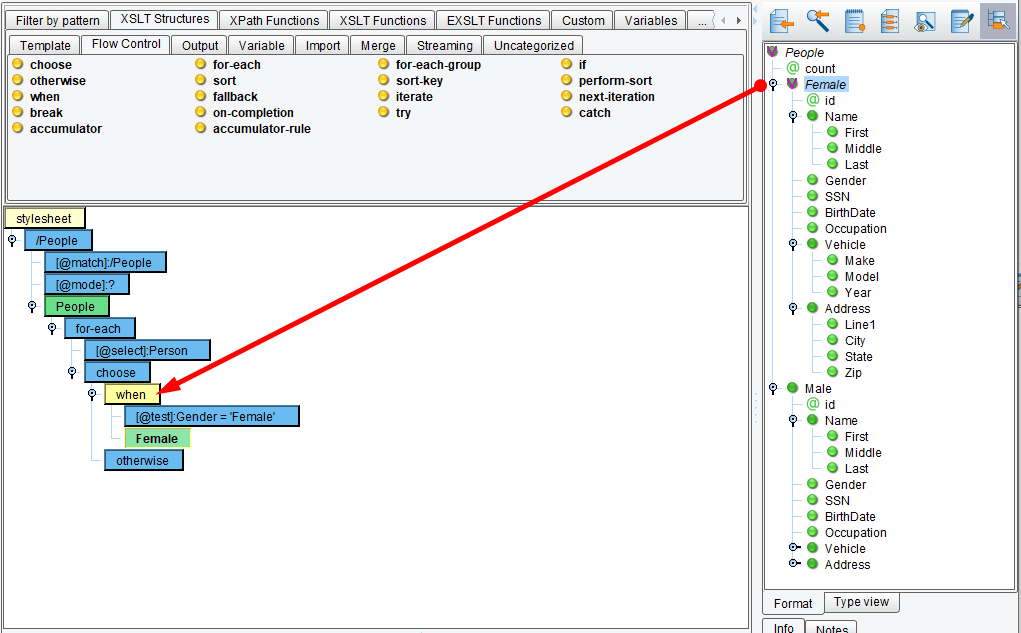
Mapping the Elements
Map the Female element’s child elements, then map the Person element in the Source’s corresponding elements onto the Female element in the center’s:
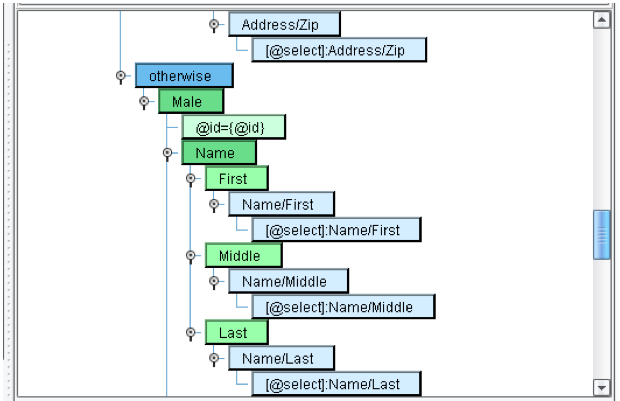
Map “Male” from the Target onto “otherwise” and repeat the mapping exercise (Source to Mapping):
Testing the Mapping
That’s it you’re done. You’ve just learned how to use XSLT’s conditional statements!