eiConsole v.20R1
Using Iteration
Overview
In this tutorial, we’ll cover using the “for-each” instruction in XSLT to perform iteration over elements. This tutorial extends on concepts covered in “Data Mapping Creating a Simple Mapping”, so users are expected to be familiar with that material.
How to Use This Example
Click the links below for the files you will need for this tutorial, then download the INTERFACE to get started. (Once logged into the eiConsole it immediately shows up in your “PIE” inbox for use.)
Note: If you are not logged in to the eiConsole or have arrived at this page via a browser, you will be prompted to log in before the Interface downloads into your eiConsole “PIE” inbox. Or if you have not downloaded and installed a FREE eiConsole Trial you will have the opportunity to register after you click the Interface Download link. Once you are logged in the interface will automatically download into your “PIE” inbox. First, you’ll see a screen pop up indicating that a new product is ready for download. Select the Download Now button. Once you’ve downloaded the Interface you can drag it into your current Working Directory and begin.
Next, follow the tutorial and walk through it step-by-step. You may check your work against the provided Route (Sample Data).
Creating a New Route
Create a new Route similar to the one used in the “Data Mapping Creating a Simple Mapping” tutorial, along with a new Format we’ll call “PeopleA XML to PeopleA XML”:
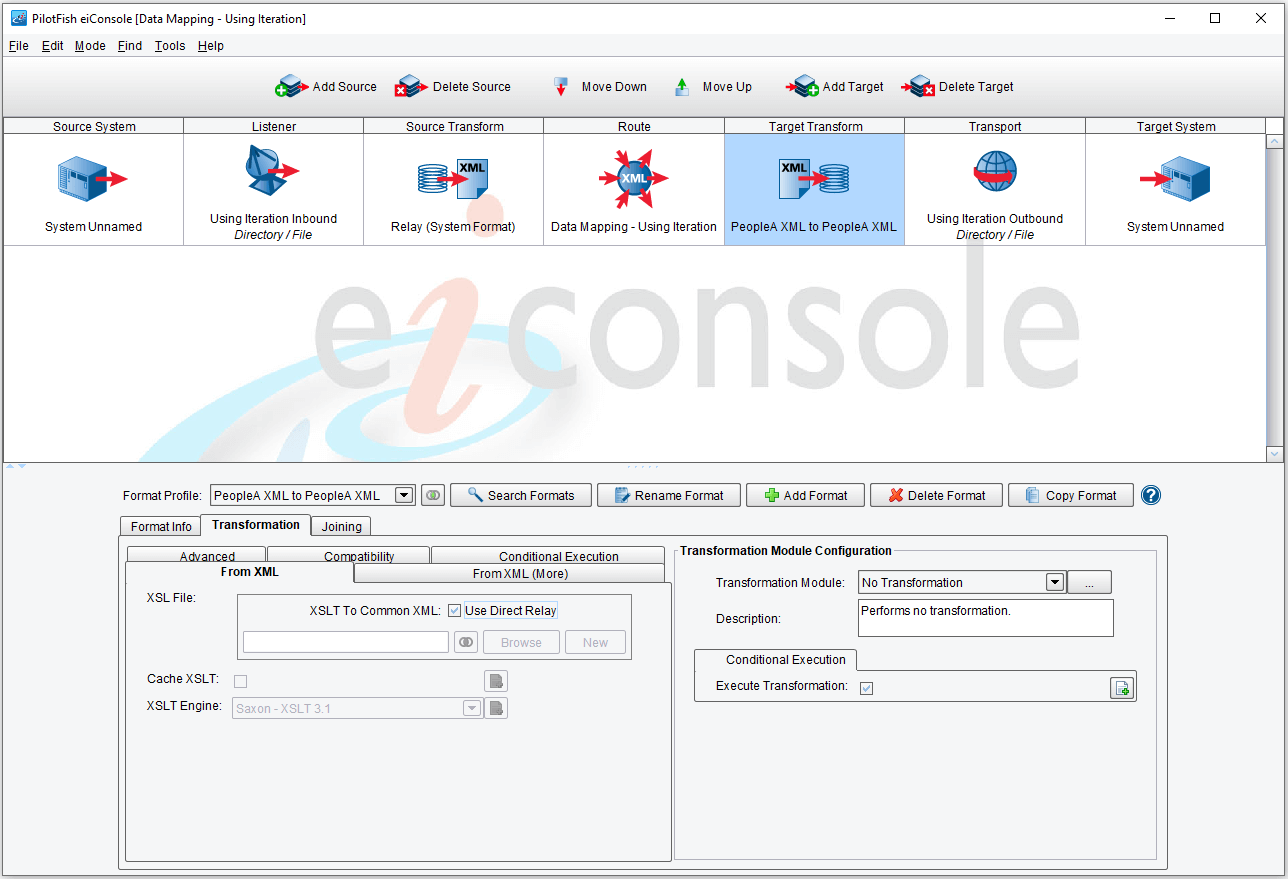
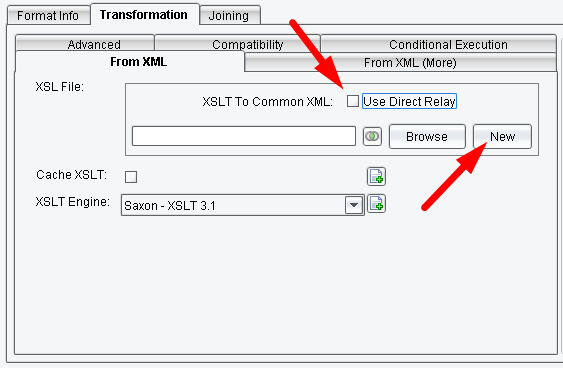
Once again, uncheck the “Use Direct Relay” option and click “New” to open the Data Mapper:
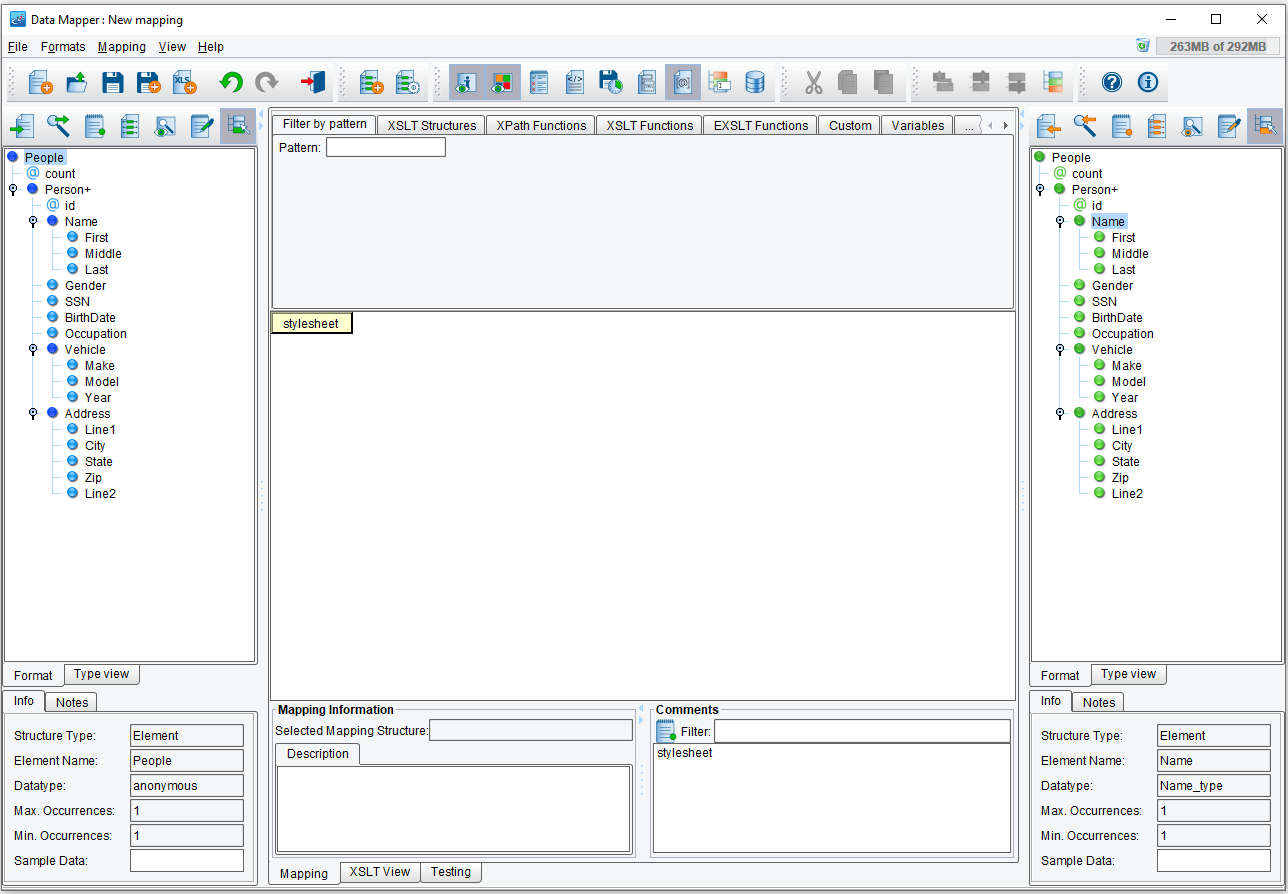
For this mapping, load in “PeopleA.xml” for both the Source and Target Formats:
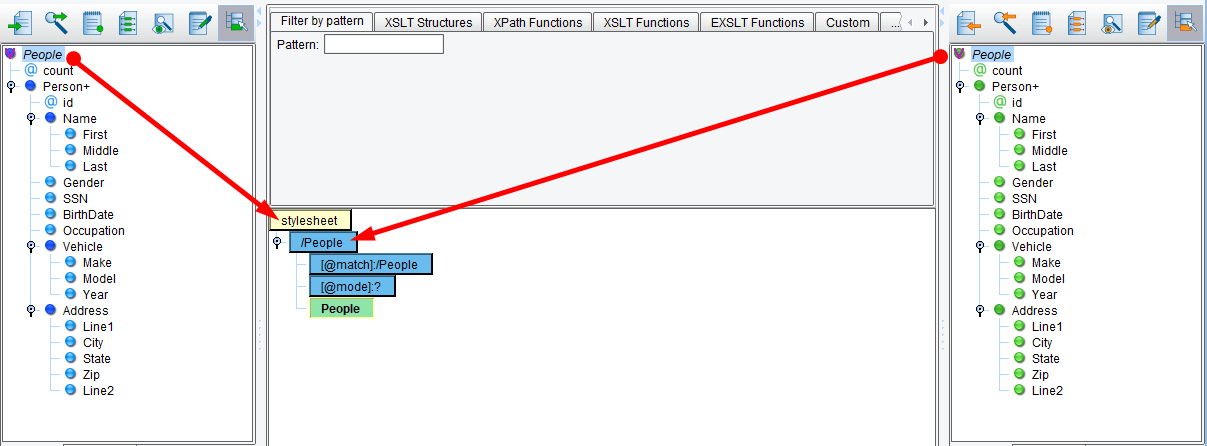
Map “People” from the Source onto the “stylesheet” element in the center (mapping) panel, then “People” from the Target onto the “People” now in the center:
Mapping each Person
In the previous tutorial, we mapped only the first Person onto the Target. This time, we’ll map each Person from the Source to a corresponding Person in the Target. To do this, we’ll make use of the Tool Palette at the top of the screen:
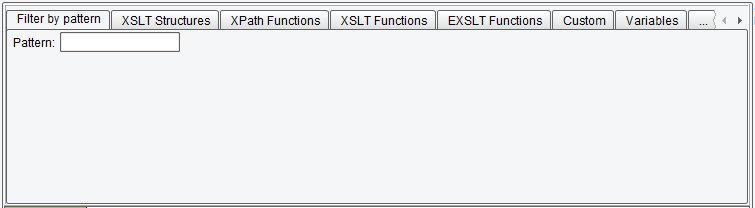
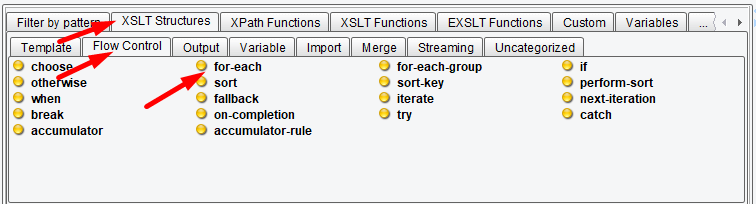
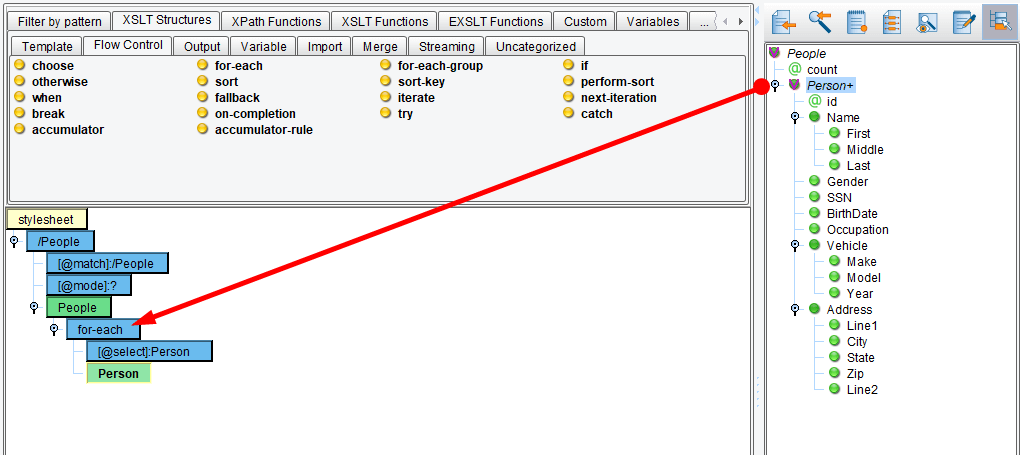
The tool palette is composed of two rows of tabs that organize XSLT instructions, functions, extensions, call-outs, and other drag-and-drop components by category. The instruction we’re looking for is called “for-each” and it can be found under XSLT Structures → Flow Control:
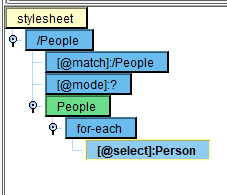
Drag the “for-each” instruction onto the People element from the Target in the mapping panel:
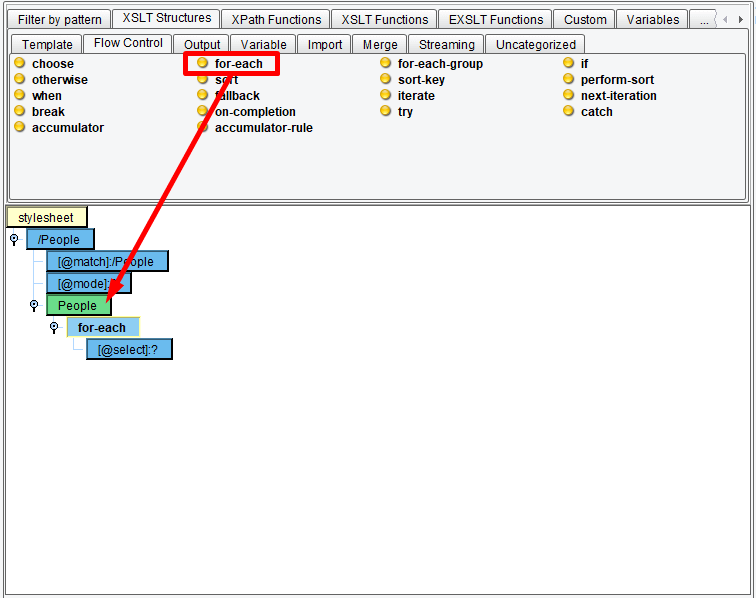
This will create a “for-each” XSLT instruction as a child of the Target People element:
The “for-each” instruction is pretty simple; it iterates over each Node returned from the expression in its “select” attribute and executes each of its child instructions or elements against that node. We’ll want to iterate over each Person in the Source, so drag Person from the Source panel onto the “for-each” “@select” attribute:
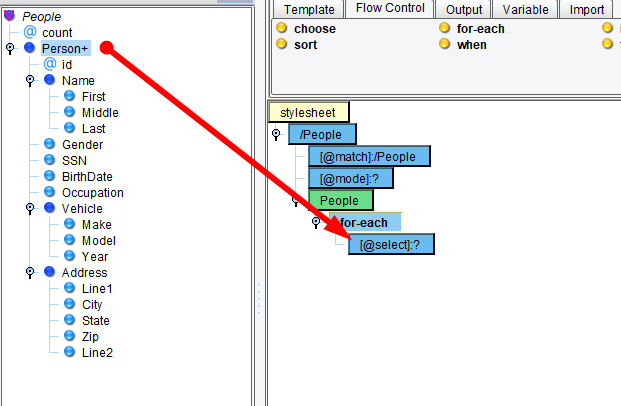
You should see the “@select” attribute change from the “?” value to a path for the “Person” element:
The “for-each” instruction will now execute for each Person in the Source.
Creating a Person in the Target
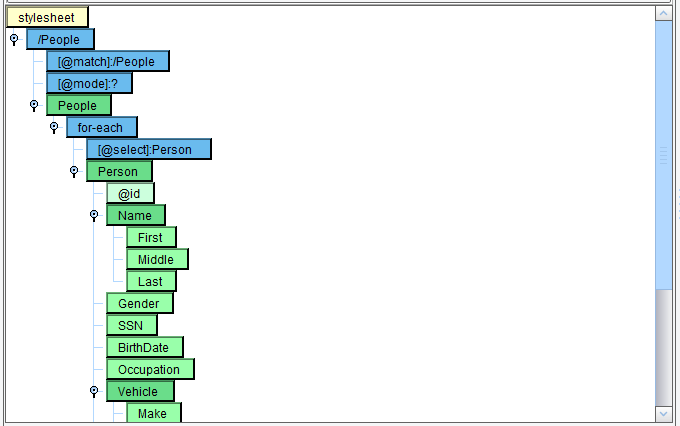
The action we’ll want to take is to create a Person in the Target. Drag “Person” from the Target panel onto the “for-each” element:
Map the various child elements and attributes of Person from the Target onto the newly created Person in the center:
Mapping the Corresponding Values
Once again, we’ll map the corresponding values in the Source Person onto the Person in the center panel. There’s one conceptual difference, however. This time, each expression used to populate the elements with values is relative to the for-each’s current node. Because “for-each” evaluates for each Person in the Source, that means that each expression is evaluated against that Person. This means that the third iteration’s expressions will be evaluated against the third Person. The Data Mapper is automatically aware of context, meaning you do not need to do anything but drag-and-drop to make use of these concepts. Map the Source Person onto the Person in the center:

Save the mapping, test it, and compare the results with the source. In this case, they should be identical. If they are you’re done. Great job.