eiConsole v.19R1
Advanced Tutorial & Interface
Using Processors
Overview
This Interface and related tutorial demonstrate the use of Processors in Route configurations. In this particular exercise, an existing Route (from “Training – Creating a Simple Route”) is modified to Base64 encoded files. We’ll build on the concepts from “Creating a Simple Route” to incorporate a single Processor to perform Base64-encoding of messages. If you have not yet walked through that tutorial or are not familiar with the concepts introduced, we recommend you step through it first.
How to Use This Example
Download the INTERFACE to get started. (Once logged into the eiConsole it immediately shows up in your “PIE” inbox for use.)
Note: if you are not logged in to the eiConsole, or have arrived at this page via a browser, you will be prompted to log in before the interface downloads into your eiConsole “PIE” inbox. Or if you have not downloaded and installed a FREE eiConsole Trial you will have the opportunity to register after you click the Interface Download link. Once you are logged in the interface will automatically download into your “PIE” inbox. First, you’ll see a screen pop up indicating that a new product is ready for download. Select the Download Now button. Once you’ve downloaded the Interface you can drag it into your current Working Directory and begin.
Next, follow the tutorial and walk through it step-by-step. You may check your work against the provided Route (Sample Data).
Creating a new Route in the eiConsole
Begin by creating a new Route in the eiConsole. We recommend naming it “Using Processors” to fit with the title of this exercise. Сonfigure a single Source and Target using a Directory /File Listener and Directory / File Transport. These steps are identical to those covered in “Creating a Simple Route”:
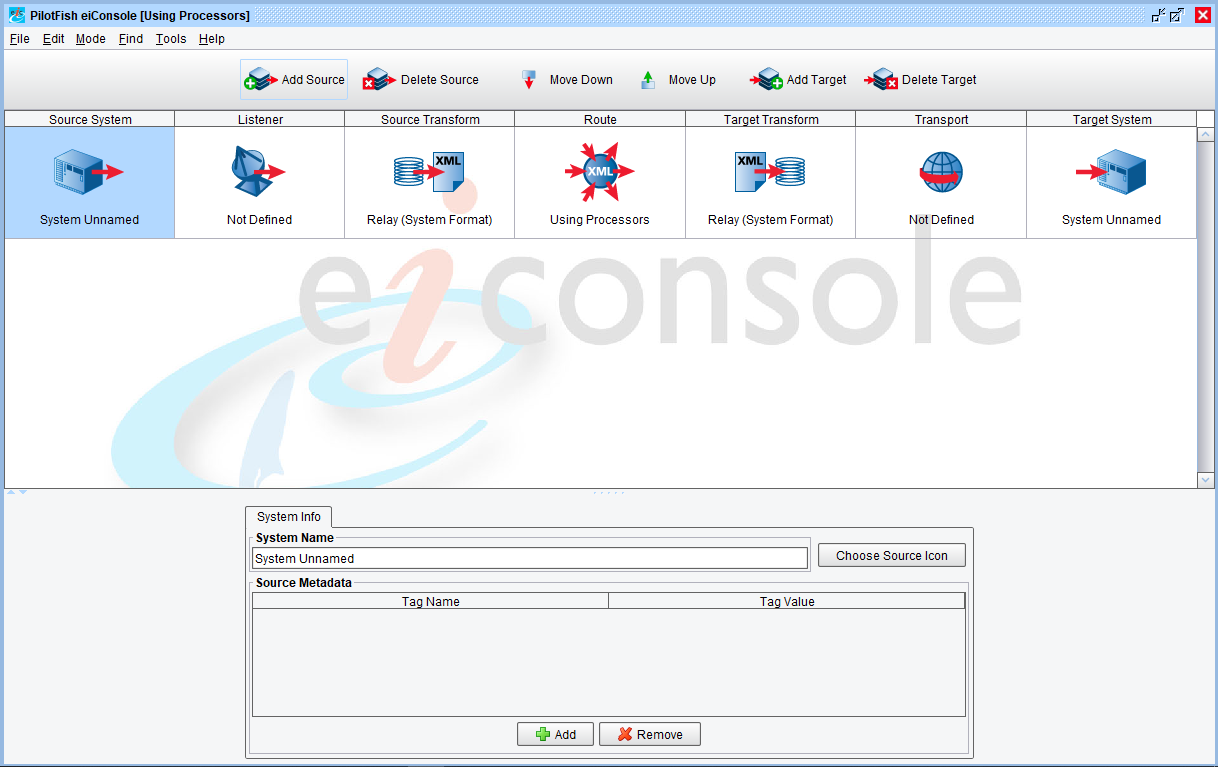
Processors can be added after the Listener stage and/or before the Transport stage. Processors are components that perform a variety of operations, ranging from decompression to applying a Regular Expression to message contents. For this exercise, we will be adding one to Base64 encode the message contents so that files delivered via the configured Directory / File Transport are Base64-encoded versions of those picked up by the Directory / File Listener.
Add the Processor
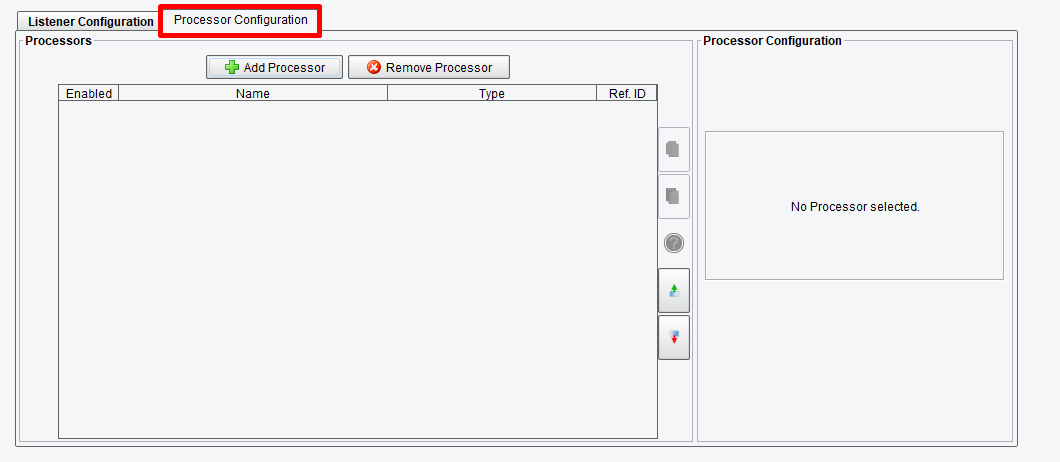
To add the Processor, select the Listener (second) stage:

Next, select the “Processor Configuration” tab:
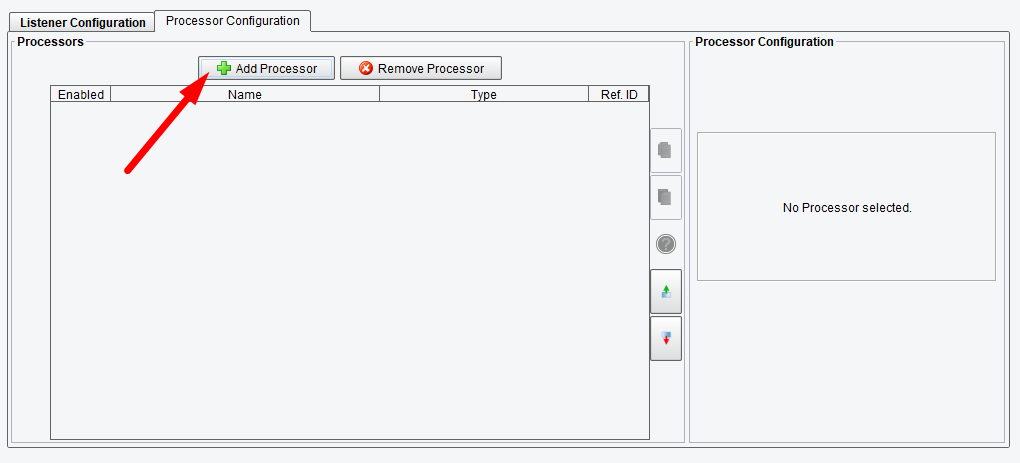
Add or Remove Processors
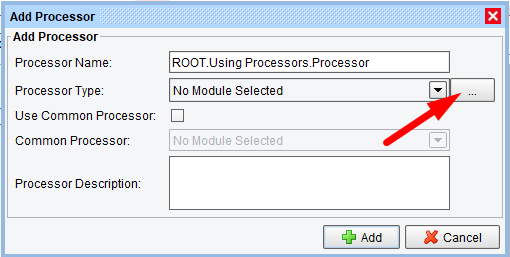
You can now add or remove Processors using the respective buttons, as well as re-order them using the “Move Up” and “Move Down” buttons. Processors are executed in the order listed in the table, so it may sometimes be necessary to change the order. To add a processor, simply click “Add Processor”:
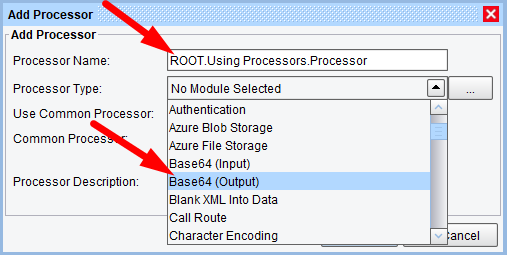
This will raise a dialog showing all of the available Processors in a drop-down. Select “Base64 (Output)” from the list:
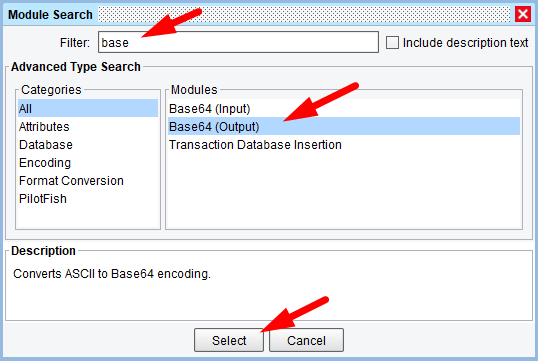
Also, you can find the desired processor with the Module Search.
All the processors are subdivided into categories.

The Filter field allows the users to search through the processors’ names or descriptions if the “Include description text” checkbox is enabled.
Name our Processor
We can now provide a name for our Processor. For this exercise, we’ll use “Base64 Encoder”:
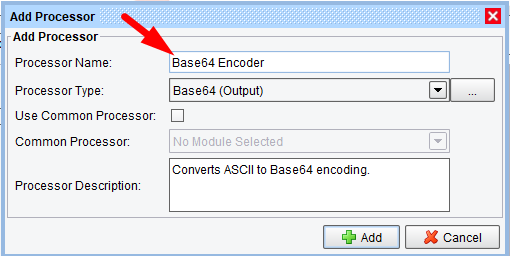
Once finished, click “Add.” You should now see the Processor listed in the table:

Most Processors require some configuration, but this particular one does not. Depending on your eiConsole version, you may have an “Execute Processor” option available, which allows you to specify if the Processor actually runs or not. Leave this option checked.
Testing Processor
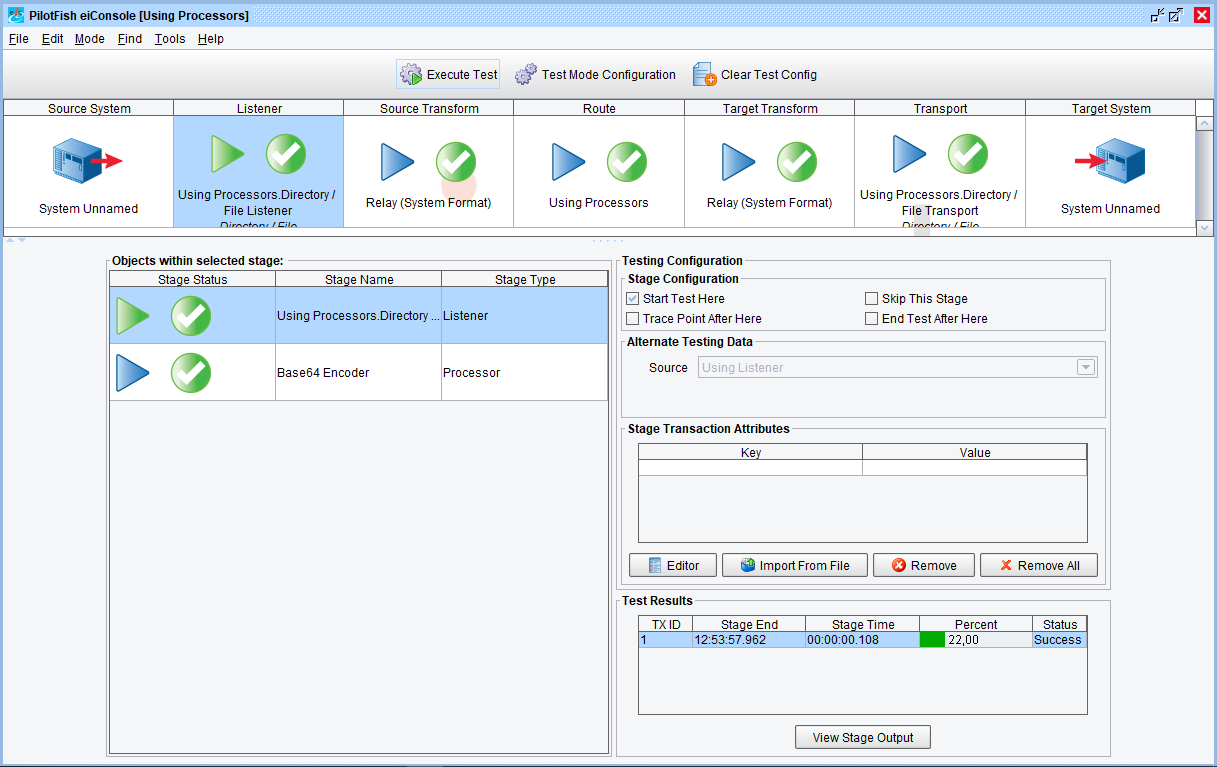
Our Route is now configured. Switch to the Testing Mode and click the Execute Test:
Viewing the Output of any stage
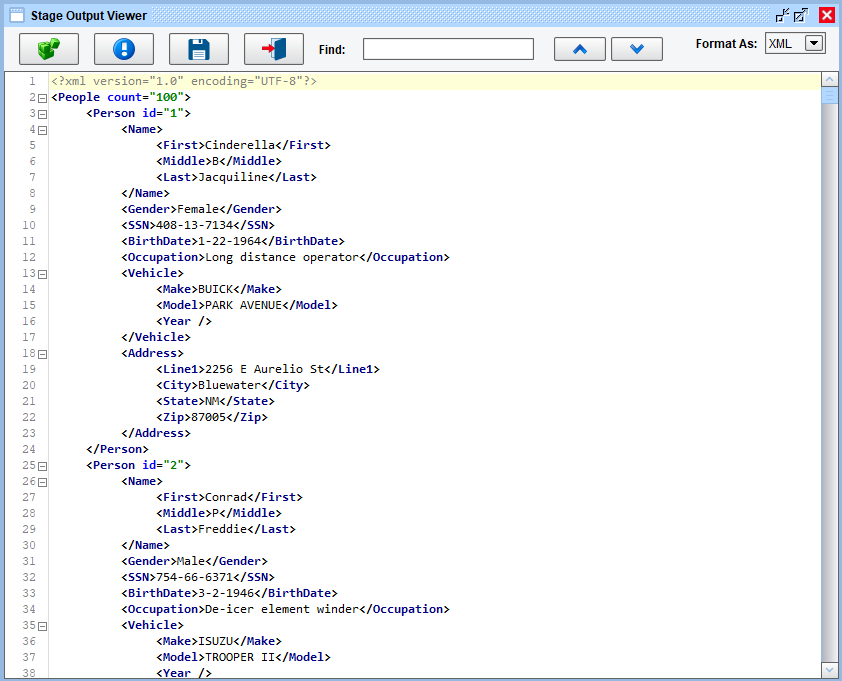
You can view the output of any particular stage by selecting it first from one of the main Stages in the main eiConsole table (“Listener”, “Source Transform”, etc), then selecting the sub-stage, and then clicking the “View Stage Output” button. In our case, we have a “Listener” and the “Processor” under the “Listener” main stage. The contents of the stage will vary based on what you’ve provided for your input directory, but here is the output of the Listener stage from using a simple XML sample:
Selecting the Processor stage and viewing that output shows the following:
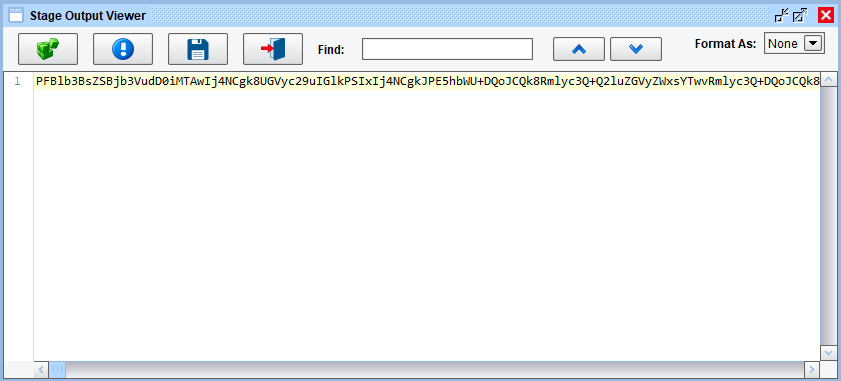
As you can see, the second stage is after the Base64-encoding Processor has completed. If you check the output directory, you should see a corresponding file.
This concludes the tutorial. Move on to the next tutorial, Using Listeners.