eiConsole v.18R2
Tutorial & Interface
Using Transformers
Overview
This interface and related tutorial demonstrate the use of Transformers in Route configurations. In this particular exercise, an existing Route (from “Training – Creating a Simple Route”) is modified to transform a Microsoft Excel worksheet to XML and then back to a Microsoft Excel format. In the tutorial, we’ll cover the basic use of Formats and Transformers using the Microsoft Excel Transformer. This tutorial expands on content and concepts covered in the “Creating a Simple Route” tutorial. This exercise will create a Route which picks up a Microsoft Excel file from a directory, transforms it into XML, transforms it from XML back to Microsoft Excel, and delivers it to another directory.
How to Use This Example
Click the links below for the files you will need for this tutorial, then download the INTERFACE to get started. (Once logged into the eiConsole it immediately shows up in your “PIE” inbox for use.)
Note: if you are not logged in to the eiConsole, or have arrived at this page via a browser, you will be prompted to login before the interface downloads into your eiConsole “PIE” inbox. Or if you have not downloaded and installed a FREE eiConsole Trial you will have the opportunity to register after you click the Interface Download link. Once you are logged in the interface will automatically download into your “PIE” inbox. First, you’ll see a screen pop up indicating that a new product is ready for download. Select the Download Now button. Once you’ve downloaded the Interface you can drag it into your current Working Directory and begin.
Next, follow the tutorial and walk through it step-by-step. You may check your work against the provided Route (Sample Data).
Create a new Route
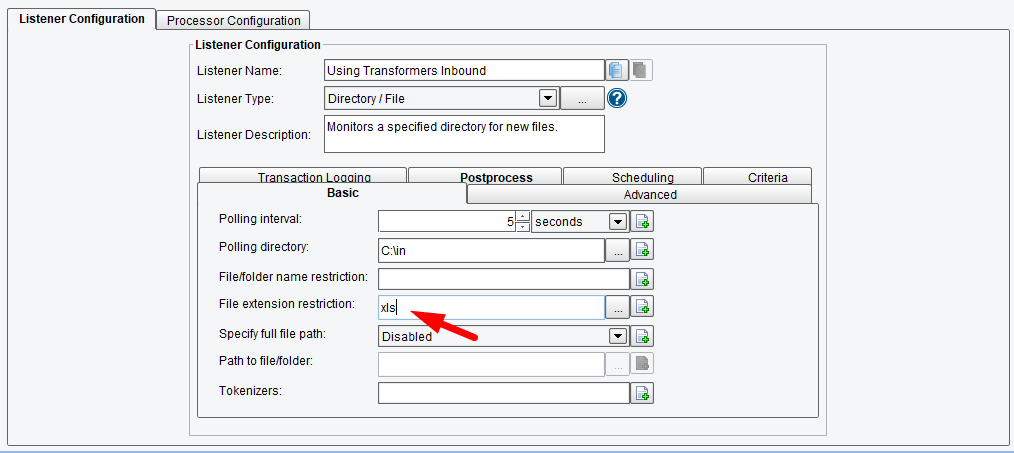
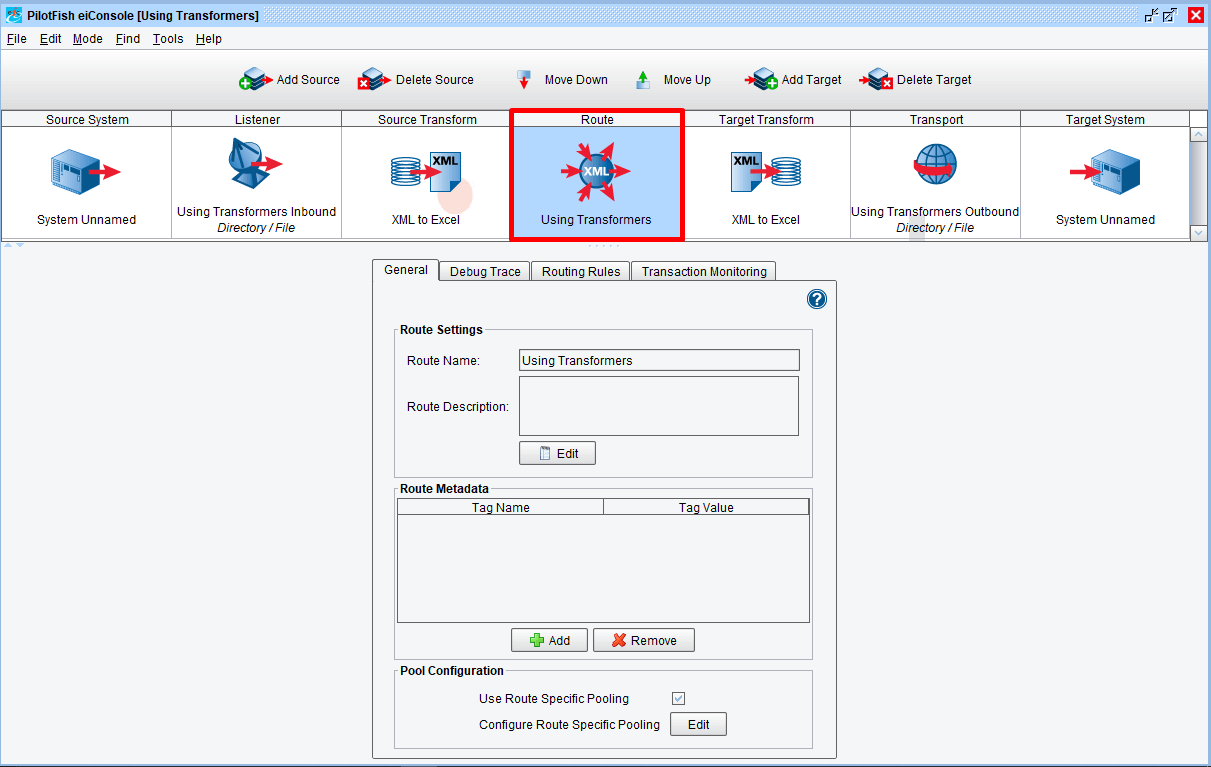
We’ll begin by creating a new Route similar to that used in “Creating a Simple Route.” We’ll make two modifications, however. First, on the Directory / File Listener, we’ll restrict the extension of files we pick up to “xls,” meaning we’ll only be picking up Microsoft Excel files:
We’ll also be modifying the Transport to create files with an “xls” extension, since we’ll be creating Microsoft Excel files as output:
Define Actual Transformations
Now we’ll need to define our actual transformations. Each Source and each Target may have its own associated transformation. Transformations are encapsulated in “Formats,” which contain a Transformation Module and an XSLT Transformation. Formats are reusable between Sources and Targets and exist independently of Routes. Therefore, a Format defined in Route A may be reused in Route B.
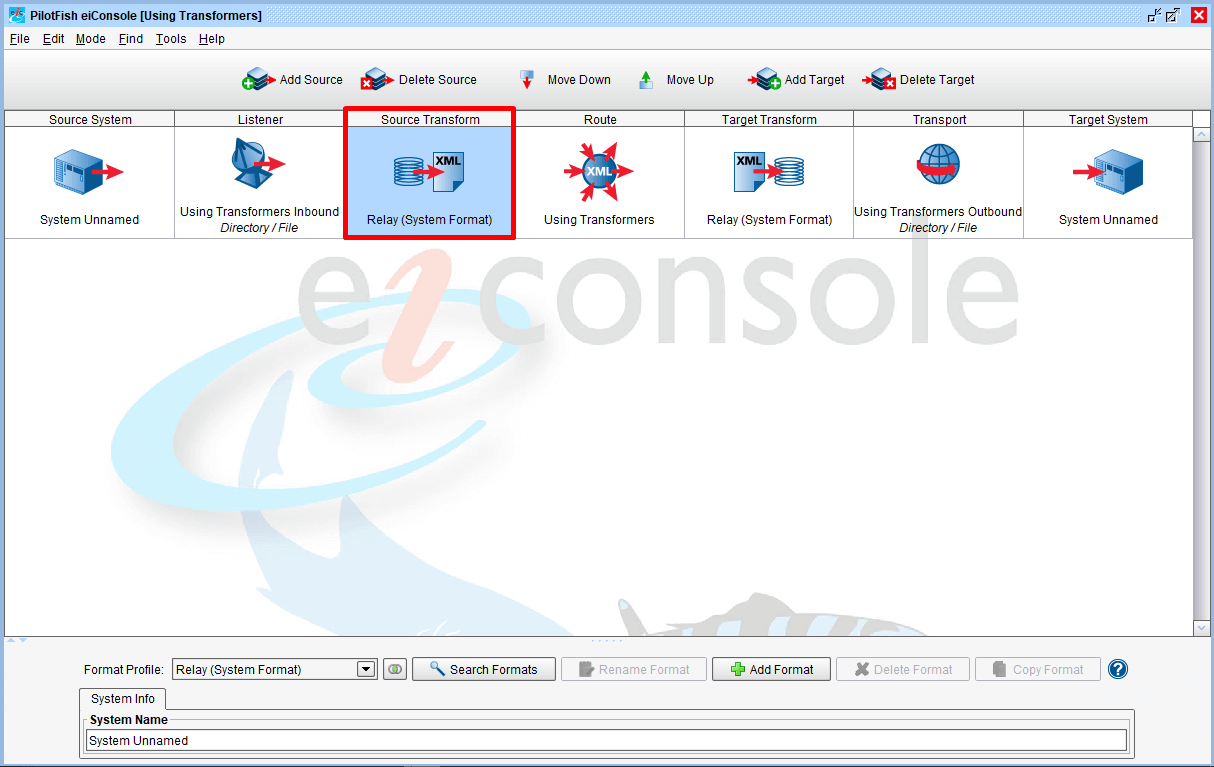
To create a new Format, we’ll start by selecting our Source Transform (third) stage:
From here, you can select an existing Format, search through Formats, or add a new Format. The eiConsole automatically provides a default, unmodifiable Format called “Relay (System Format),” which is what is used by Source and Target Transform Stages if the user does not change it. We’ll want to create a new Format, so click “Add Format”:
This will raise a dialog where you are expected to provide a unique name for the Format. It’s generally a good practice for Formats to be named according to their transformation; typically something like “X to Y,” where “X” and “Y” are types. Our Source Transform will be converting Microsoft Excel work sheets into XML, so we’ll call ours “Excel to XML”:
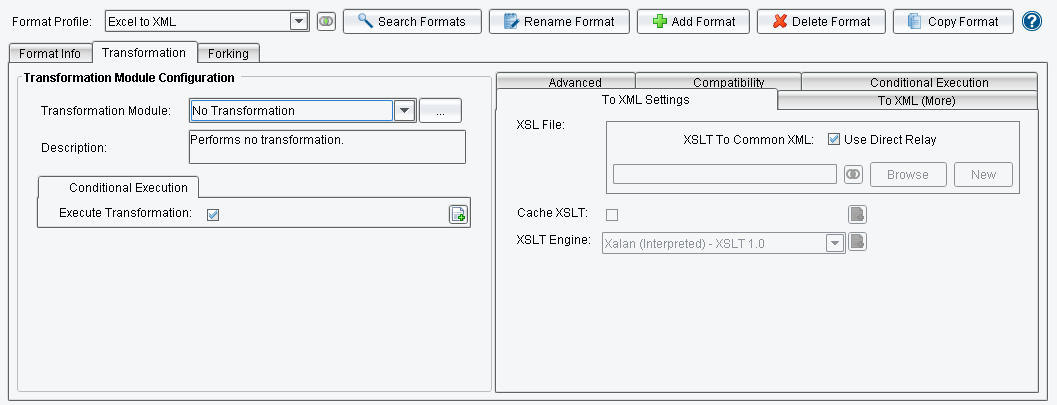
You should ignore the other two tabs for now. Formats have a directionality dictated by their used location. For a Source Transform, a Format’s left side is the “Transformation Module,” while the right side is the “XSLT Transformation.” The default (initial) configuration of a Format uses neither. This means that the Transformation Module is set to “No Transformation” and the XSLT Transformation has the “Use Direct Relay” option checked (meaning “skip the XSLT”).
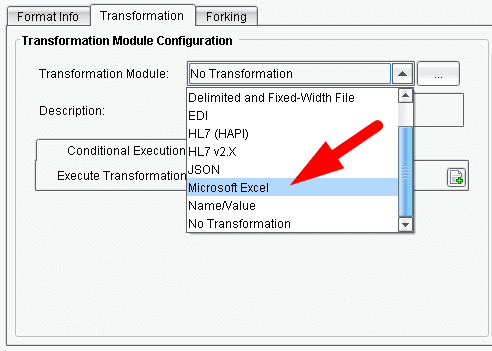
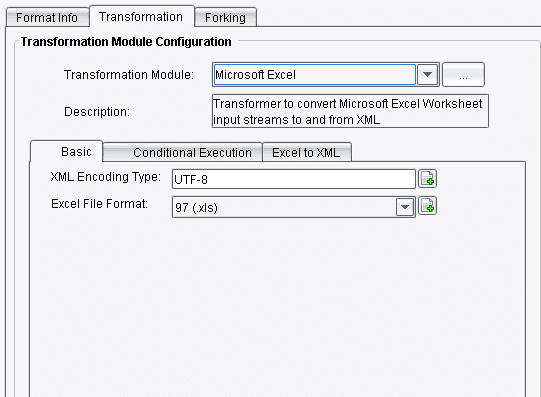
We’ll want to select the Microsoft Excel transformer:
Select the Microsoft Excel transformer
Click through the available tabs and review the options present. For this exercise, the default configurations are sufficient, though you should nonetheless familiarize yourself with some of the other available functionality.
For our Source Transform, no other configuration is necessary. This Format will take a Microsoft Excel workbook and convert it into an intermediary XML format.
Configuring our Target Transform
Next, we’ll want to configure our Target Transform. In this case, we’ll be going in the opposite direction from our intermediate XML back to Microsoft Excel. From a functional perspective, this is actually quite useless, as the output will be more-or-less identical to the input. However, once we begin testing the Route, the value will become somewhat more apparent.
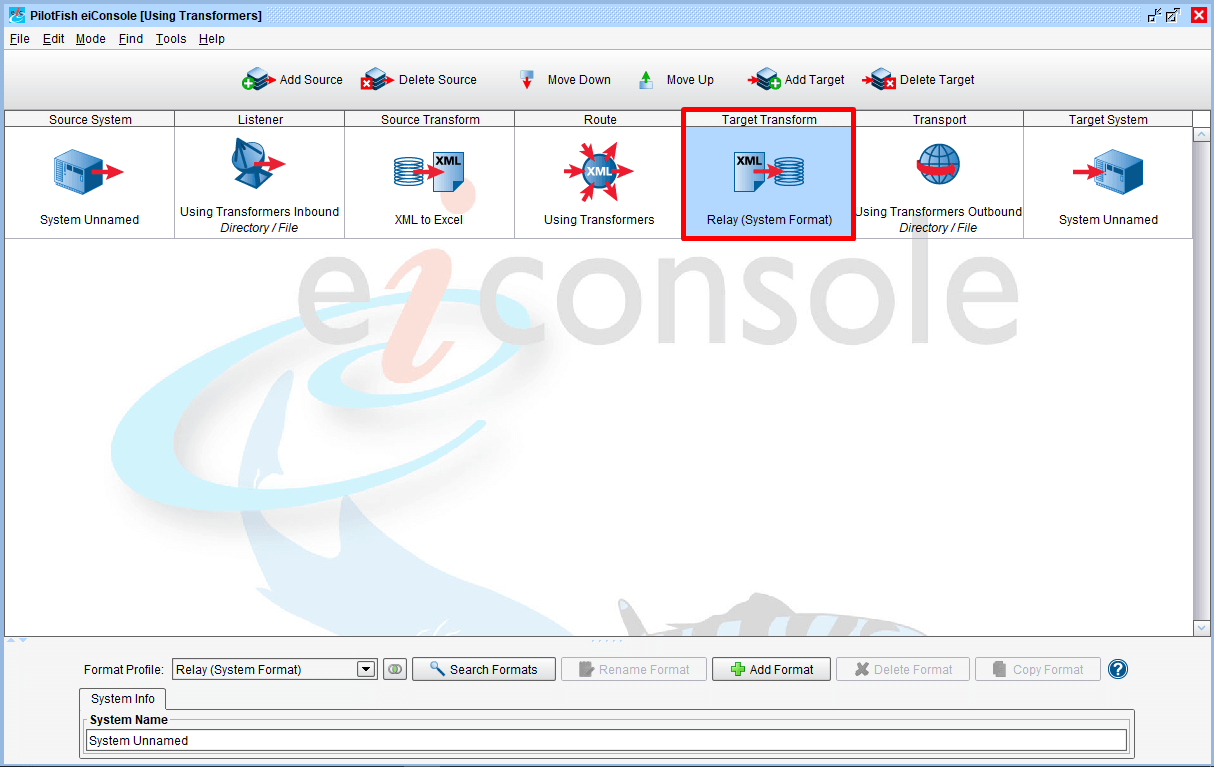
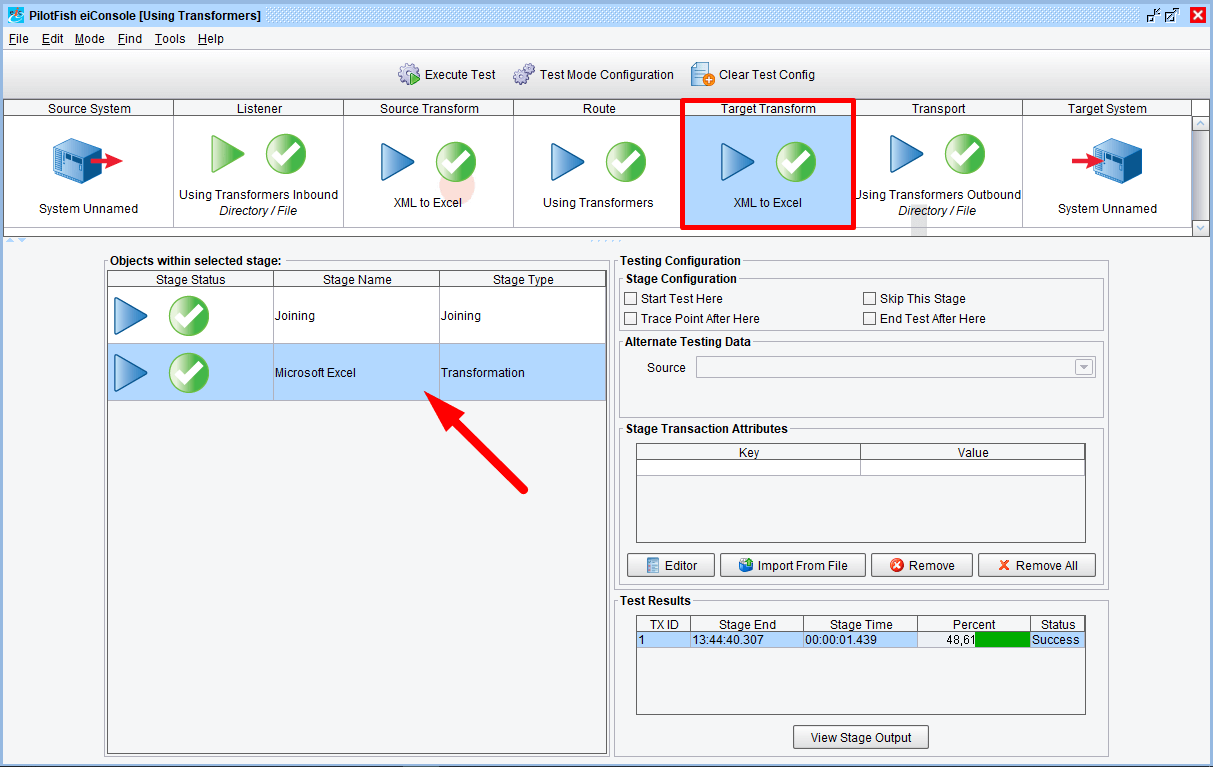
Select the Target Transform (fifth) stage:
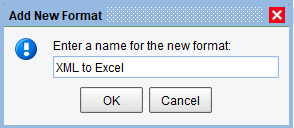
Once again, we have our Format panel available to us. You could select the previously created Format from our drop-down, but we’ll go ahead and create a new Format. Click “Add Format” again. This time we’ll name our Format “XML to Excel”:
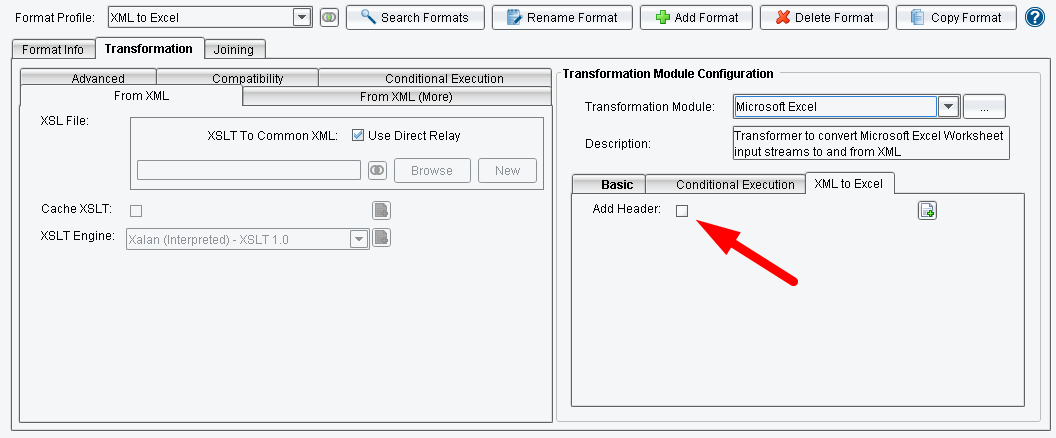
Primarily, the directionality is reversed. First we potentially go through a XSLT Transformation, then through a Transformation Module. Once again, select the Microsoft Excel transformer:
Most Transformers are inherently bi-directional without requiring additional configuration. The Microsoft Excel Transformer is one of these; just by having it selected in the Target Transform instead of the Source Transform will reverse its direction.
Review the available options again:
Testing our Route end-to-end
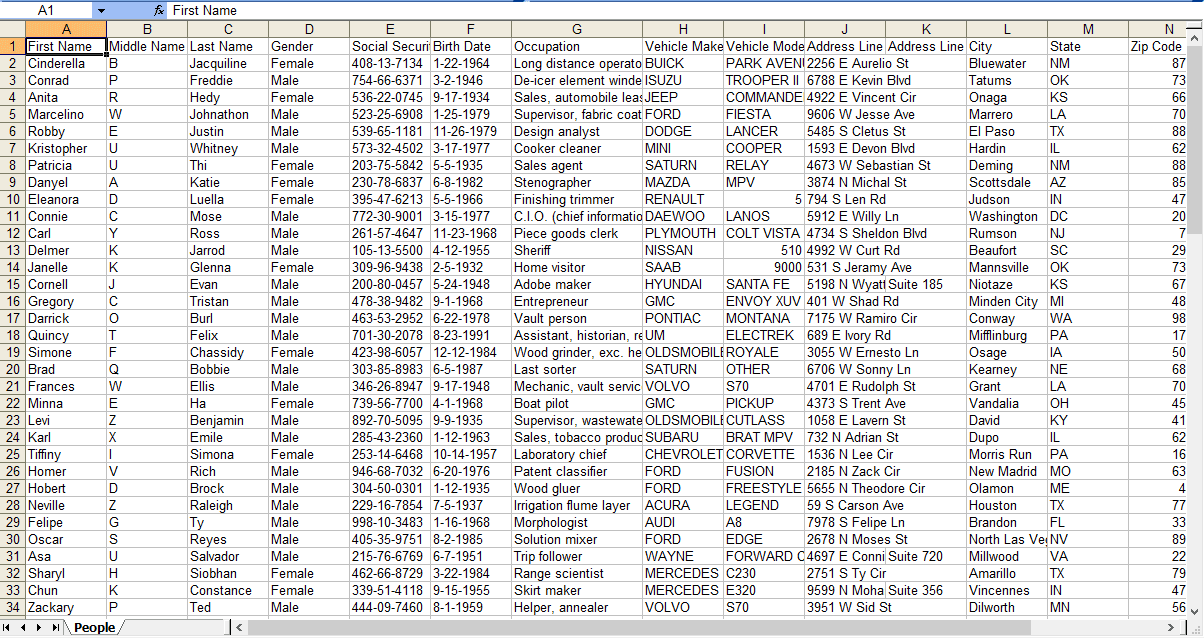
We’ll now test our Route end-to-end. For our sample file, we’ve created an Excel sheet like so:
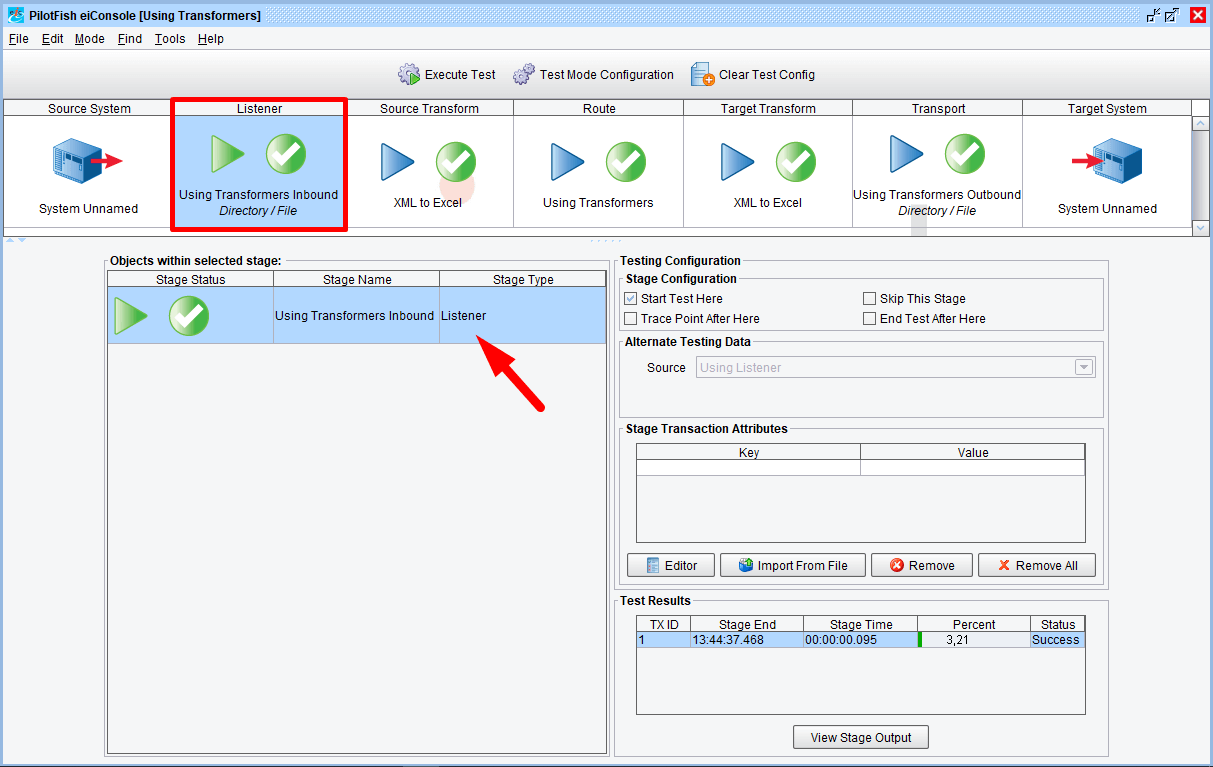
Once the processing completes, we’ll view the output at three different stages. First, at the Listener, prior to going into the Source Transform:
View your output
In this case, our stage output will be the binary representation of the Excel worksheet:
Next, we’ll view it at the Routing stage, which is after it has undergone transformation to XML:
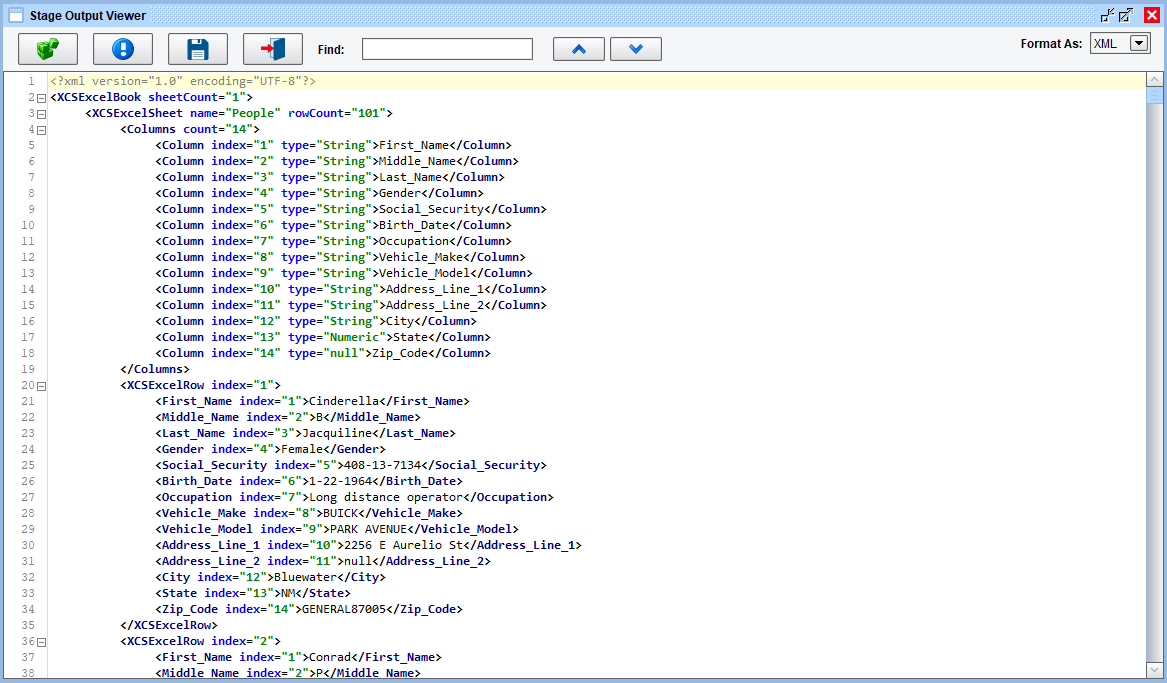
Our output here is XML:
You should spend some time reviewing the output here and comparing it to the original sample. The XML created has a root tag called XCSExcelBook, and each sheet creates a XCSExcelSheet, which in turn contains a Columns tag (detailing each column defined) and then a XCSExcelRow tag for each row. Columns are then defined and named within each XCSExcelRow tag (for example, “Middle_Name”).
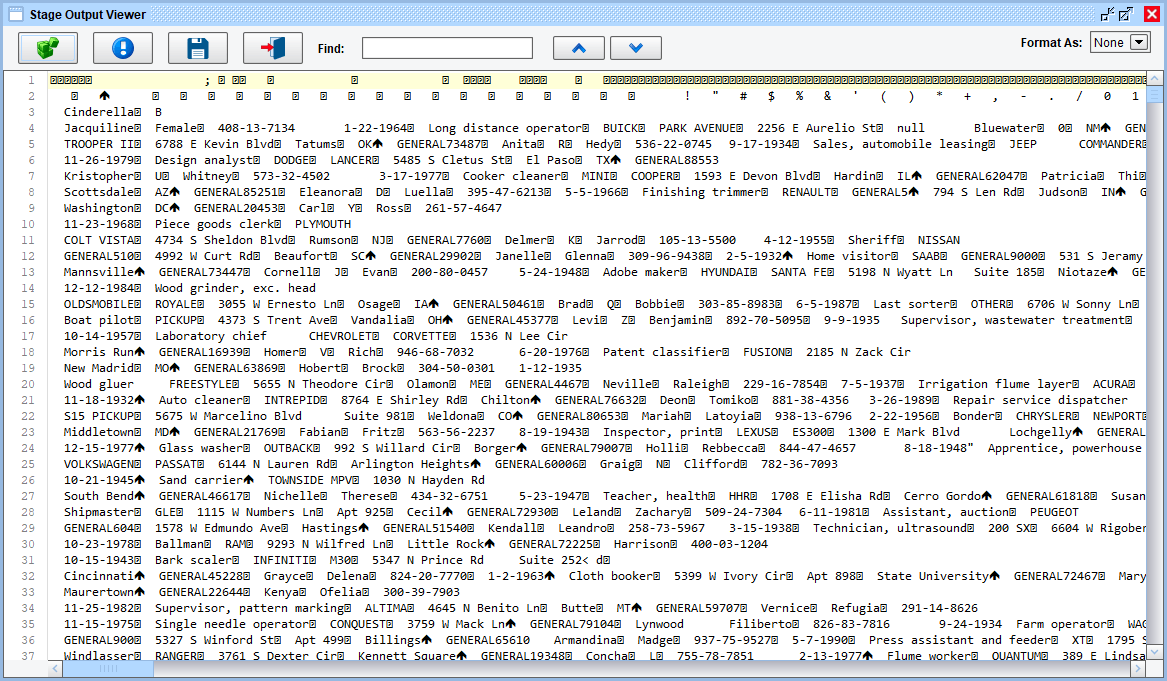
Finally, view the stage output at the Target Transform’s third stage:
We should see binary data again:
Finally, check your output directory and view the resulting Microsoft Excel file.
This concludes this tutorial.

