eiDashboard v.19R1
Setting Up Users & Privileges
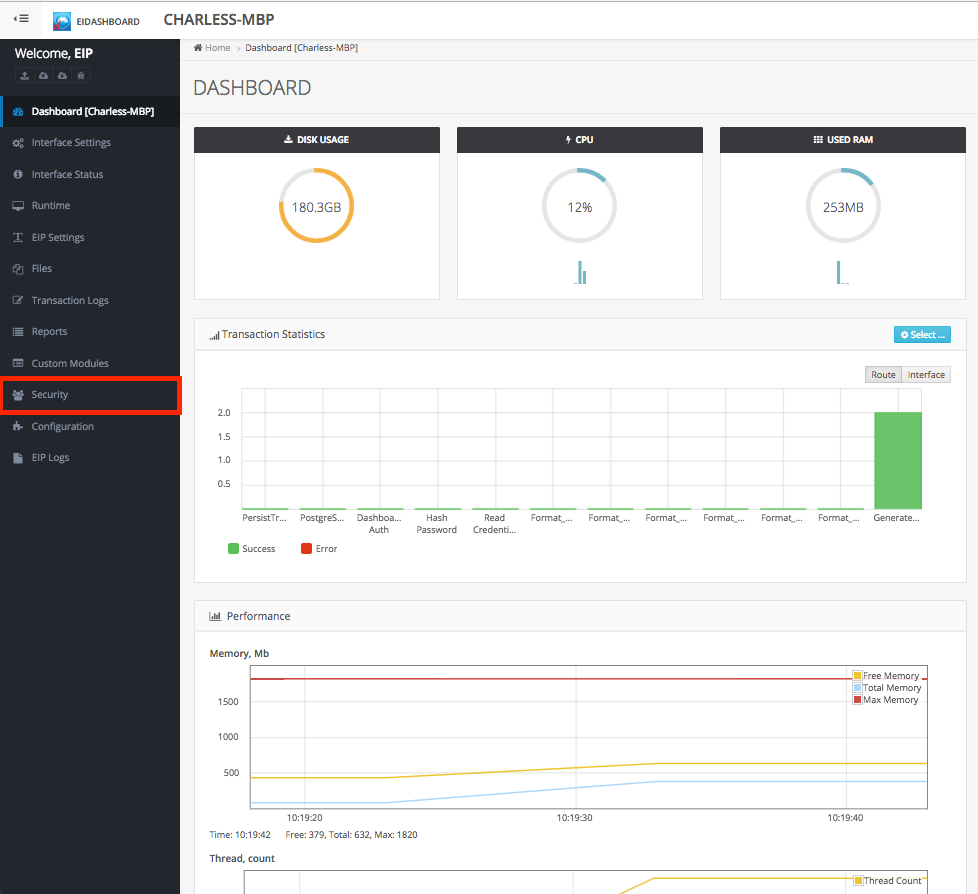
User and privilege administration is handled in the ‘Security’ tab of the eiDashboard. From here, administrators can create and edit users, define user and security groups and manage access privileges. For this tutorial, we will create a new eiDashboard user with full privileges, stepping through the entire user and access creation process. To start, select the ‘Security’ tab from the navigation menu.
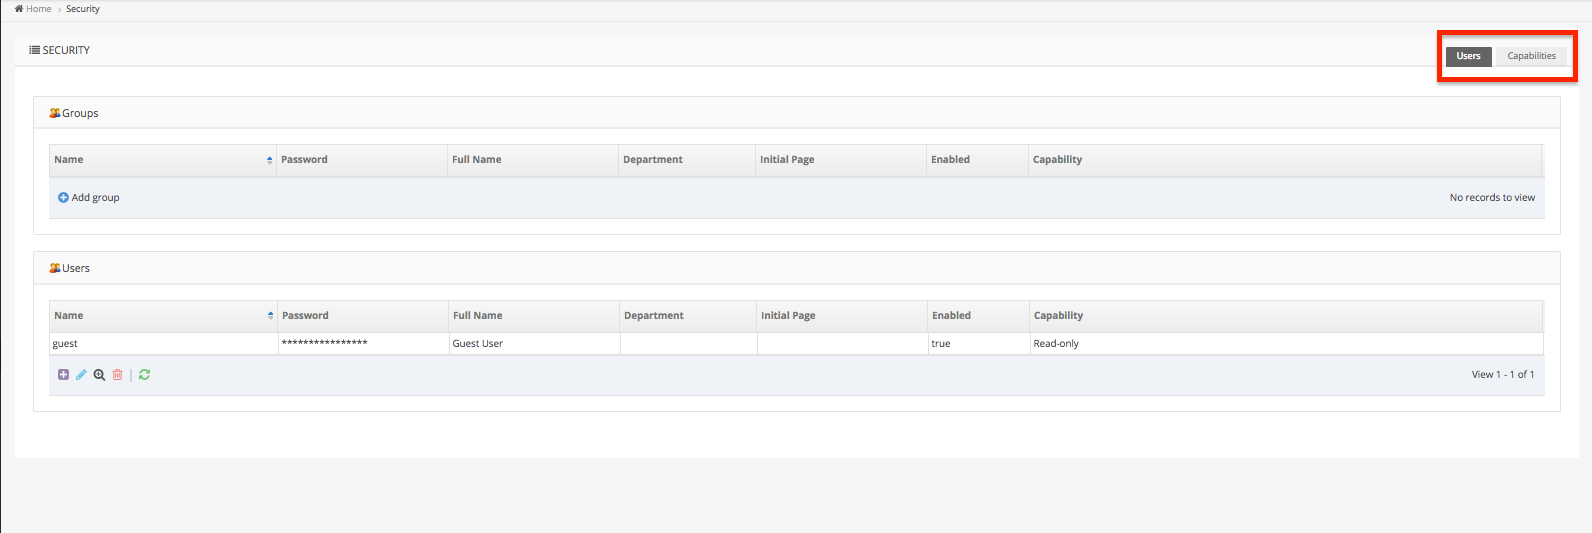
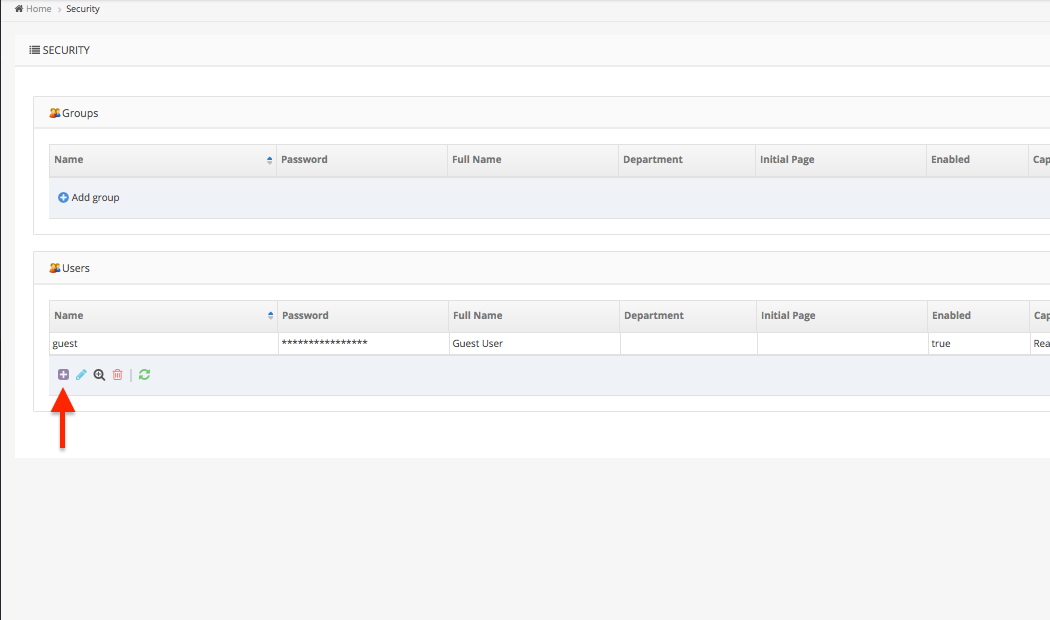
The Security page is divided into two sections: Users and Capabilities. We generate a guest user with limited read-only access by default, but it is recommended to add an eiDashboard Administrator user separate from the Super User. The high-level process involves creating a new security capability, defining its access levels and then assigning it to a new user during creation.
Making a New Capability
The first tab displayed when navigating to the Security page is for viewing, editing and creating users. User groups can also be created here, making it easy to configure complicated access schemes and apply them to multiple users at once. Since it is often easier to make the access capability before the user, navigate to the ‘Capabilities’ page using the tab highlighted below.
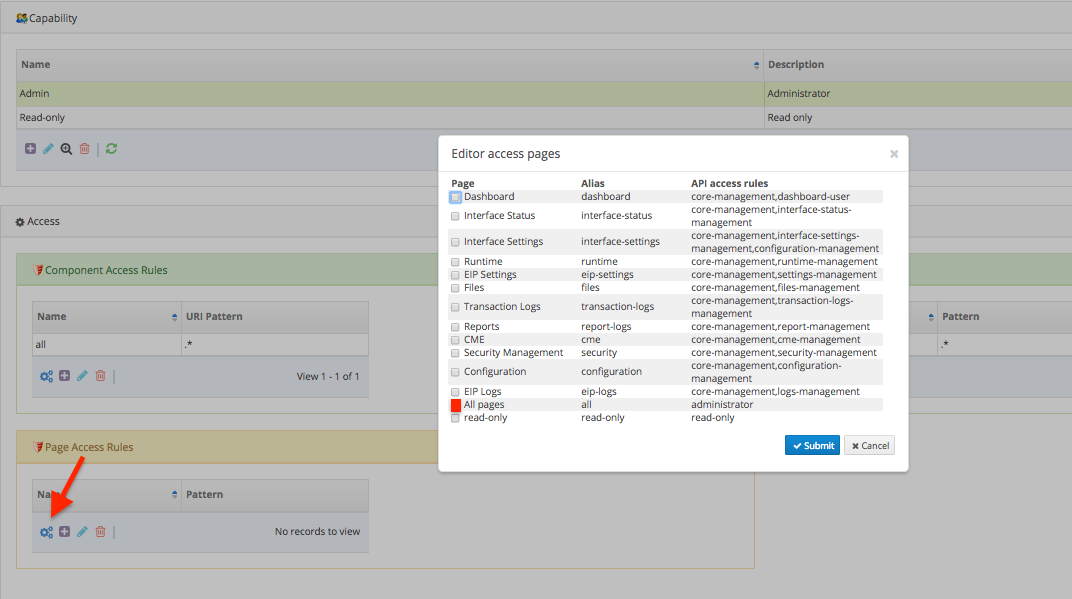
Access capabilities for a user are divided into three groups:
- Component Access Rules: The eiPlatform components (Routes, Interfaces, etc.) that this user is allowed to interact with.
- API Access Rules: The API endpoints and methods that this user is able to invoke.
- Page Access Rules: The eiDashboard pages this user is allowed to visit.
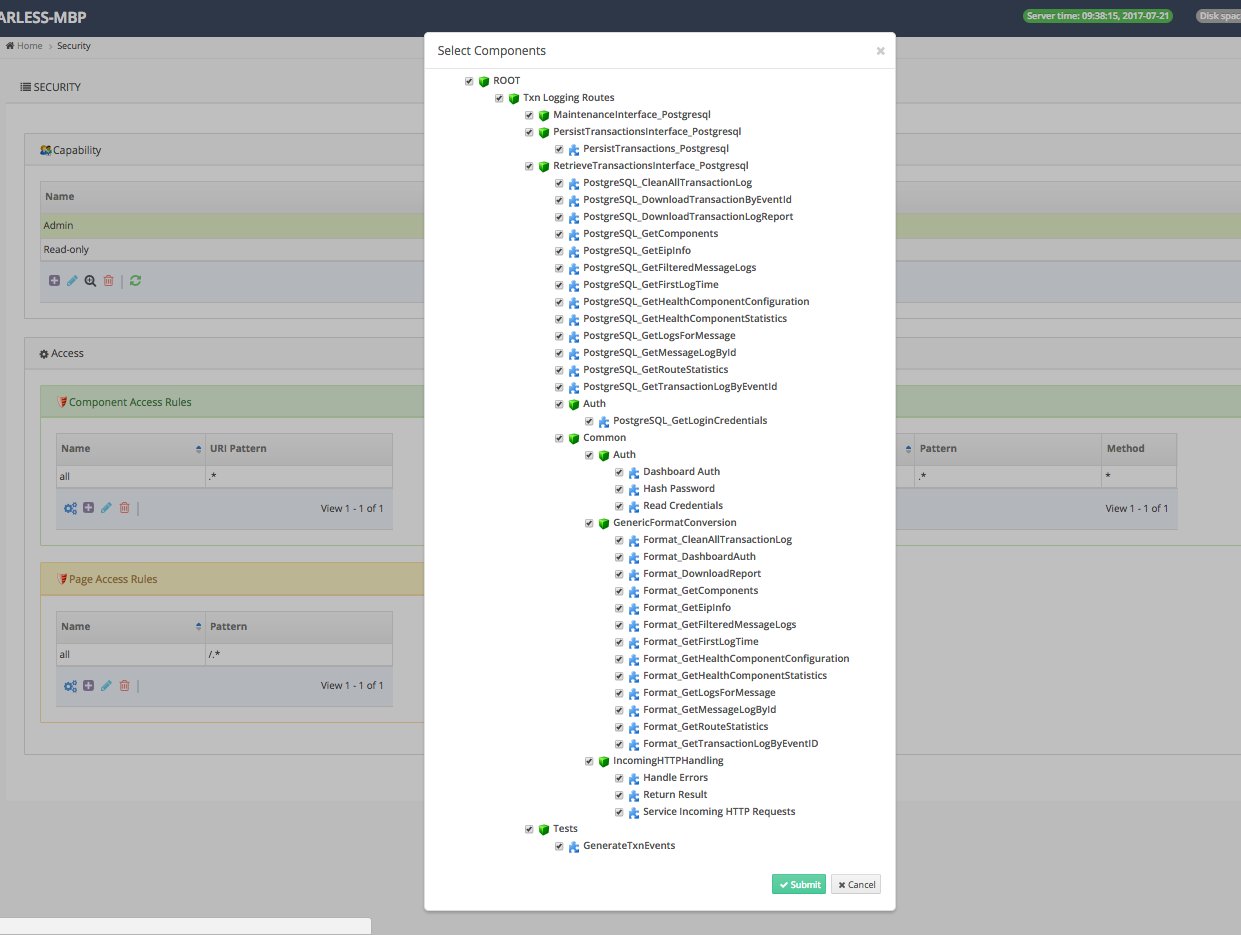
Since we’re making an Administrator user with full access privileges, this process will be fairly simple. We’ll start by adding selecting the ‘+’ icon in the ‘Capability’ table to create a new capability. Name it ‘Admin’ with the description ‘Administrator’.

After selecting ‘Submit’, we’ll see our newly created access capability with no set access rules. Editing each access piece is done by selecting the gear icon on that table. Since each new capability is set with full component access by default, we’ll only have to edit the API and Page Access rules, but clicking the gear icon in the Component Access table will display all available components in the eiPlatform’s Working Directory.
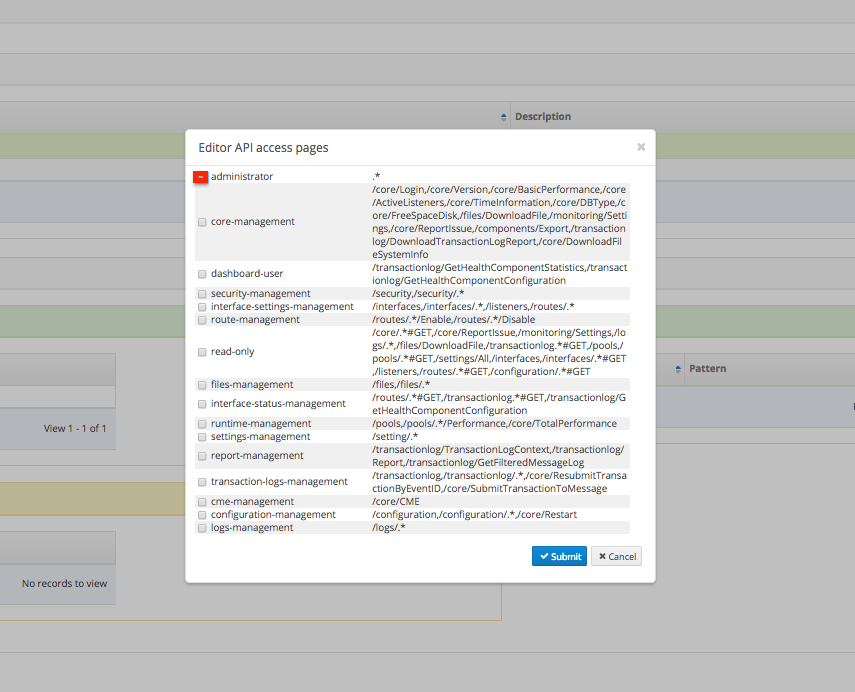
Next, click the gear icon under the API Access Rules table to view the available endpoints, grouped by general purpose. We’ll select the ‘administrator’ checkbox, giving our admin user full API access.
Selecting the ‘Page Access Rules’ gear next displays a list of the available eiDashboard pages and gives the ability to restrict access to certain pages if desired. Selecting the ‘read-only’ option gives access to all pages but with limited interaction capabilities, which is useful for users that may want to be able to view certain metrics but have no need to edit anything. We’ll select the ‘All pages’ option for our Admin user.
Making a New User
Now that all our Access Rules are defined, we can create our user and assign him the privileges we just made. Navigate back to the ‘Users’ page and select the ‘+’ icon on the Users table.
In the display that appears, fill in the necessary information – making sure to select the ‘Admin’ capability in the Capability list.
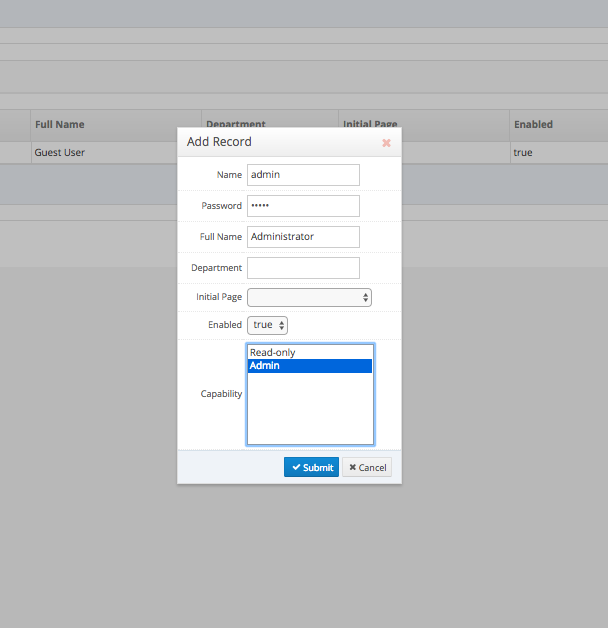
The ‘Initial Page’ option can be used to select the first page the user will see when logging in. If left blank, it will default to the main eiDashboard front page.
After hitting ‘Submit’, we’ll see our new Admin user – complete with privileges and their own login credentials added to the Users table.
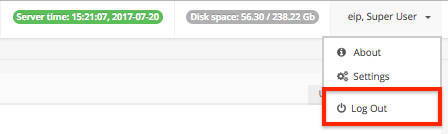
Let’s test out our new user! Click on your username in the top-right of the page and select ‘Log Out’ from the drop-down.
After redirecting to the main Login page, use the credentials made in the previous step to login with the new Admin user.

Success!