eiConsole v.18R2
Tutorial
Using the EDI Transformation Module
In this brief tutorial, we’ll cover configuring and using the EDI Transformation Module to convert EDI X12 837 and similarly formatted documents to and from XML.
You’ll will need to download the Sample EDI file in order to complete this tutorial.
Click this link if you require instructions on how to import an .eipb file.
Creating a New Route
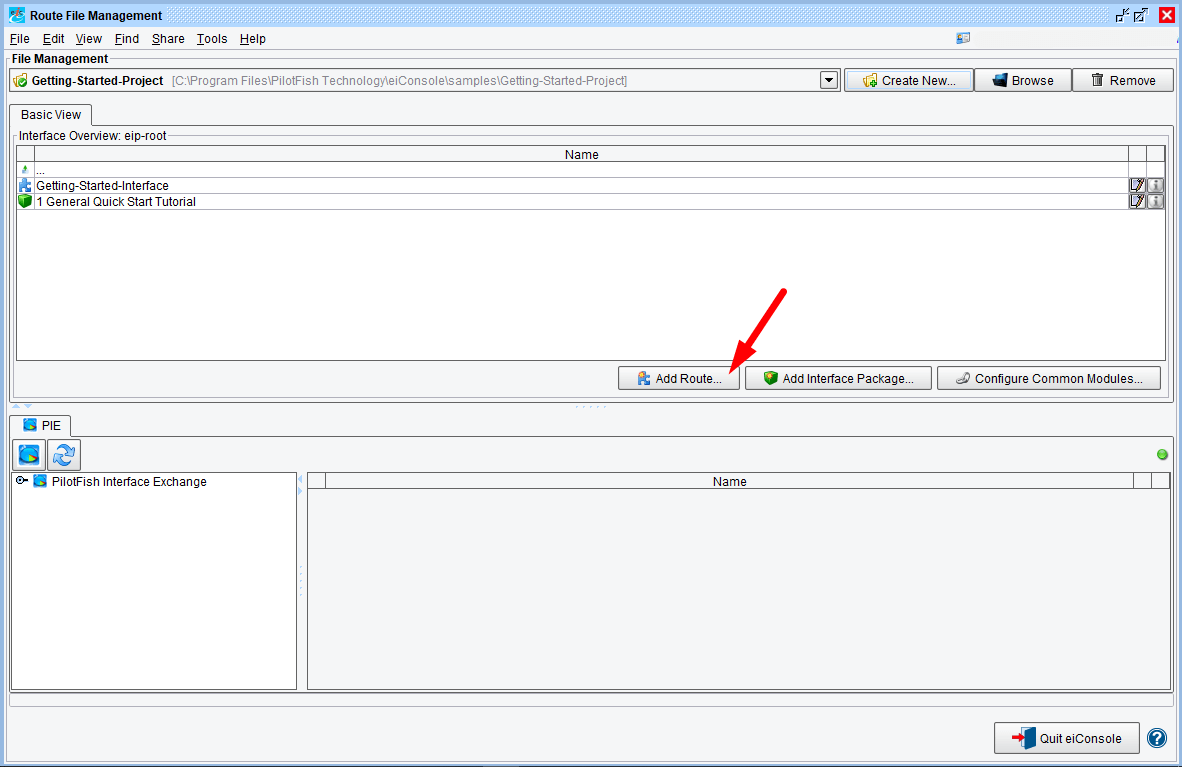
We’ll begin by creating a new Route to configure for our transformation. Click the Add Route button, indicated above.
Naming the Route
Opening the Route
Open the newly created Route for editing.
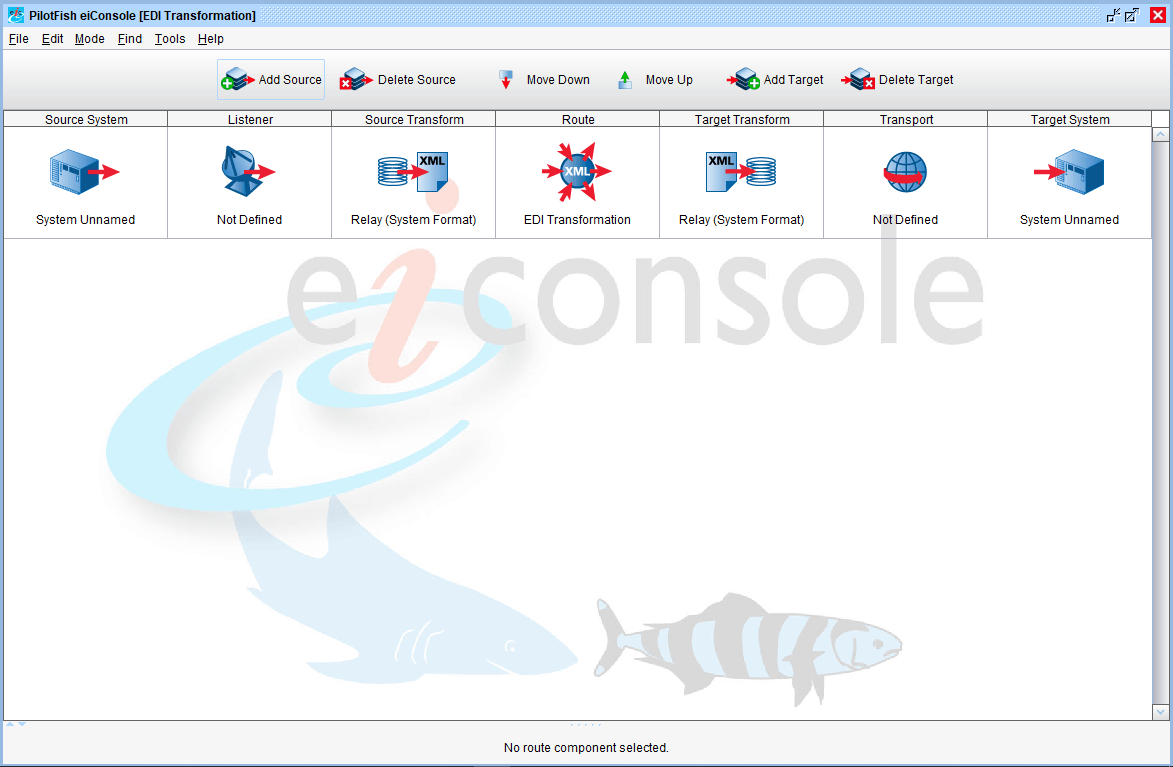
With the Route opened you should see the main eiConsole screen.
Configuring the Source
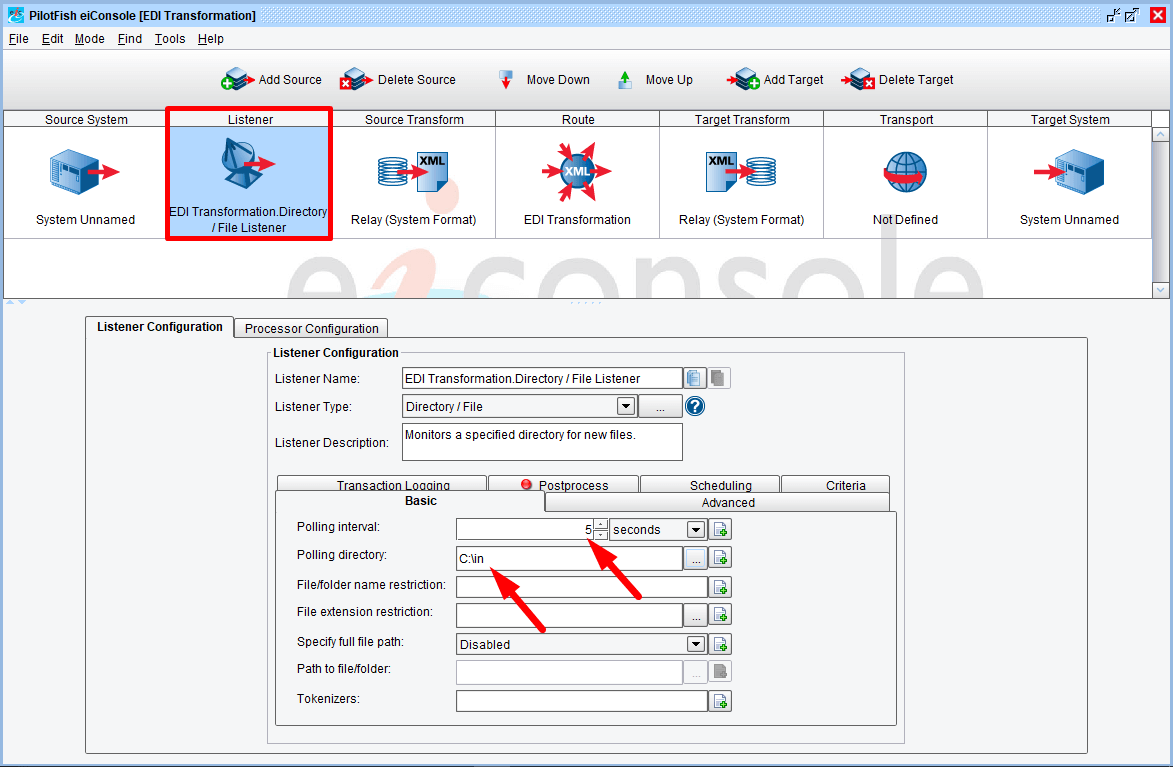
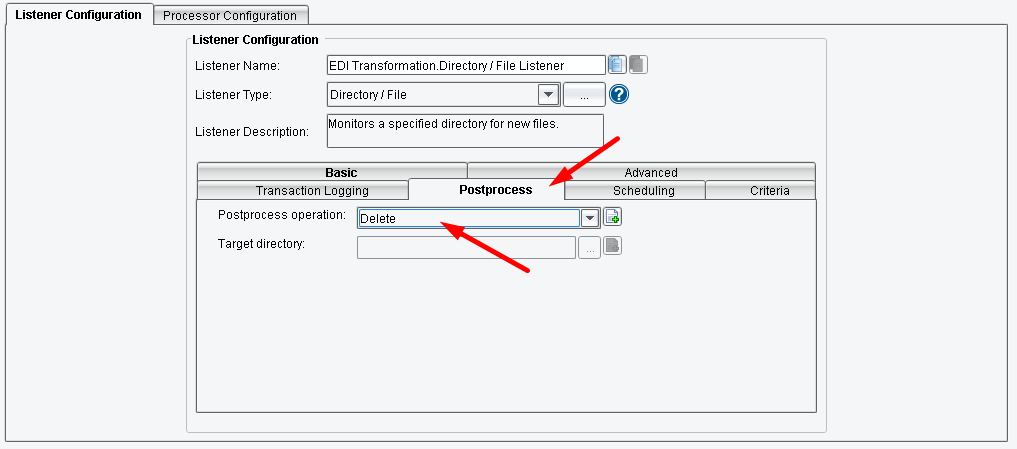
Select the Listener stage, then select the Directory / File option from the Listener Type drop-down. You’ll then provide values for Polling Directory (here we’ve chosen C:\in), which is the location from which we’ll be searching for EDI files, and for Polling Interval, which is how often the directory is checked for new files.
Configuring the Target
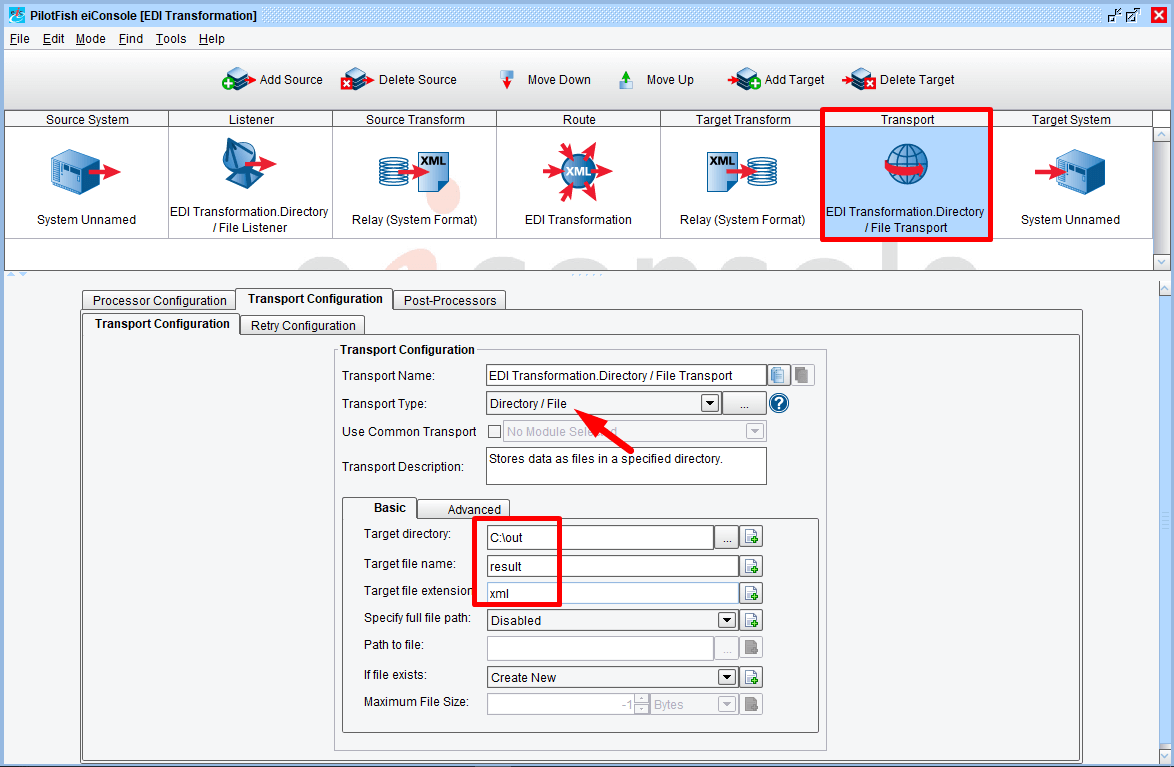
Next we’ll need to configure a Target to send the transformed data to. Select the Transport stage, then Directory / File from the Transport Type drop-down. You’ll need to configure Target Directory, which is where the transformed result files will be placed, Target File Name, which is the file name (minus extension) of the resulting file, and optionally Target File Extension, which is the extension for the created file.
Adding a Source Transform Format
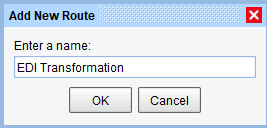
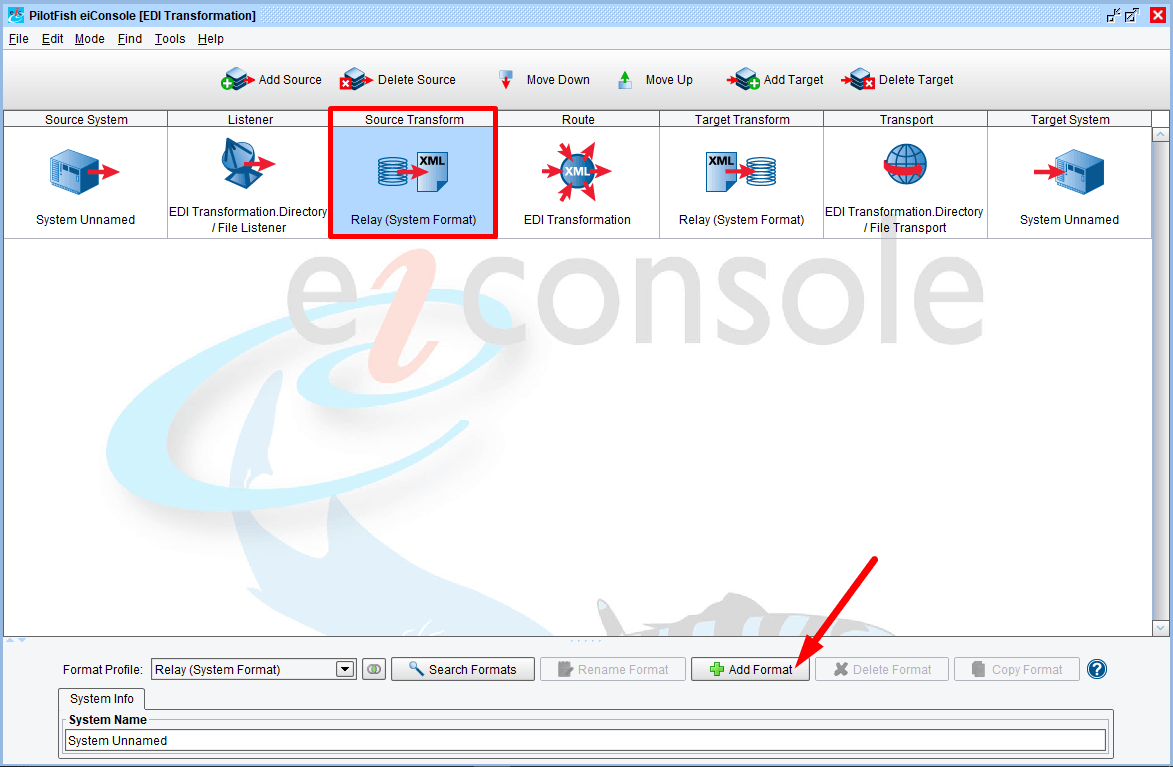
To configure our transformation, we’ll first need to add a new Format to the Source Transform stage. Click on the stage, then on the Add Format button. You’ll then be asked to provide a name for the Format; for this tutorial, we’ll simply use EDI Transformation.
With the new Format added, you should see the Source Transformation screen now showing configuration panels for both a Transformation Module and for XSLT. In the Transformation Module drop-down, select the EDI transformation module. This is the component that facilitates transformations between EDI and XML formats. There are several important configuration items here:
- Use X12 Table Data for Enhanced Functionality: This feature enables the enhanced functionalities of the EDI Transformer for those who have access to the X12 EDI Table Data and schemas. These enhanced functionalities include HIPAA implementation-specific loop naming, friendly element naming, and supported SNIP validations.
- X12 Table Data Directory: When using Enhanced Context Mode, the directory of the X12 Table Data for the transaction set (820, 834, etc.) to be processed should be selected here.
- Add Code Definitions: This option adds human-readable definition attributes to any elements that contain coded values.
- Friendly Naming: Adds human-readable names for all loop, segments, and elements. Can be configured to either add to XML element names themselves or populated as attributes.
- Compatibility Tab: This tab gives options related to backwards-compatibility, including the ability to generate a pre-18R1 XML representation. This option is only recommended for users with legacy transformations.
- SNIP Validations Tab: This tab allows users to validate incoming EDI messages using SNIP validation guidelines. Note: The EDI Transformer currently supports SNIP types 1-3.
Switching to Test Mode
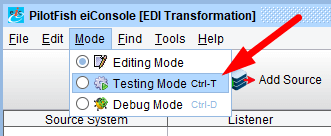
Now that our Route is fully configured we’ll want to test it. Go to the Mode menu and select the Testing Mode item.
Configuring the Test
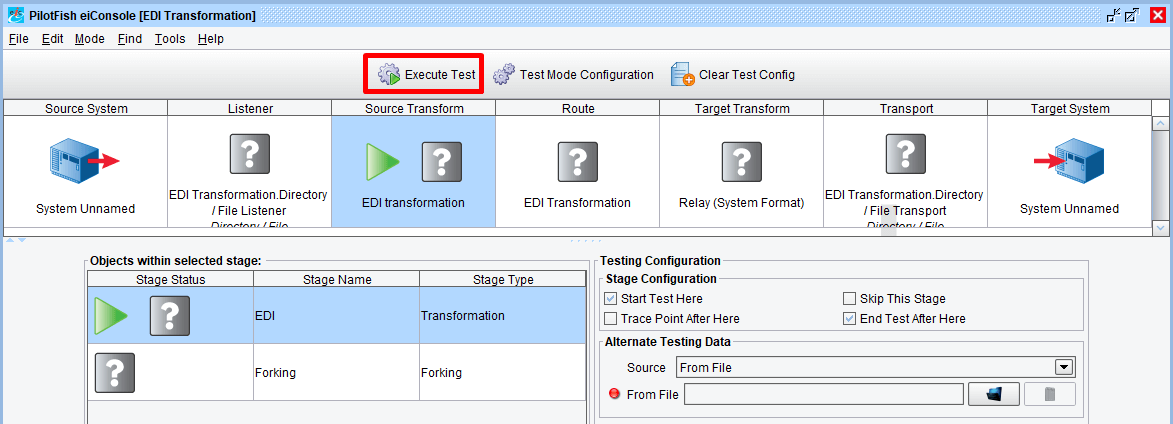
Once in Testing Mode, select the Source Transform stage, then click the Start Test Here and End Test After Here options. This will limit our test only to the selected EDI transformation stage. Select the From File for Alternate Testing Data.
Executing the Test
Next, click Execute Test. You’ll be asked to provide an input file representing the EDI input file to test against. Select a provided sample file or a file you have handy, then hit OK.
Reviewing the Results
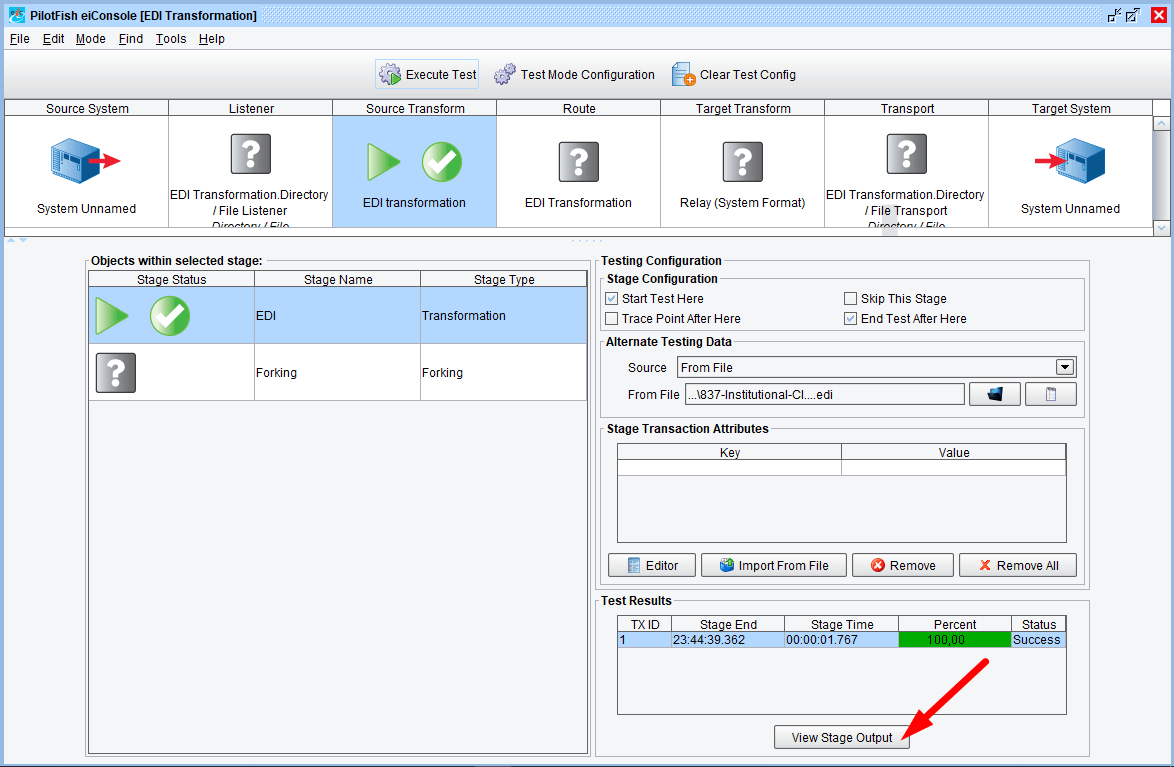
After the test completes, you should see a green checkmark for a success. You can then click the View Stage Output button to see the results of the transformation.
The XML Results
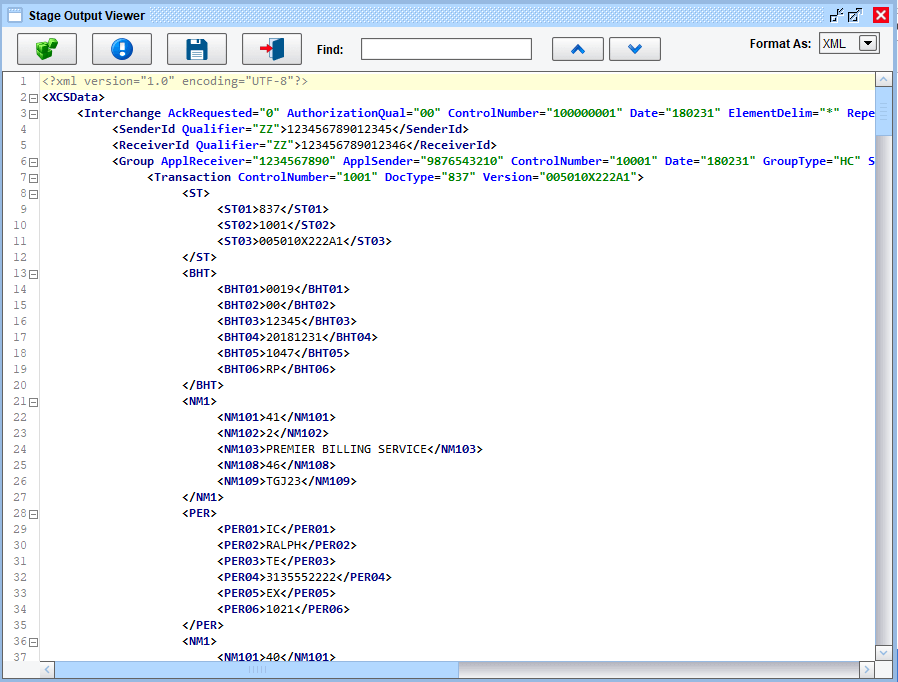
The Stage Output Viewer should now show you the XML results of your EDI transformation. As the Route is currently configured these XML results will be delivered to the directory you specified in the Transport stage. You can also use this XML in the Data Mapper (see related tutorials) to transform this format to another, such as to another XML format, to Microsoft Excel worksheets, or even to do insertions into databases.

