eiConsole v.25R1
Tutorial & Interface
eiConsole – Data Mapping & Transformation
Transformation Using Transaction Attributes
Note: The Quick Start, Foundation, and Topology tutorials should be completed before proceeding with the Data Mapping & Transformation Tutorials.
Overview
This interface demonstrates how to utilize Transaction Attributes when transforming documents in the eiConsole using the filename of the incoming file. Transaction attribute-based transformation may be used when 1) Data has been stored to a transaction attribute that needs to be utilized in the transformation. 2) Data must be written from a transformation into a transaction attribute.
The tutorial demonstrates how to utilize transaction attributes in data transformation; this is useful for getting metadata from Listeners, such as when you need to know the filename of a file that was picked up. It can also be used to store information that cannot be stored in the current transaction data or to handle things such as images.
Before You Begin
Download the Transformation-Using-Transaction-Attributes-Working-Directory.zip file with the sample Working Directory and unzip it on your computer to a convenient place. In our case, it’s c:\Users\{USER _NAME}\PilotFish eiConsole Working Directories\Transformation Using Transaction Attributes where {USER_NAME} is the user’s name.
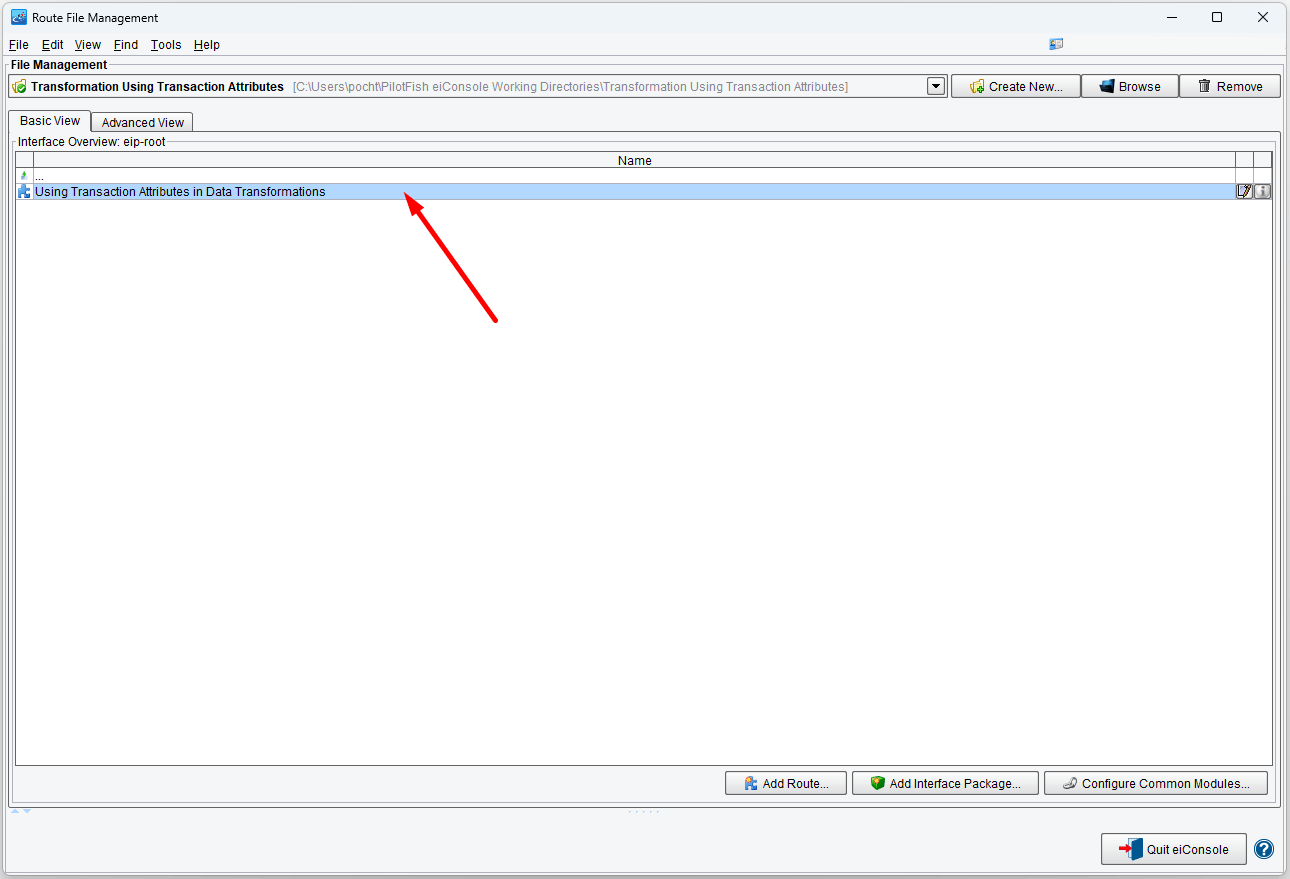
Open the eiConsole, browse to your Transformation Using Transaction Attributes directory, and open it. The fully configured Using Transaction Attributes in Data Transformations route is included in the Working Directory. Your Route File Management screen will open, as shown below.
Next, follow the tutorial and walk through it step-by-step. You may check your work against the provided Route (Sample Data).
Double-click on the Using Transaction Attributes in Data Transformations.
Now you can see your route.
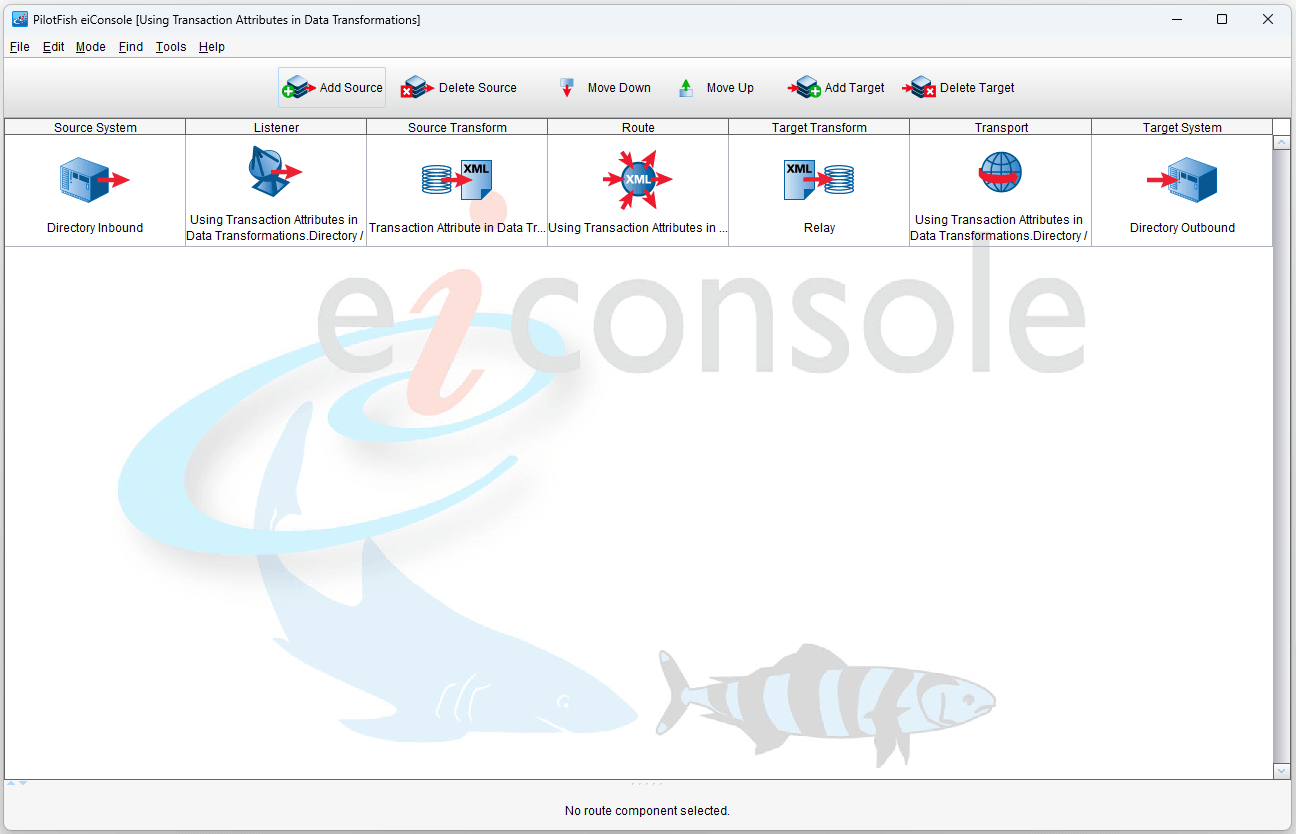
This Interface has three functioning pieces: the Listener, the Source Transform, and the Transport.
Listener Configuration
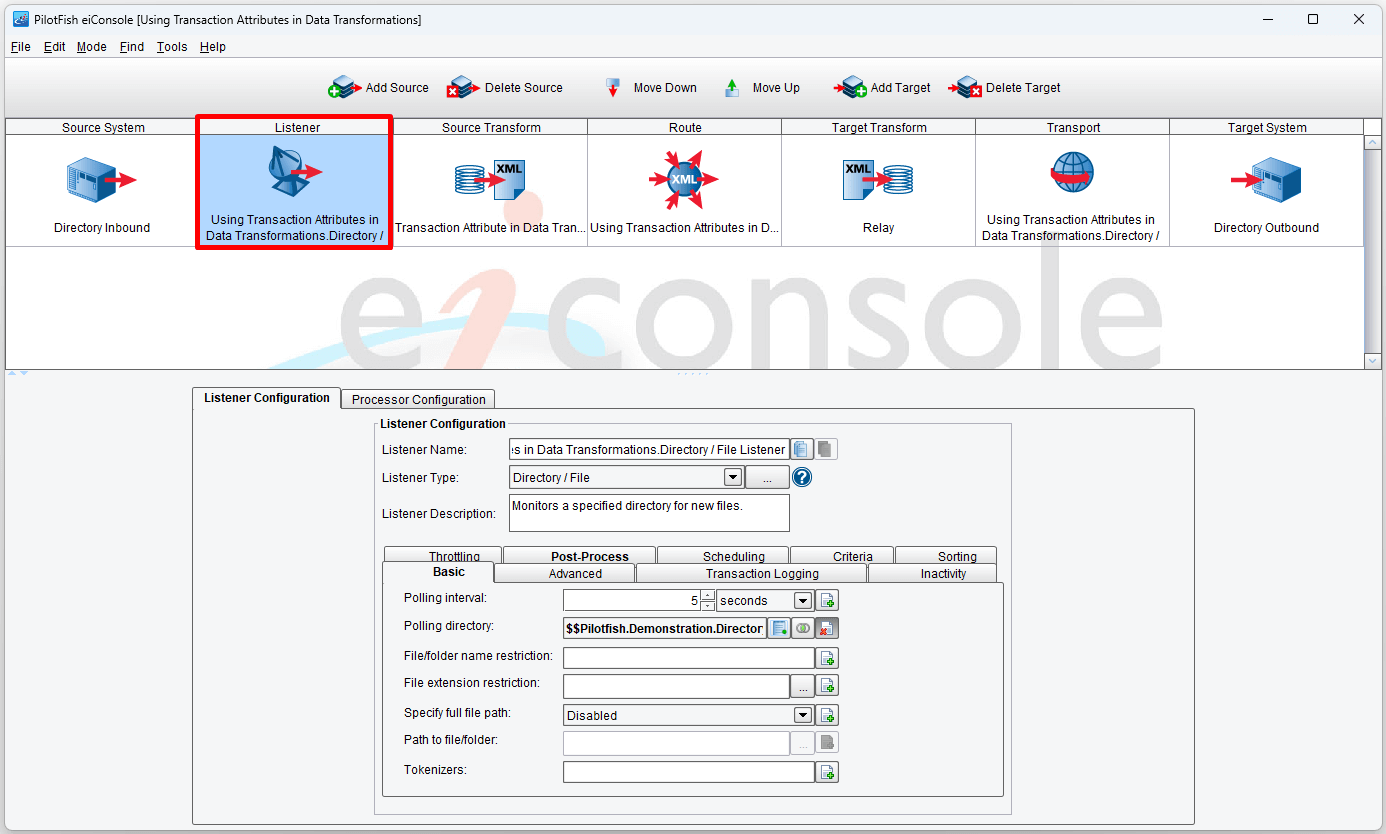
The Listener polls a directory set by a configuration value stored in the environment properties file (included with this Interface) every five seconds. The sample file (Sample2.xml) intended to be used with this interface is provided in the c:\Users\{USER _NAME}\PilotFish eiConsole Working Directories\Transformation Using Transaction Attributes\data directory.
Source Transformation
Go to the Source Transform stage and click the Advanced tab on the right side of the bottom panel.
Notice the name and value parameters:
Name: FileName
Value: {ognl:getAttribute(‘com.pilotfish.FileName’)}
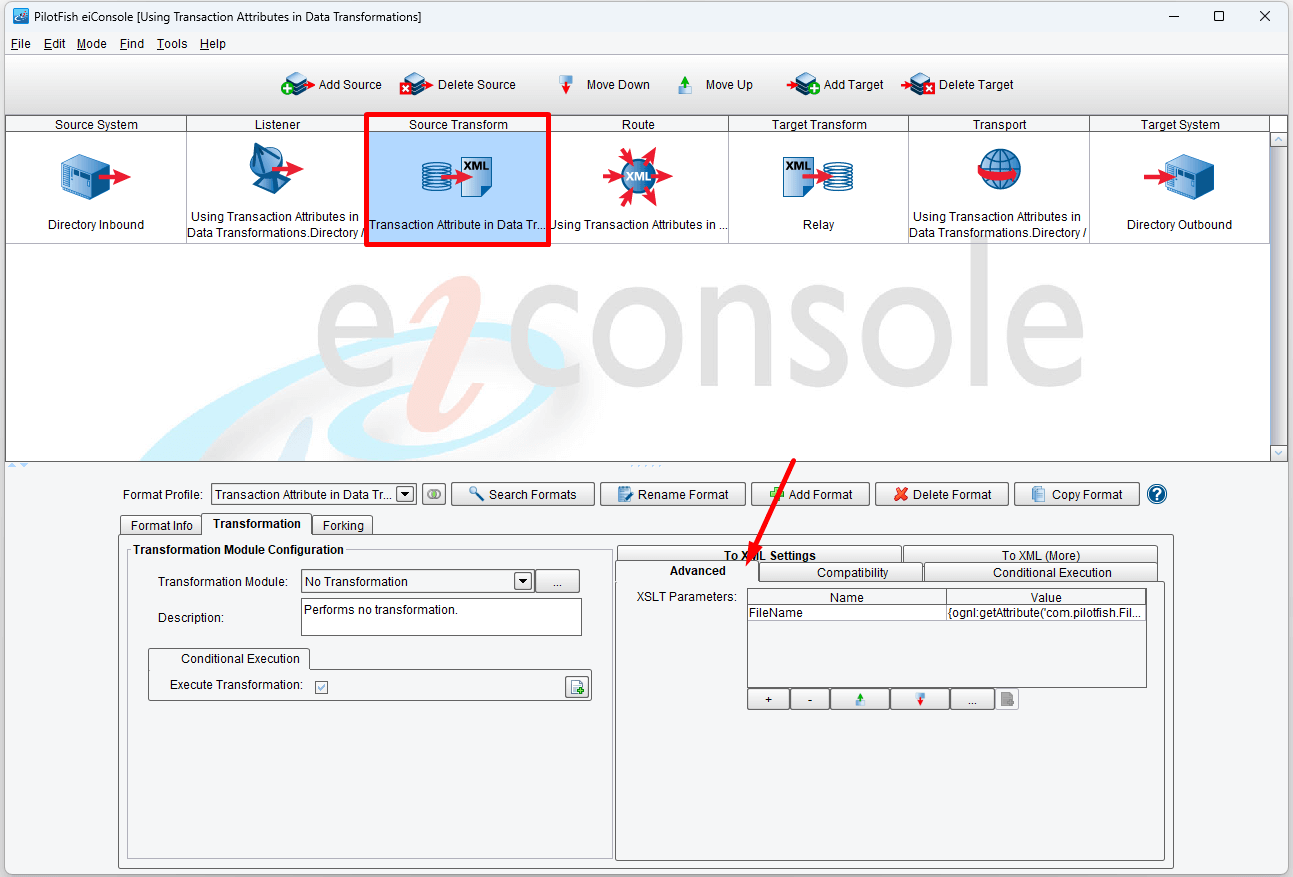
Click Edit on the bottom right panel using the tab To XML Settings.
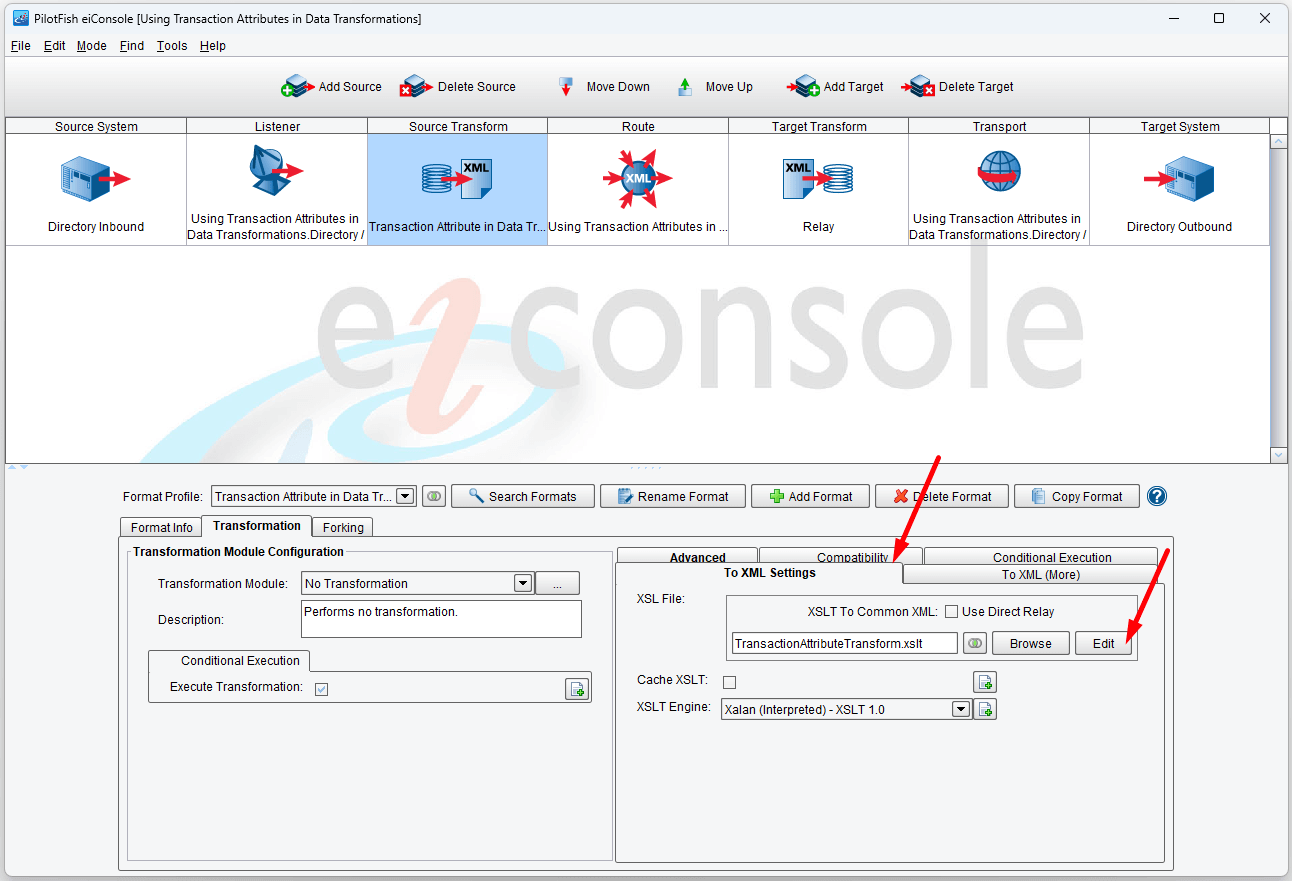
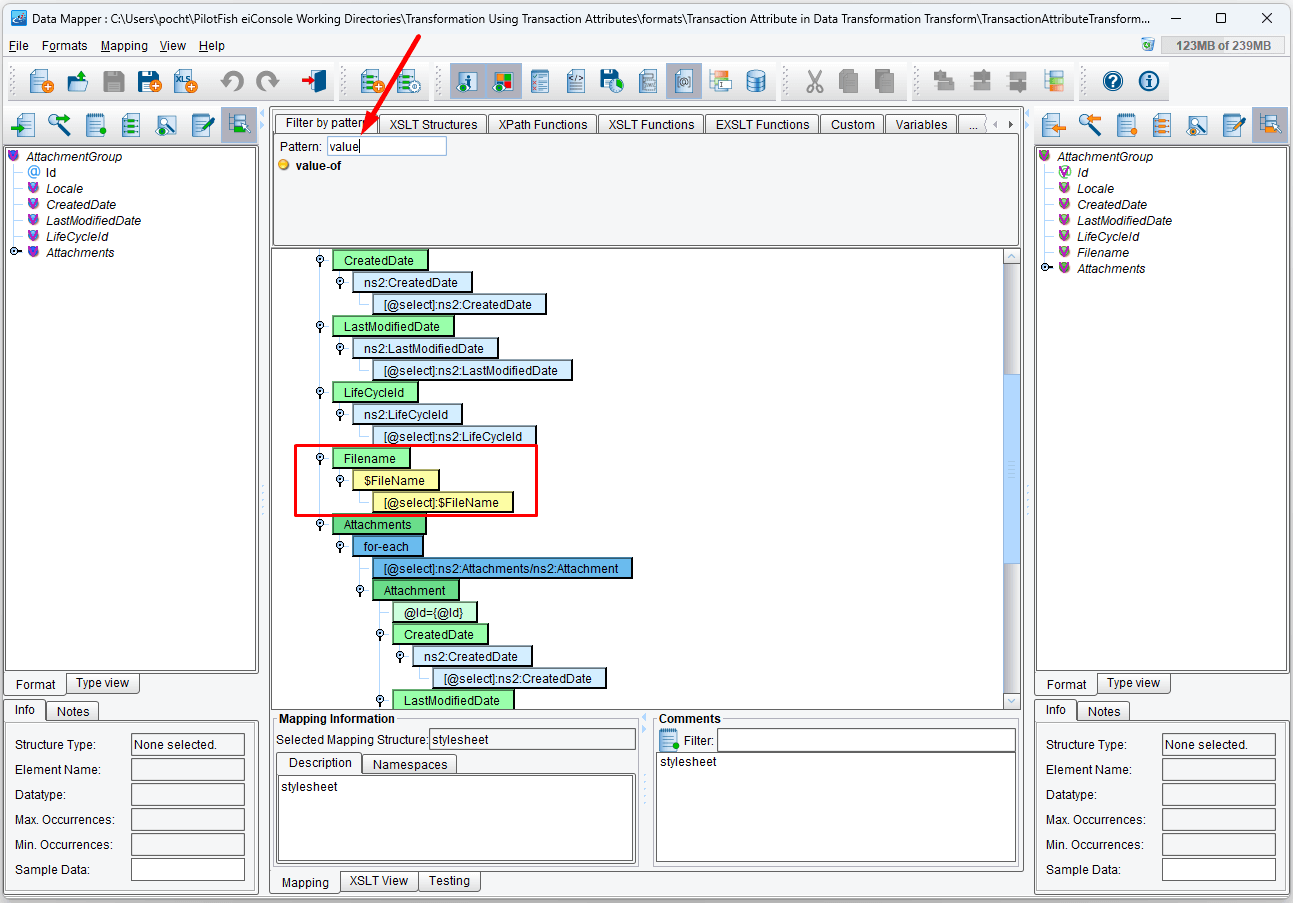
The Data Mapper comes up.
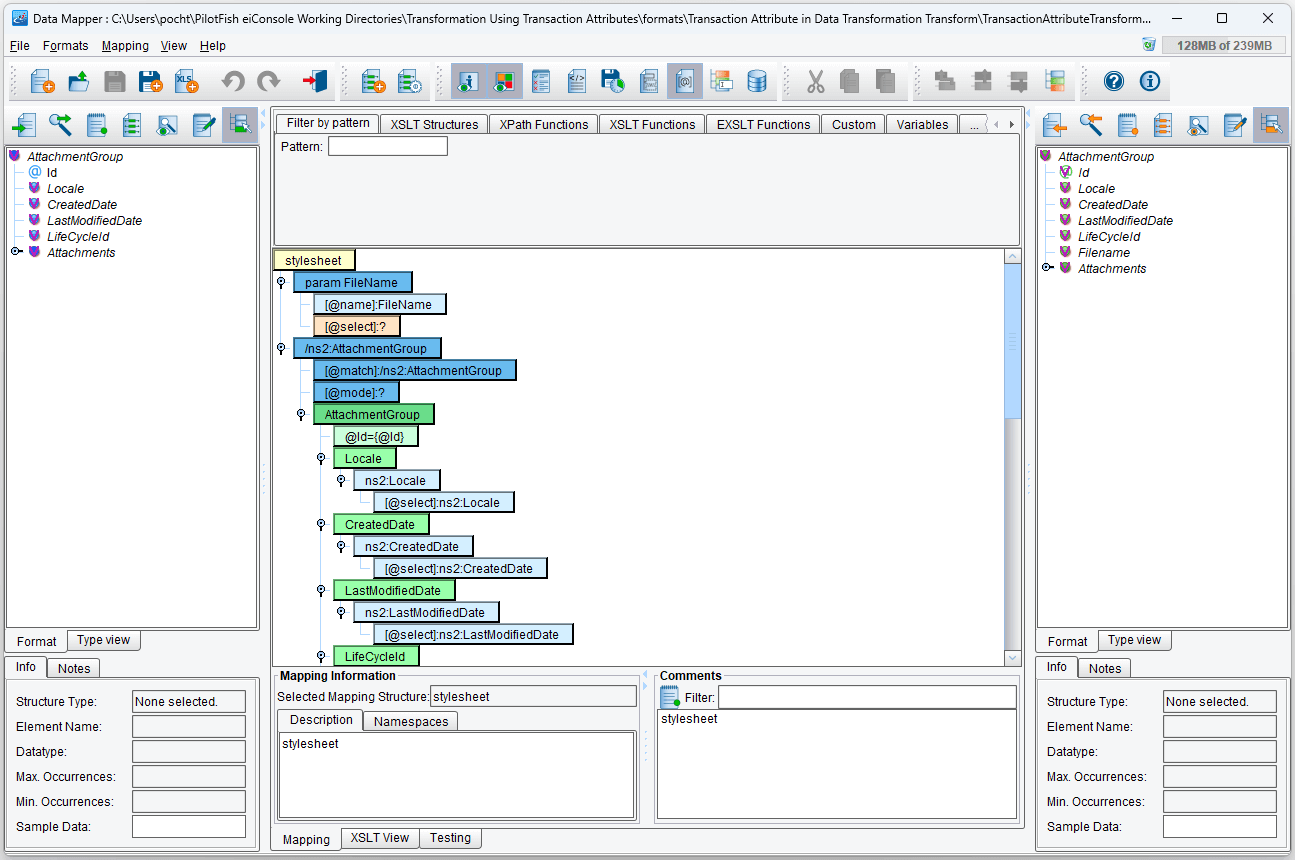
To make the parameter available to the mapping, navigate to the Filter by pattern tab in your Data Mapper palette, and type in param. After dragging & dropping it to the stylesheet Node, type FileName after the @name and it automatically generates the XSLT necessary to read the parameter in your XSLT.
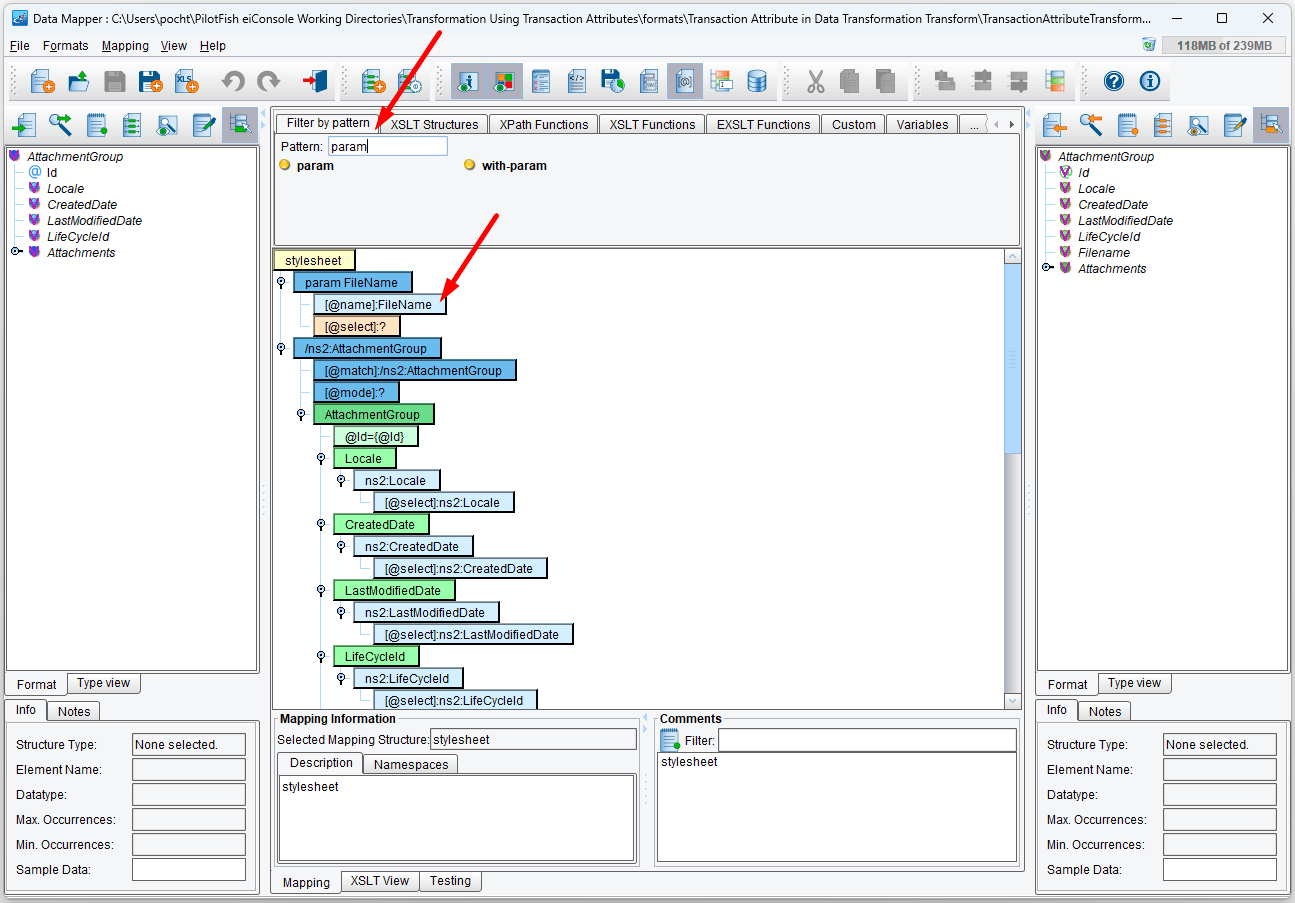
To use the parameter, navigate to the Filter by pattern tab in your Data Mapper’s palette and type in value. After dragging & dropping the value-of to the desired FileName node, type $FileName after the @select to reference the parameter specified above.
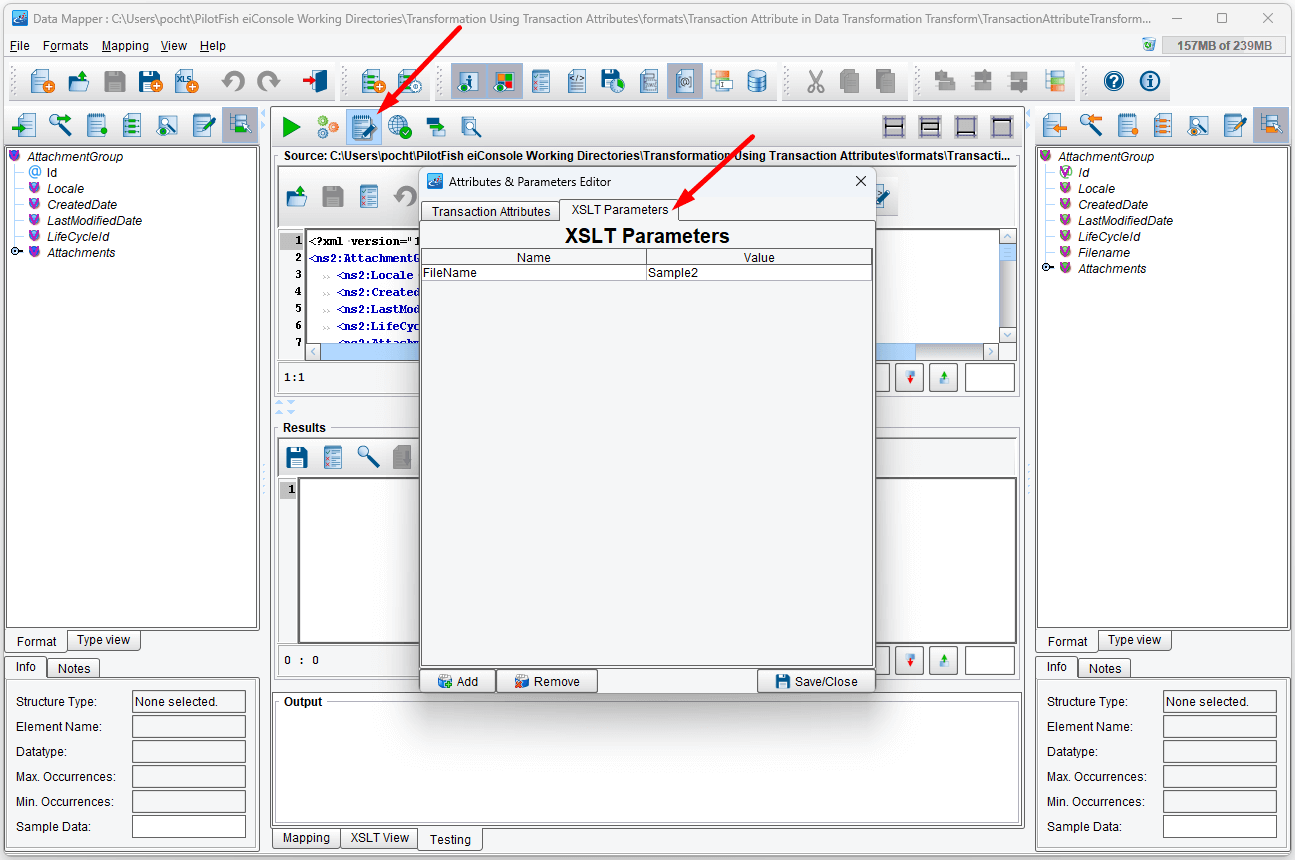
You can test this directly in your XSLT; go to the Testing tab, and on the testing toolbar, you will see an icon of a pencil and notepad. Clicking this icon will bring up an attribute editor; this data will be given directly to the Transformer when this test is executed. Enter the Name FileName and the Value Sample2 and press enter. Make sure you are on the XSLT Parameters tab.
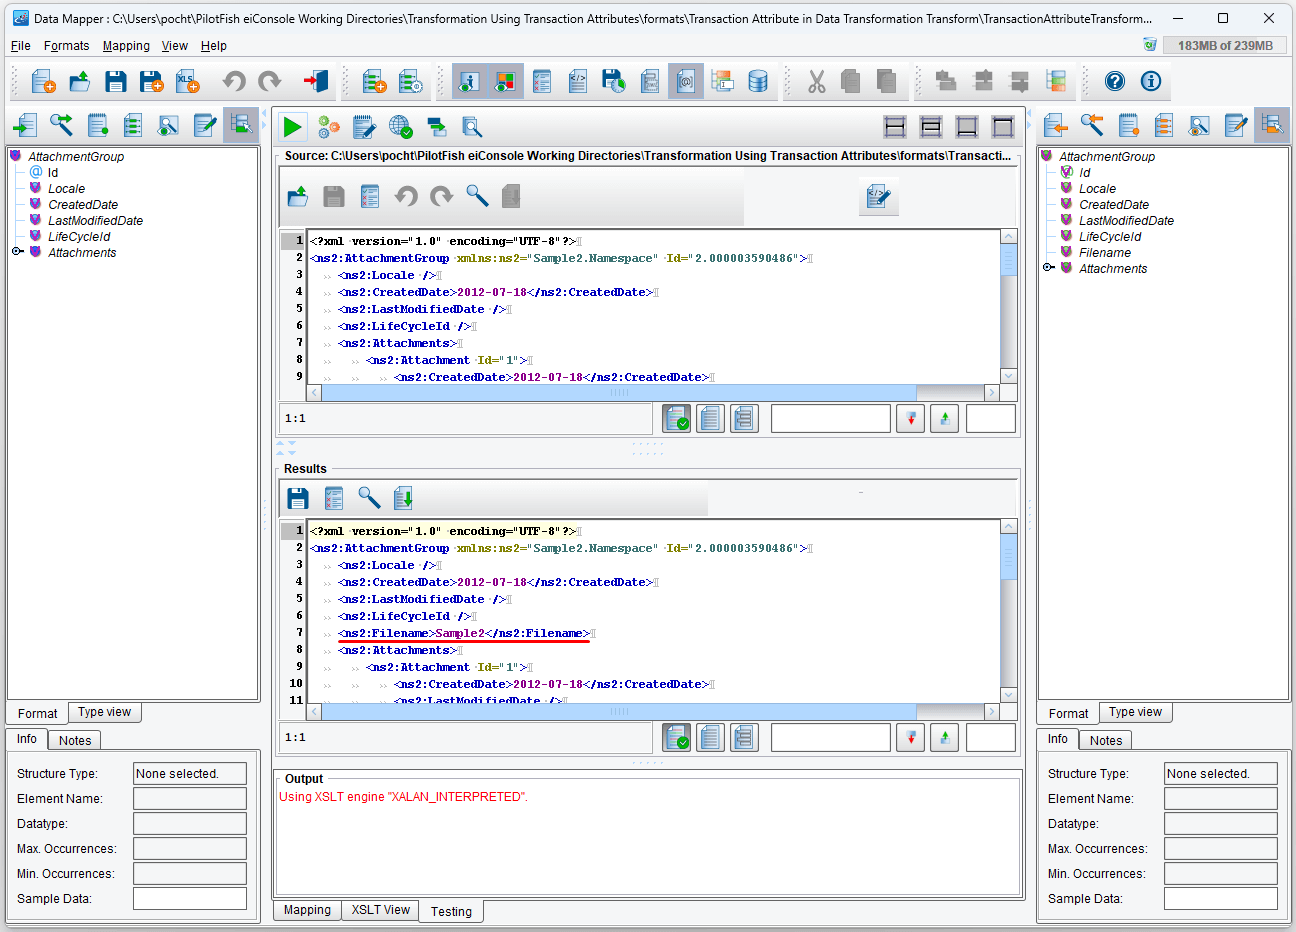
The new element will appear in the results window:
Save the changes and close the data mapper.
Transport Configuration
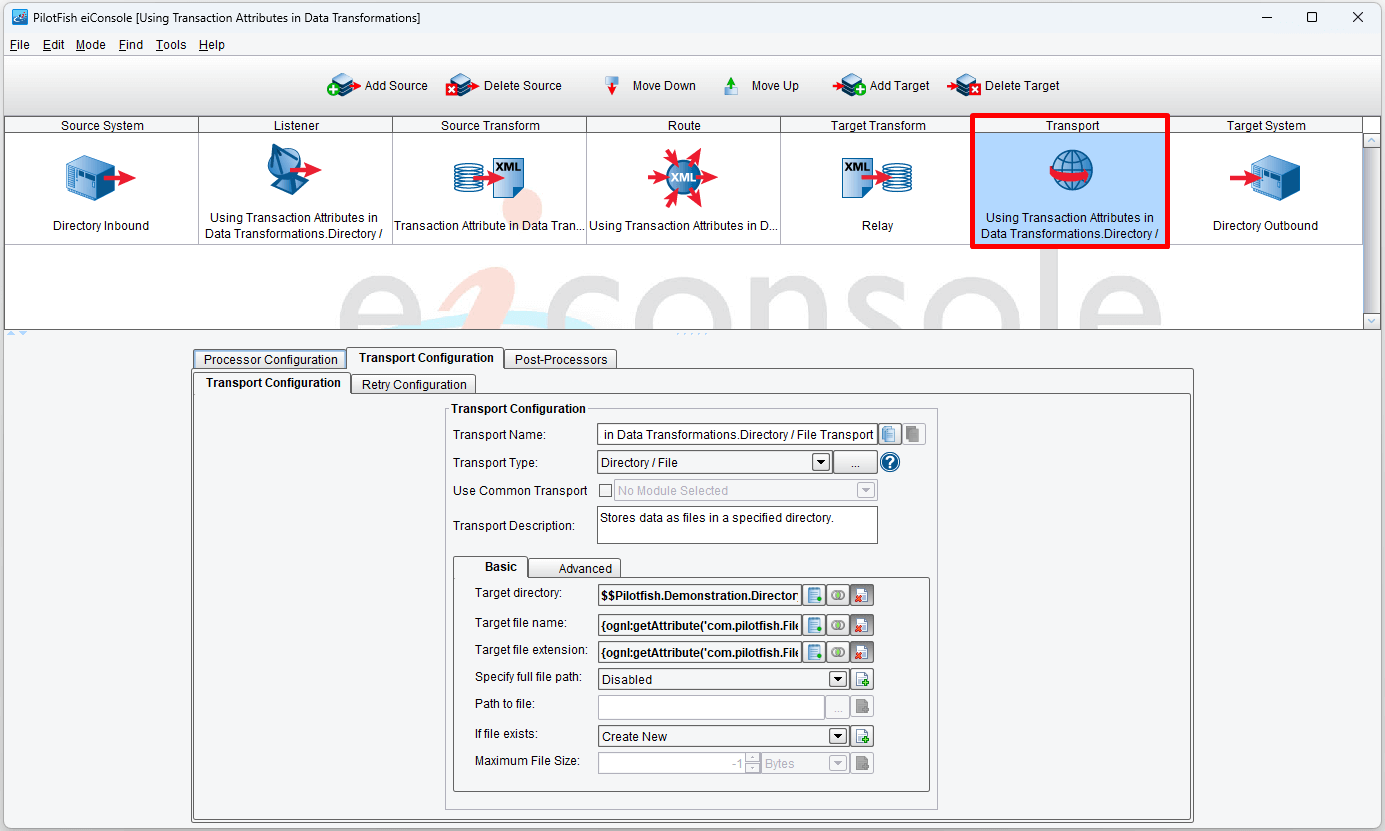
We use the original file name and extension for the output of this transport, information produced by the directory listener as a transaction attribute; note that because we have three incoming Transactions that will share this information, the output file name will, subsequent to the first file output, have a number appended to the end.
Testing the Interface
Click on Testing Mode.
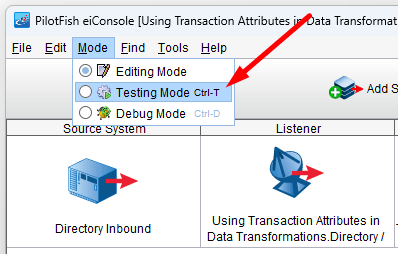
Click on the Execute Test and copy the Sample2.xml file to the polling directory. The sample file can be found in c:\Users\{USER _NAME}\PilotFish eiConsole Working Directories\Transformation Using Transaction Attributes\data.
The polling directory is c:\Users\{USER _NAME}\PilotFish eiConsole Working Directories\Transformation Using Transaction Attributes\interfaces\Transaction Attribute Based Transformation\in
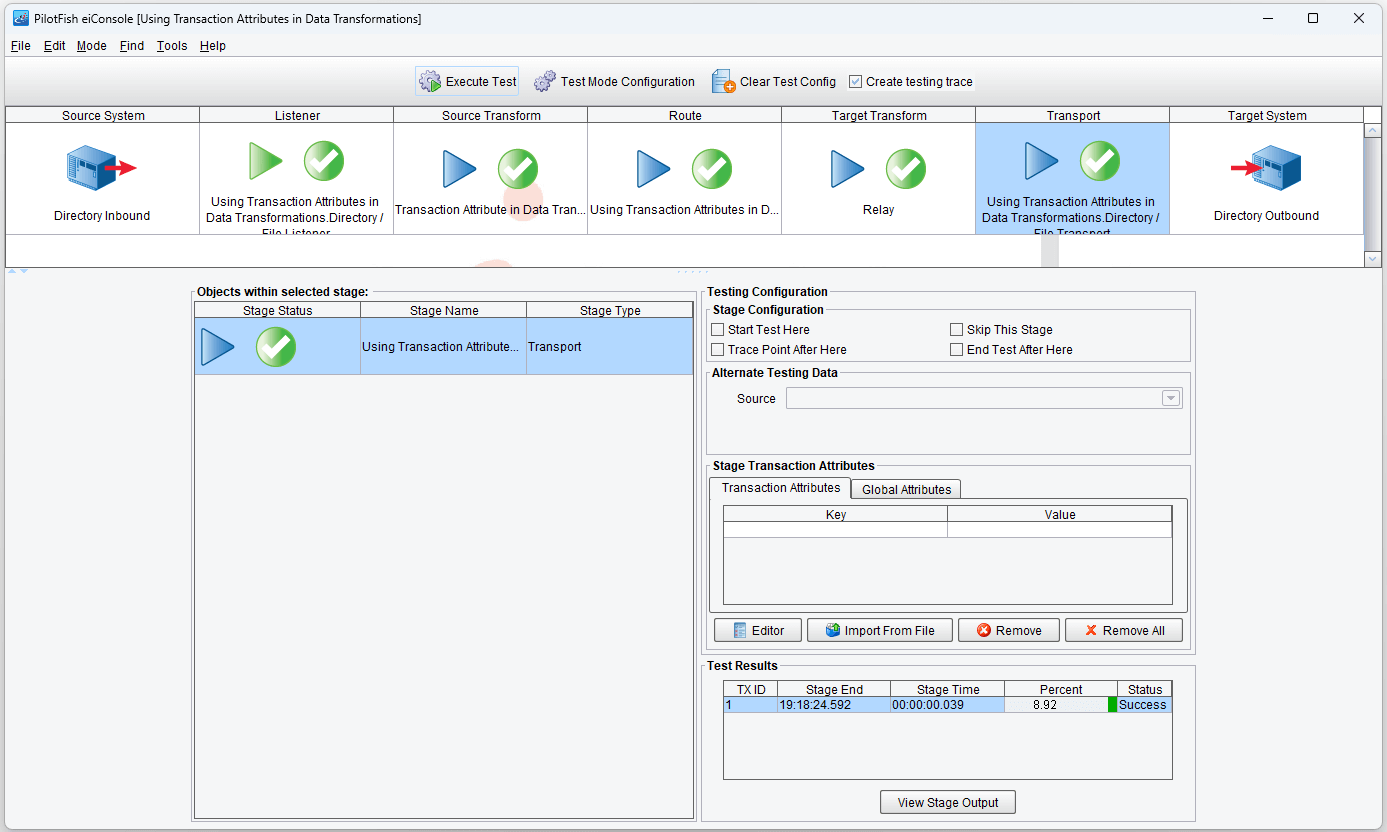
Since our sample file is Sample2.xml, the new Node in the newly created file will contain its name – Sample2, and be put in the output directory.
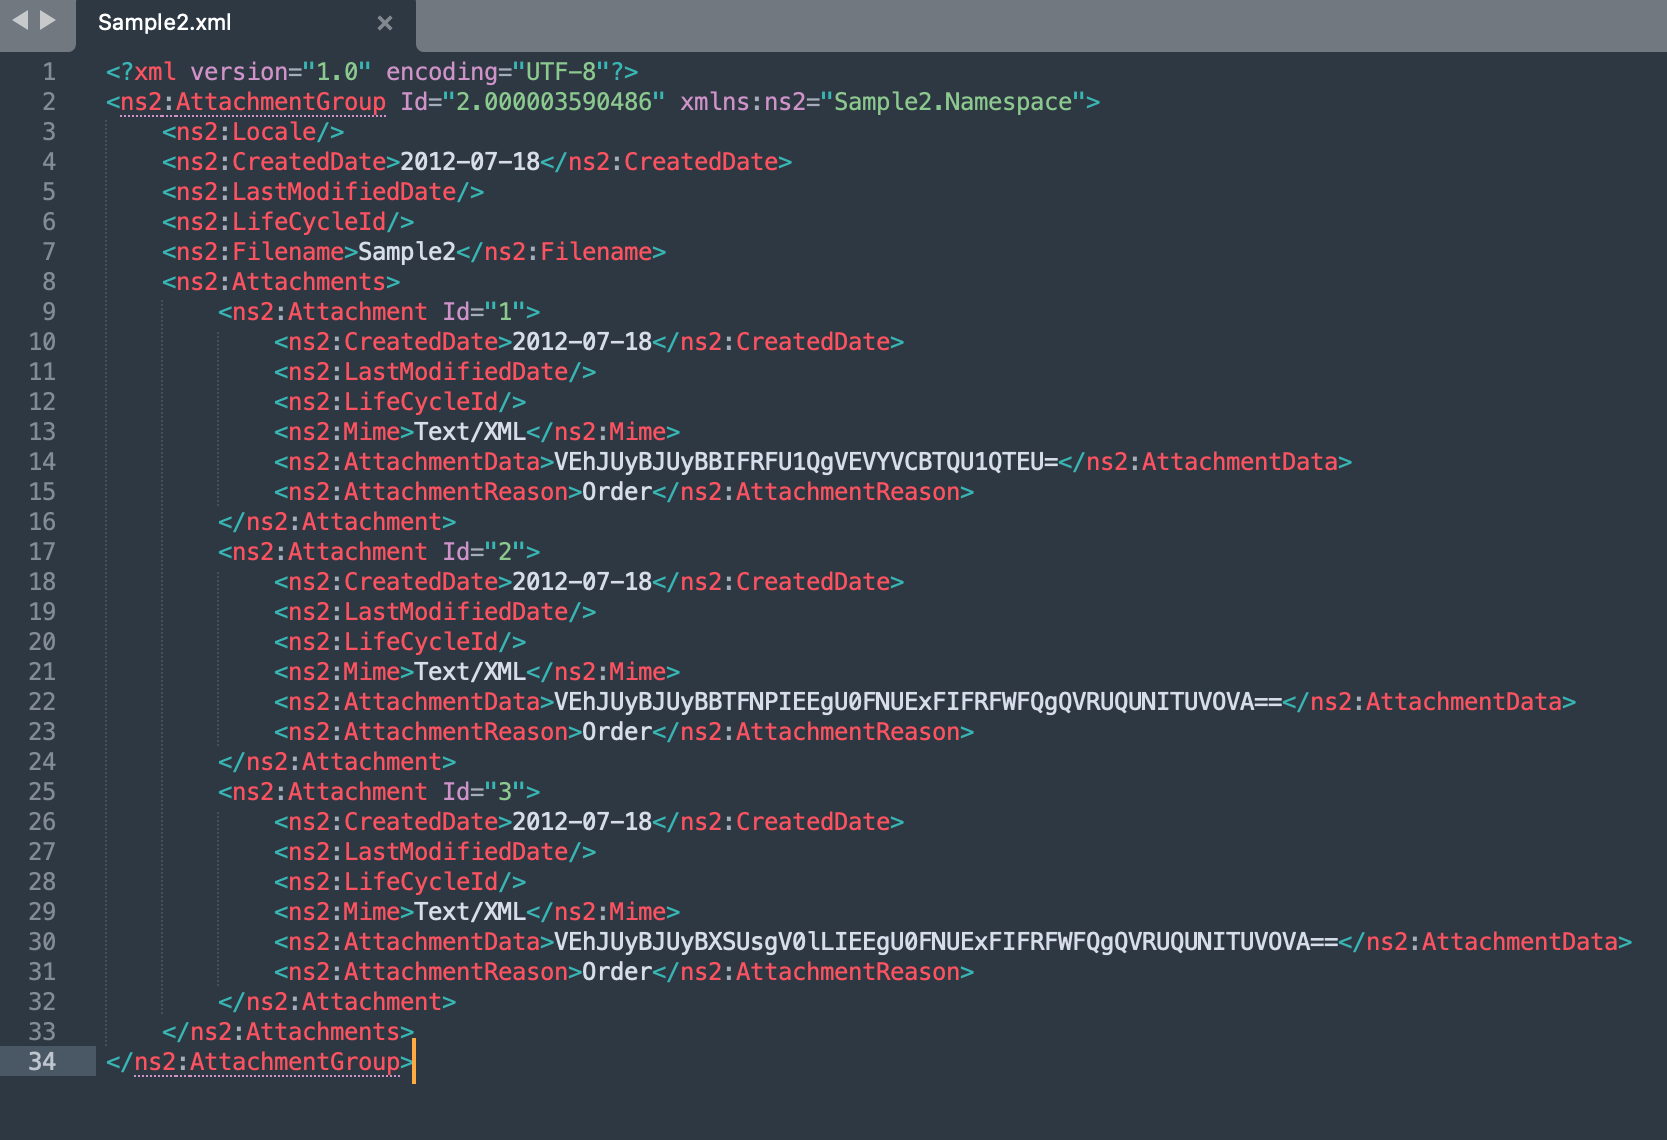
The output directory is c:\Users\{USER _NAME}\PilotFish eiConsole Working Directories\Transformation Using Transaction Attributes\interfaces\Transaction Attribute Based Transformation\out
This concludes this demonstration of Using Attributes in Transformations.
