eiConsole for ACORD – ASC X12 850 EDI (Demo)
Before the advent of XML, Web Services, and Service Oriented Architectures, electronic information communication between trading partners was typically implemented through traditional EDI or electronic data interchange. EDIFACT and ASC X12 were, and continue to be, the two leading EDI Standards. EDIFACT, managed by the United Nations, is popular outside of the United States and in the US auto industry. ASC X12, on the other hand, dominates most other domestic EDI data communications.
Even as modern alternatives gain traction, industries from healthcare to manufacturing continue to rely on EDI for many business-critical processes. Many companies find themselves struggling to build, manage, and maintain a plethora of EDI, XML, and proprietary interfaces. The eiConsole provides a single solution to rationalize the old with the new. In the following demonstration, you will see how an ASC X12 850 purchase order transaction can be converted into both an XML format and a fixed-width proprietary format.
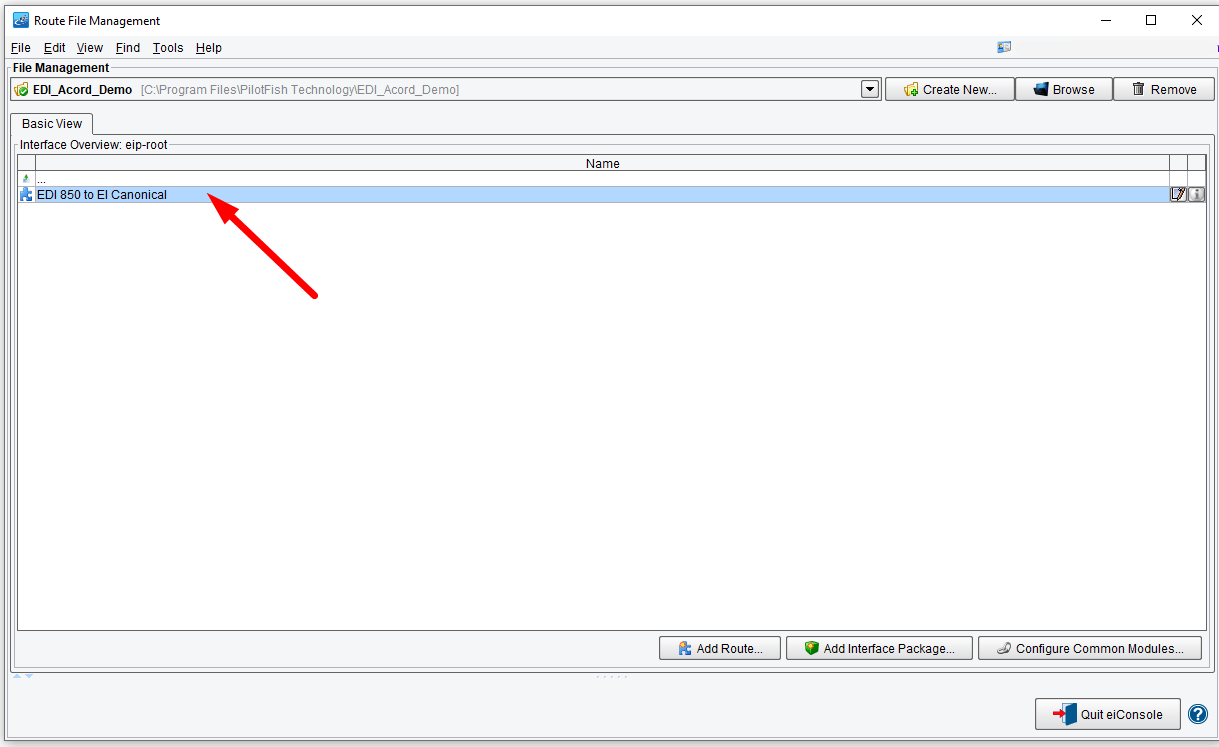
We begin on the Route File Management window of the eiConsole, where we have one route in our Route Overview grid.
We double-click to open this in the eiConsole’s Main Route screen. Here we see one Source System that will produce our ASC X12 transaction and two Target Systems. One is expecting a proprietary fixed-width file format, and the second is looking for an XML file. The developer or business analyst, when configuring the interface, moves stage by stage, from left to right, configuring each piece in turn.

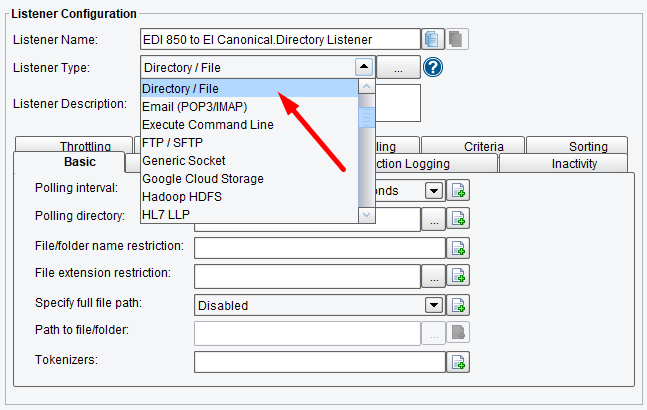
We always begin with the Listener that handled the connectivity to the Source System. The eiConsole supports a wide variety of Listener types. In this case, we’re pulling data from a Directory.
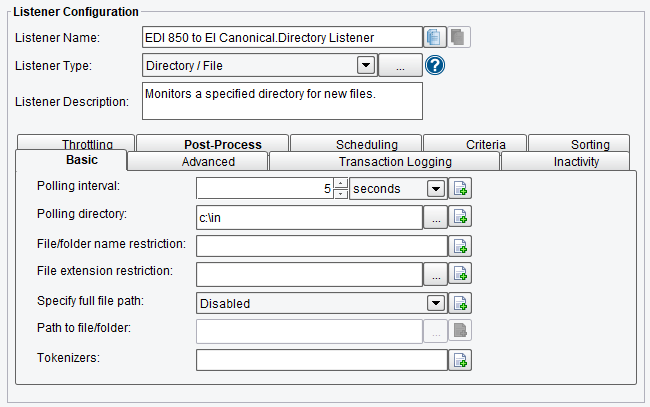
And we’ve configured how often to look in that Directory and what Directory to poll.
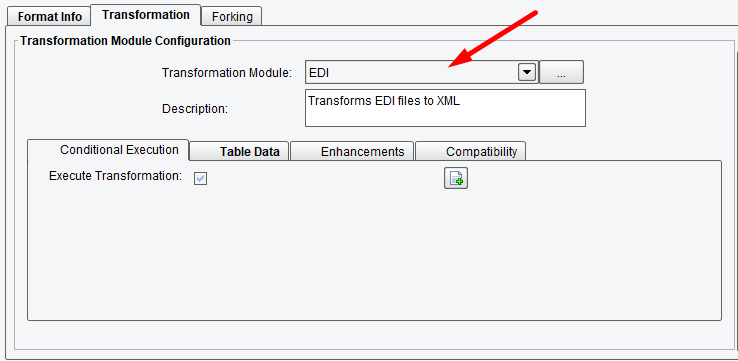
After the data is accepted, we move along to the Source Transformation. In the eiConsole, we always treat data as XML for logical mapping purposes. To do this with an ASC X12 transaction, we must first convert it using a Transformation Module. So we choose the EDI module from the drop-down menu.
Now that we’ve described the structure of our EDI transaction and converted it into XML, we move to our next stage. If we elect to, we can use XSLT to further transform this XML document into another standard XML representation. In this case, we’ve selected to Use Direct Relay and move to the Routing stage.
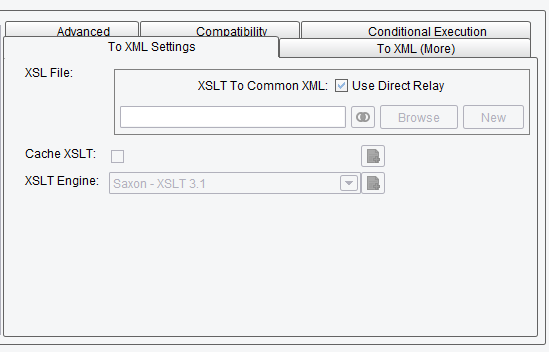
The Routing stage allows us to describe Routing Rules that determine which Target or set of Targets the Source data should be sent to. In this case, we have the All Targets Routing Module selected, meaning both Target Systems will receive every transaction that flows in from the Source.

Each Target System is associated with its own Target Transformation. In the first case, we need to convert our XML representation of the EDI transaction into a proprietary flat file.
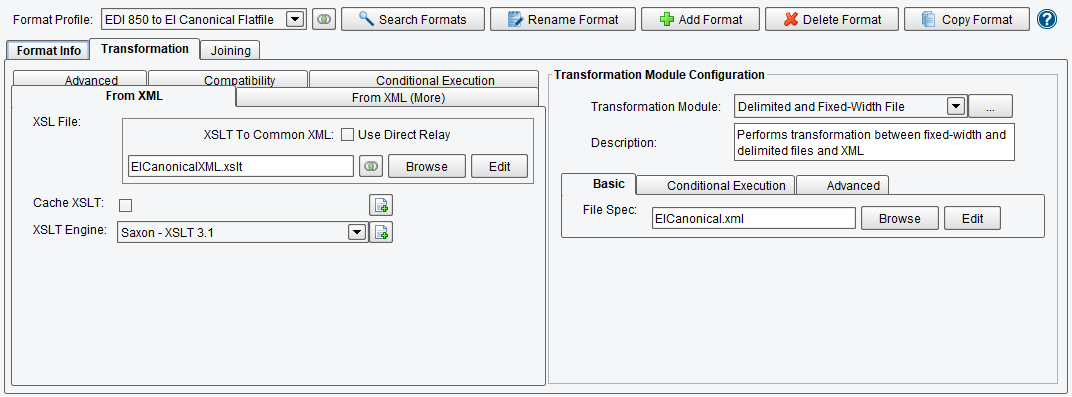
The logical mapping between any two data formats is handled in the Data Mapper.
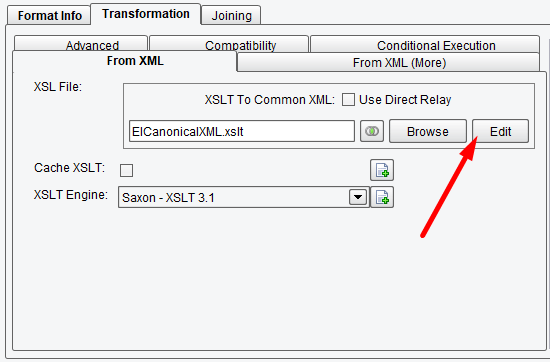
The Data Mapper is a best-of-breed, drag & drop data transformation tool that allows us to load in a Source and Target format and then drag & drop to create a mapping between the two in this center panel. In this case, our left-hand side represents our EDI transaction. On the right-hand side, we have a description of the fixed-width file that we want to generate, with several different record types within it.
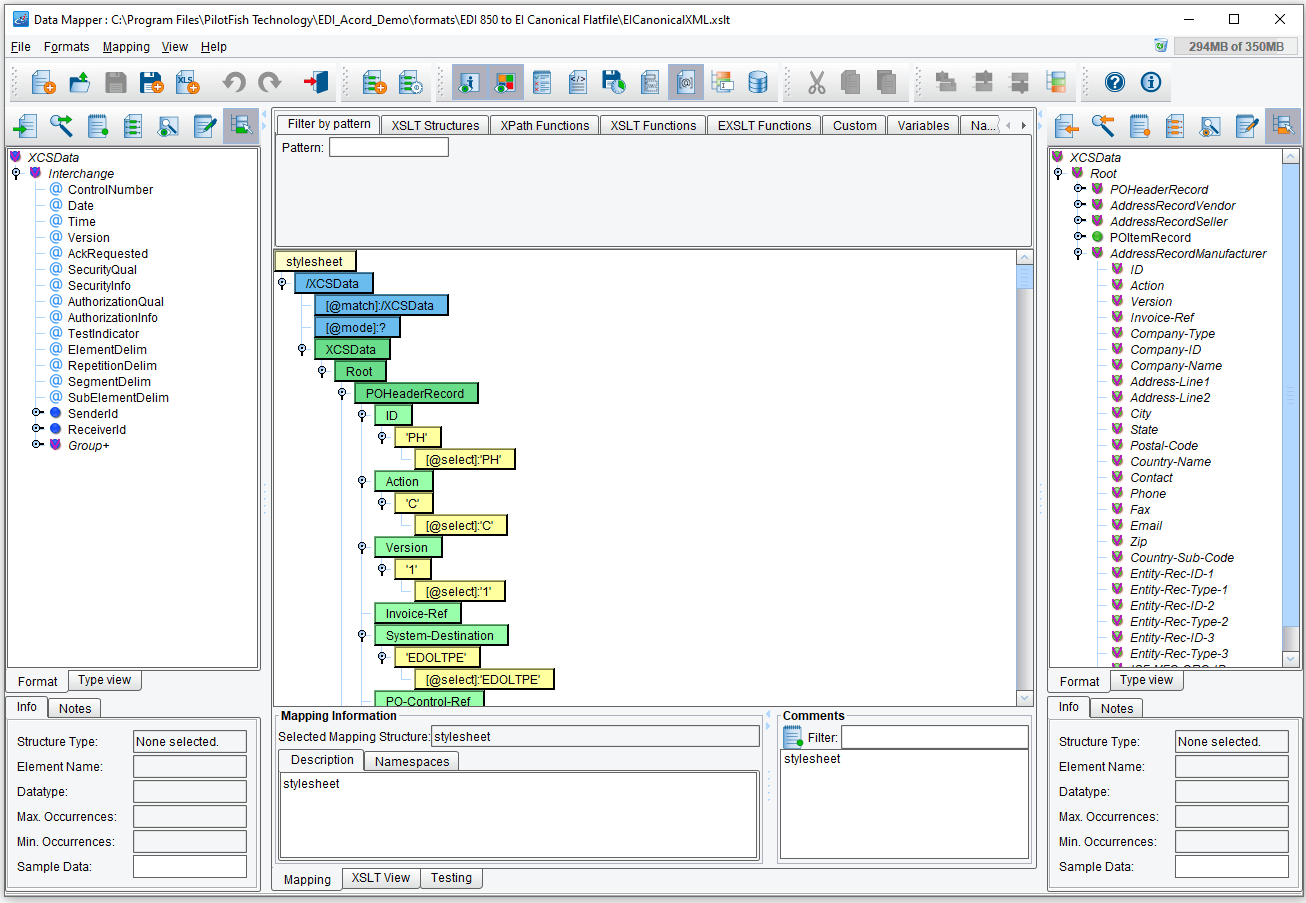
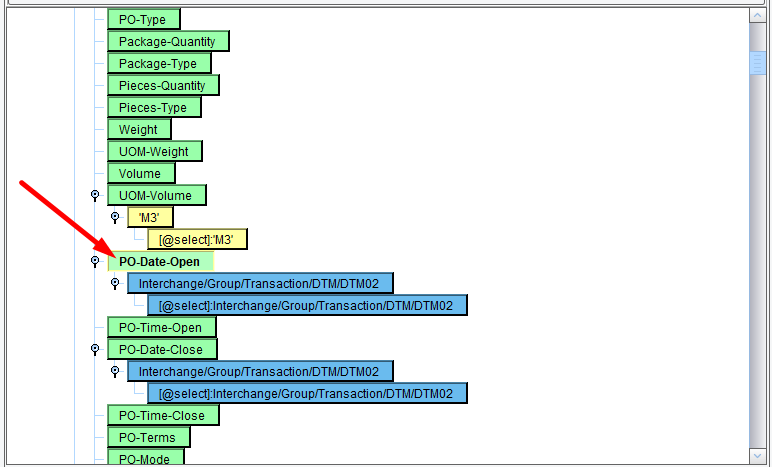
Here, for instance, we can see the green node (a field in the Target) being populated with a blue node (a field from the Source).
Under the covers, what’s generated is W3C Standard XSLT.
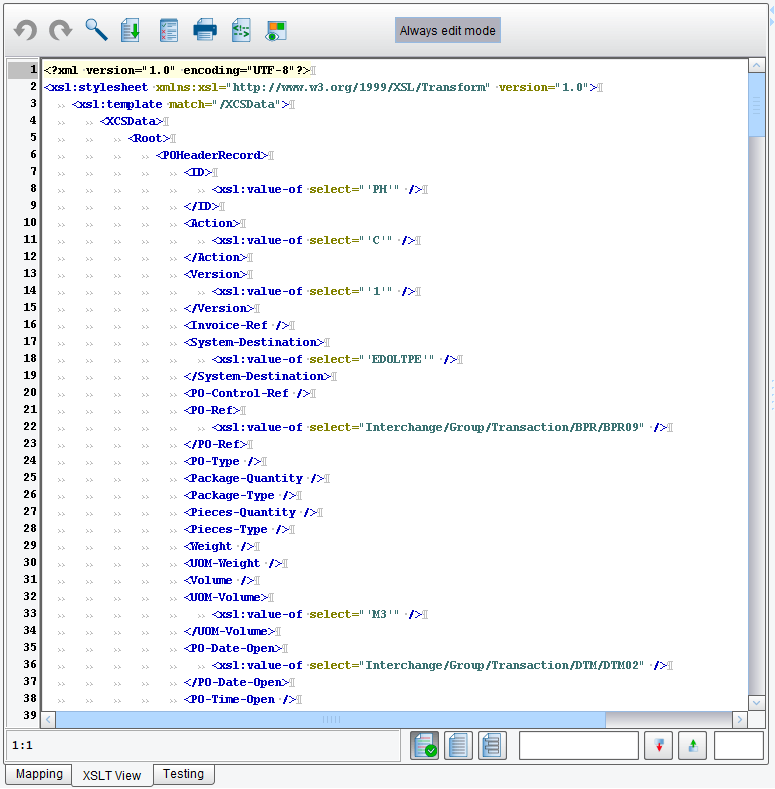
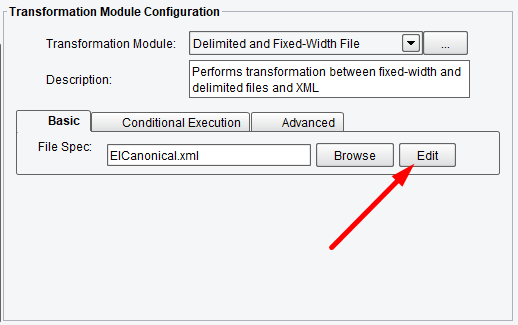
The Data Mapper and the XSLT output are an XML representation of the fixed-width file we want to generate. To lay this out in the correct byte positions, we again use the File Specification Editor to describe the structure of this proprietary file.
This time the File Specification Editor contains green nodes for each of the different records within our positional file. Blue nodes indicate fields within a record.
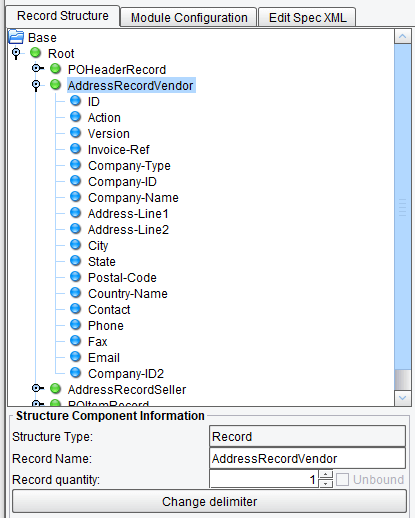
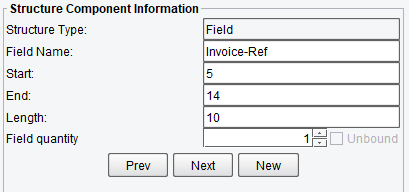
And since this is positional – you see the start position, end position, and length specified below each.
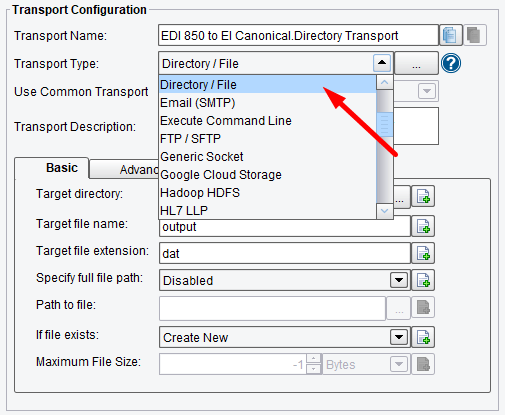
Finally, we have a Transport that handles the connectivity to the Target System. Once again, the eiConsole supports a wide variety of Transports, some synchronous, some asynchronous. In this case, we’re just dropping the data off in a Directory.
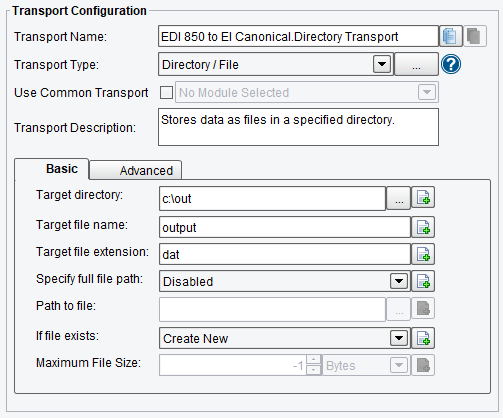
Our second Target has no further transformation required and drops the XML representation of the EDI transaction in a separate folder.
Once we’ve configured the interface from Source to Target, we move to Testing Mode. In the Testing Mode of the eiConsole, the icons between the Source and Target Systems are converted to question marks…

…and we can configure our test to start and end at any point we want.
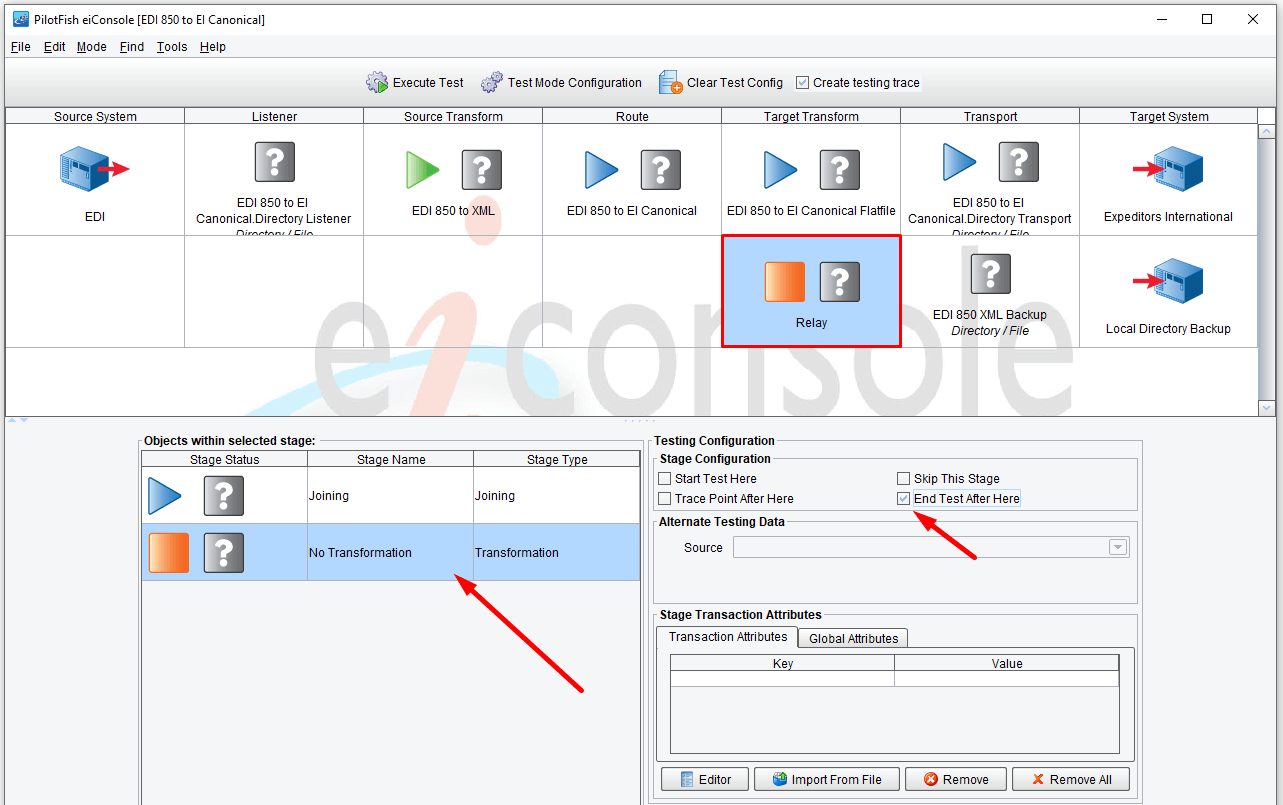
If we don’t start with the Listener and click Execute Test, we’ll be prompted to provide a sample file.
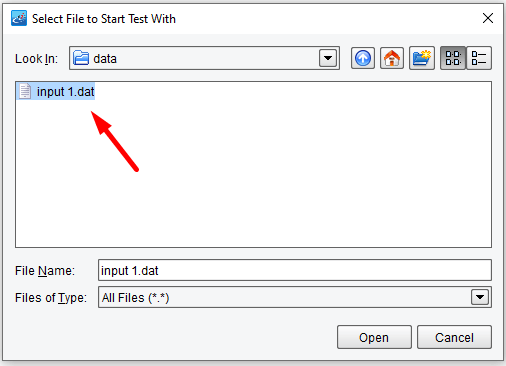
Once selected, as each stage runs, we’ll either see a green checkmark (indicating success) or an X (indicating failure).
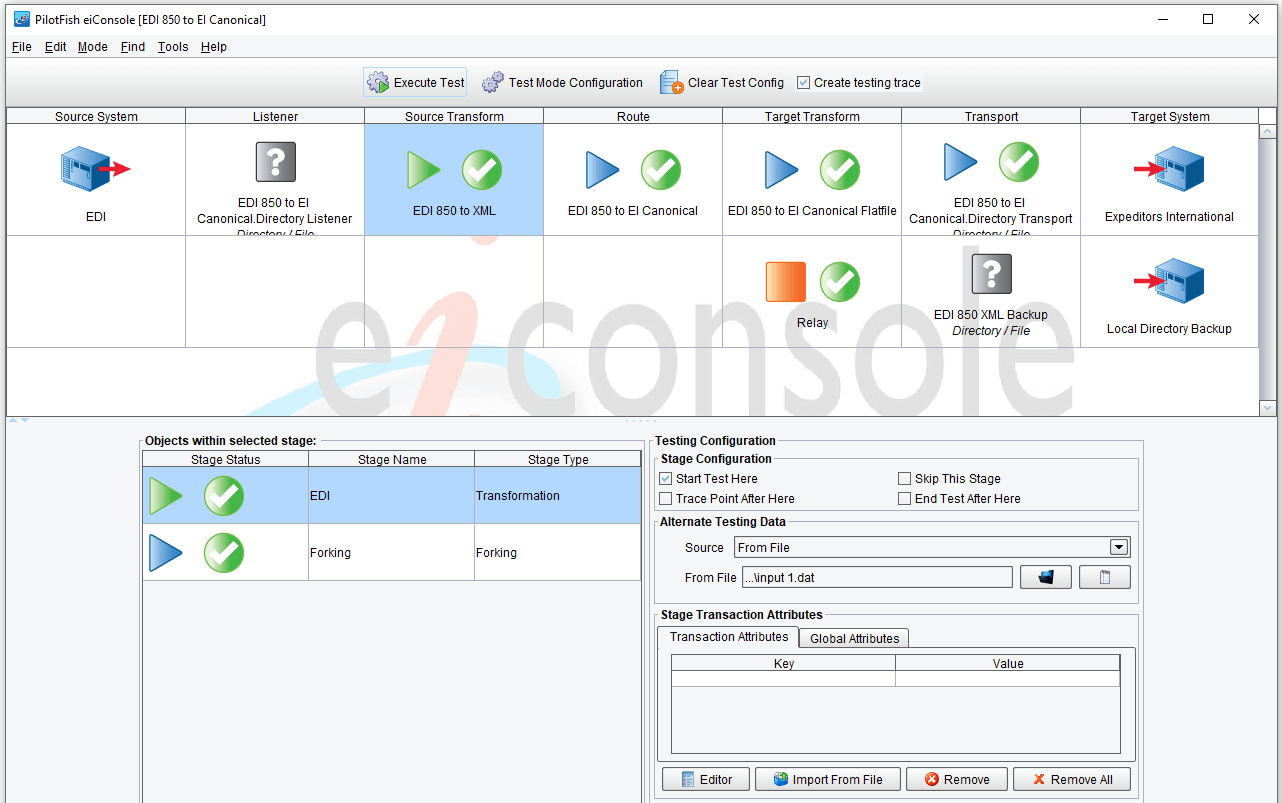
We can then look at how long the process took and the data as it appeared at each point.
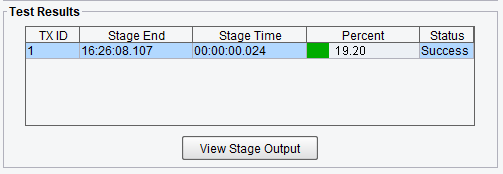
Here we can see our inbound ASC X12 850 transaction.
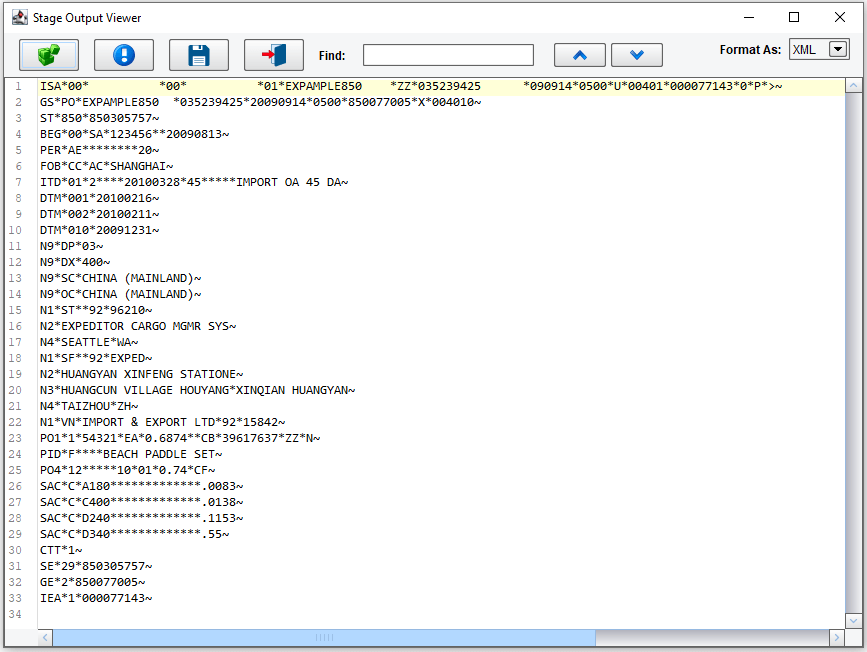
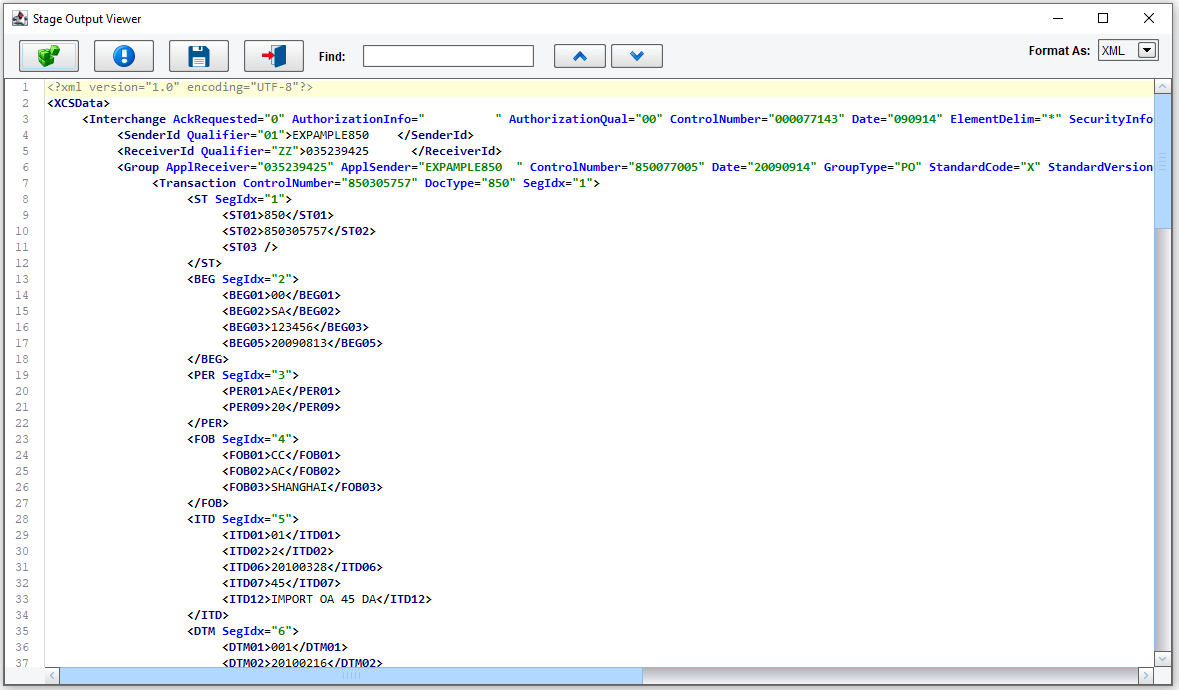
Here, the same transaction has been converted into an XML representation.
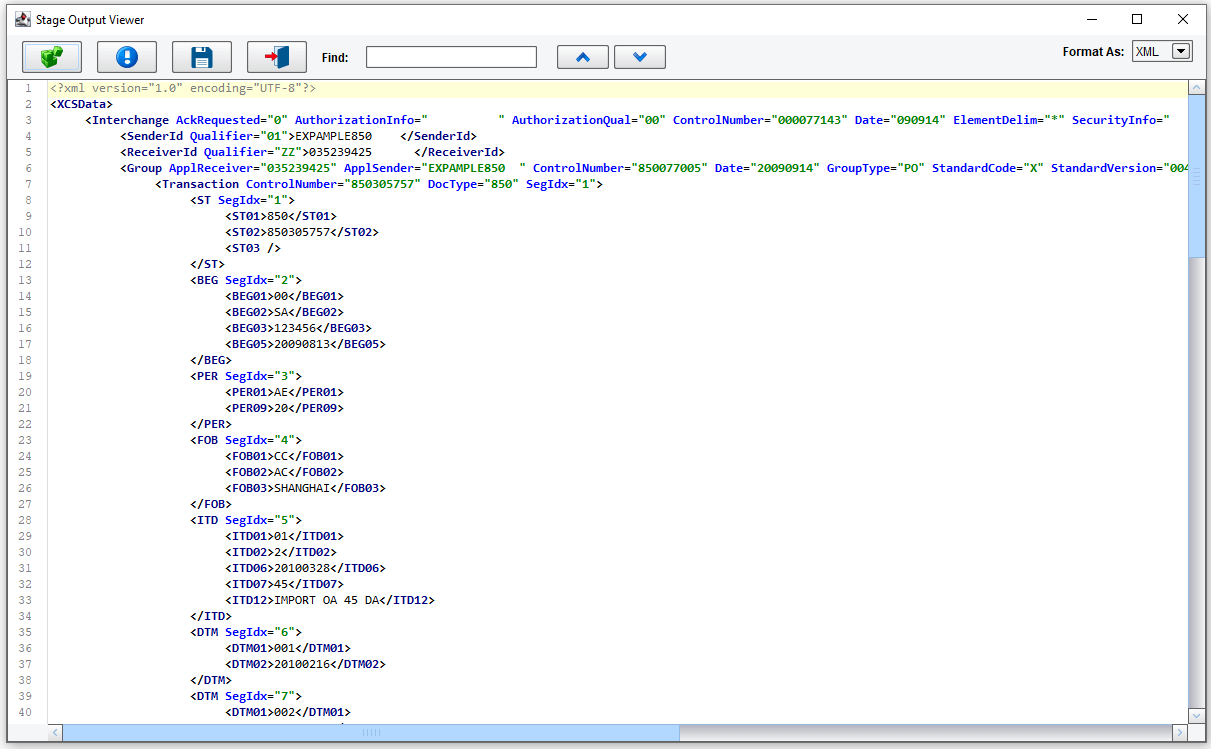
Then, in our first Target Transform, we see that mapping onto an XML representation of our fixed-width file. Finally, we see that the fixed-width file itself after the file has been processed in the File Specification Editor.

In the second case, we see that the final transformation step yielded the same XML representation of the ASC X12 850 that we generated on the Source side.
Now that we’ve integration tested our interface within the Console, the final step is to deploy this to an eiPlatform server where the interface can run in an unattended mode.
This concludes our demonstration of ASC X12 EDI Data Transformation. You’ve seen how the eiConsole can be used to rationalize XML, EDI, and proprietary data formats. Now, it’s time for you to get your hands dirty. Download the eiConsole and try it out yourself.
