


eiConsole v.25R1
Tutorial
eiConsole Foundation Tutorial
Adding Target Icon and Name
You will need to navigate to the Working Directory c:\Users\{USER _NAME}\PilotFish eiConsole Working Directories\Foundation where {USER_NAME} is the user’s name which was included in the sample files you downloaded in the first Foundation Tutorial – Creating a Working Directory.
Note: The Tutorials in eiConsole Foundation, 1-13, are modular and designed to be used in the sequence presented.
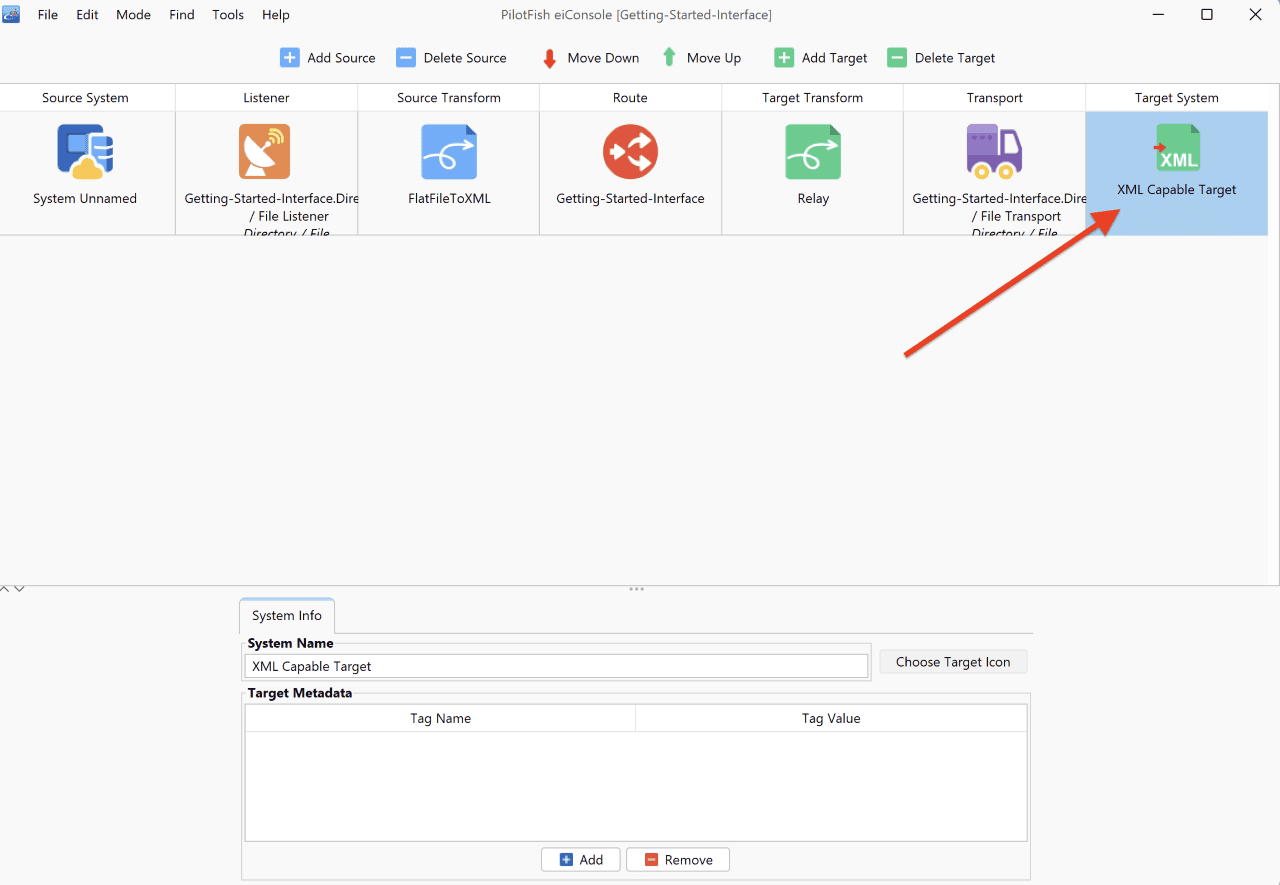
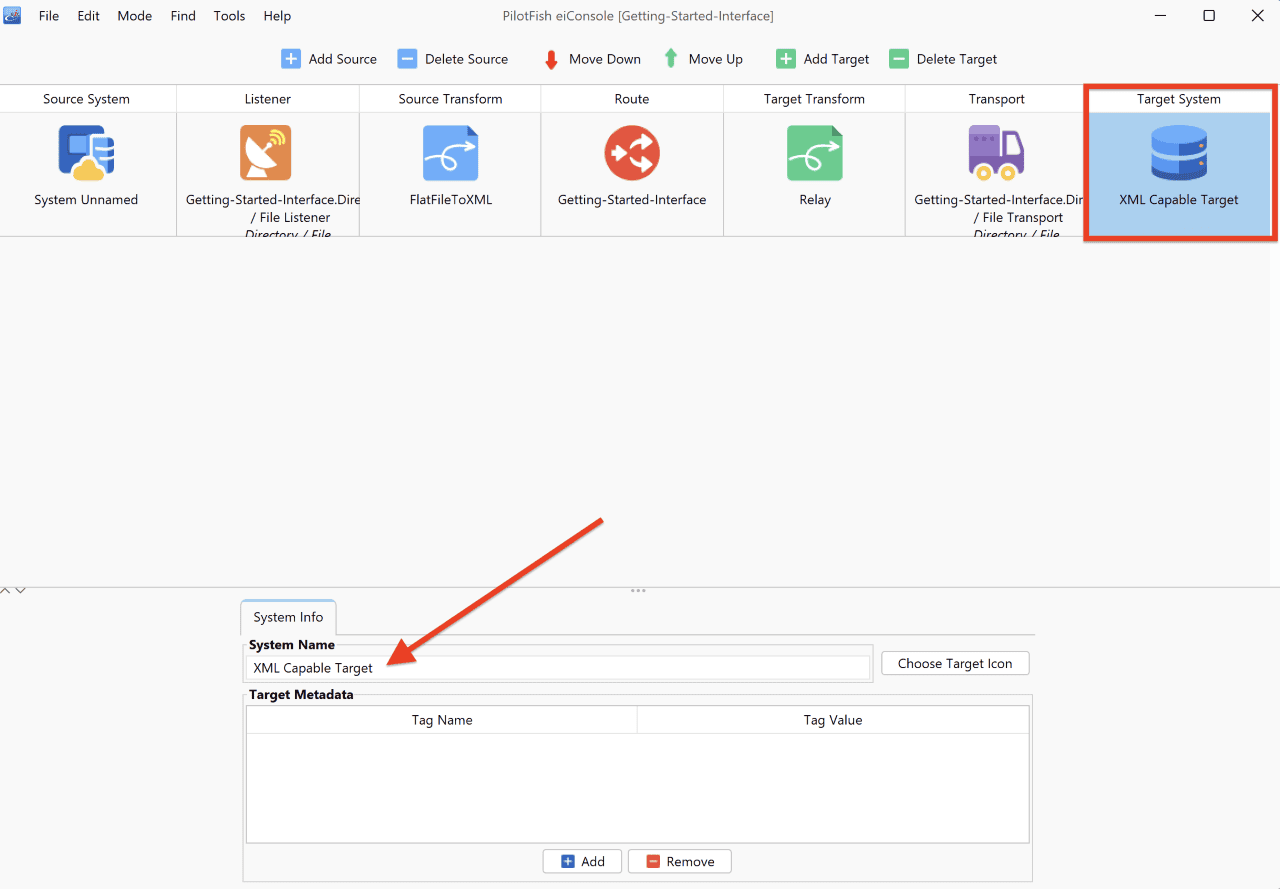
To add a Target System name, select the Target System stage.
For the Target, you can enter the name in the System Name field. Type in “XML Capable Target”, then click enter. Note that the Target System is now defined as XML Capable Target.
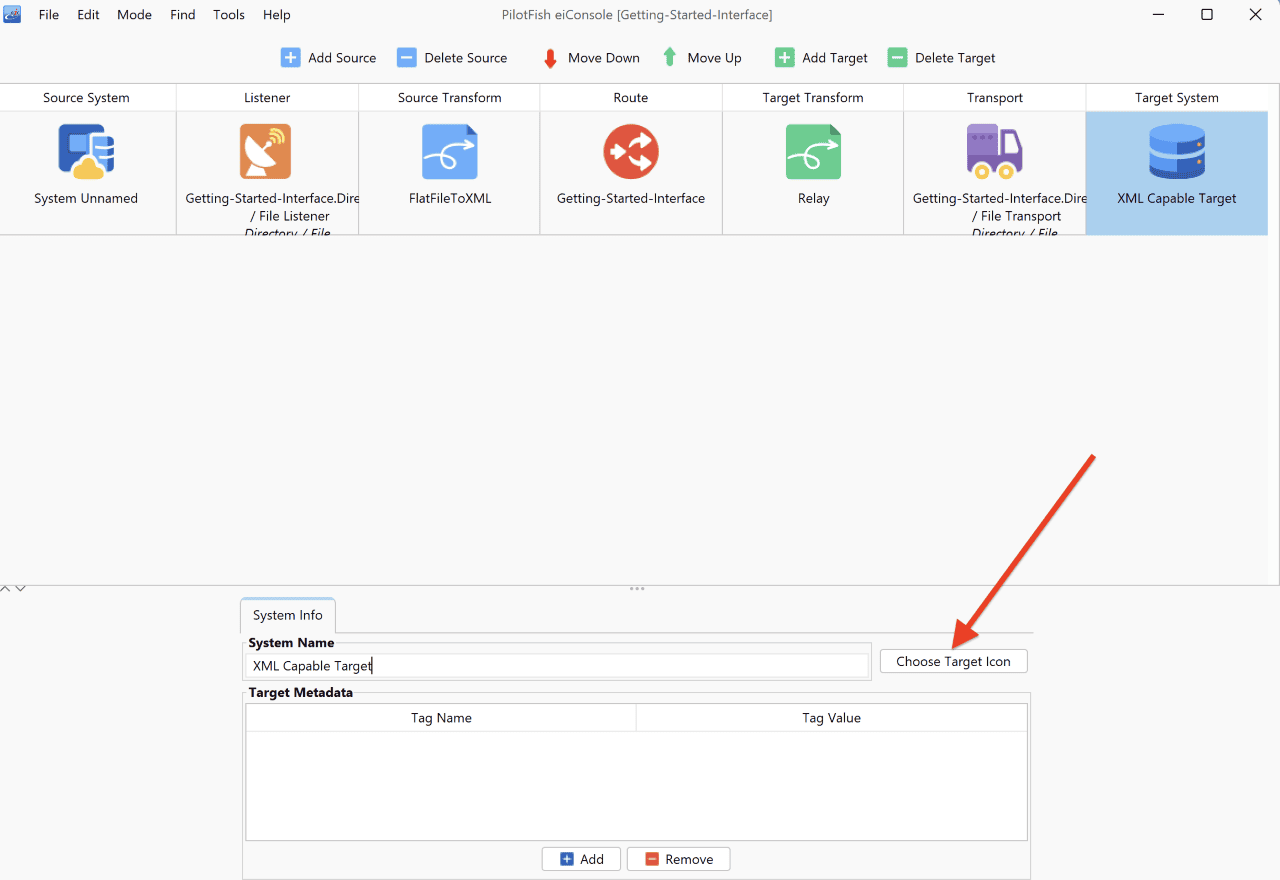
Now, click on the Choose Target Icon button.
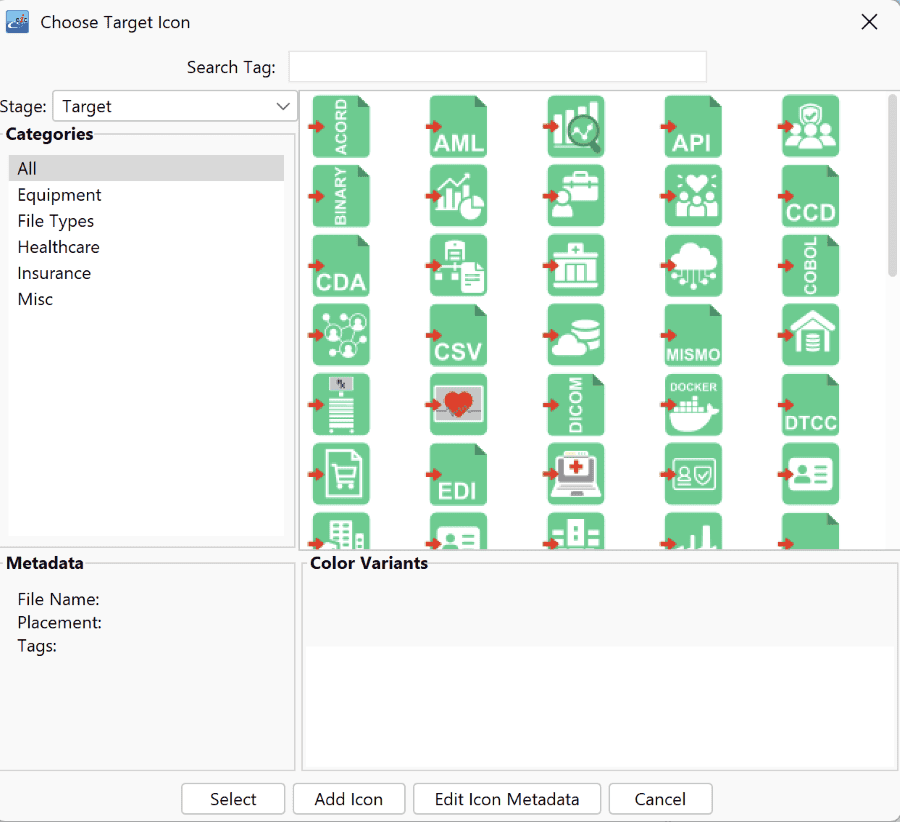
The Choose Target Icon dialog will appear.
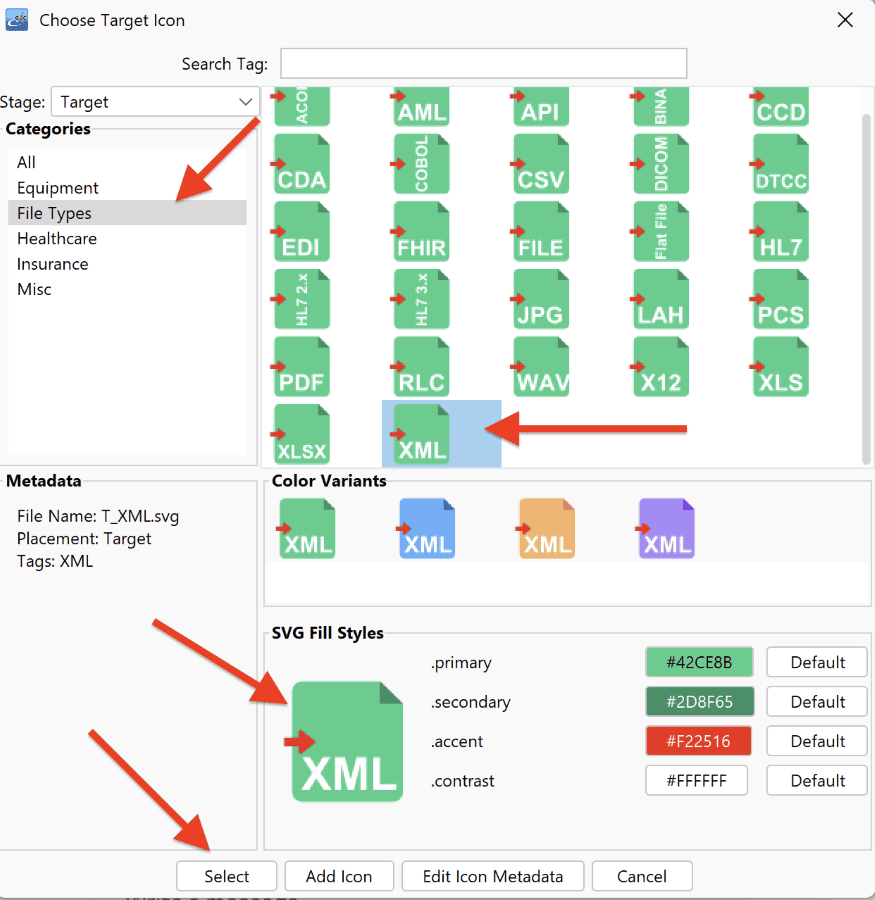
In the Categories field, click on the File Types and select the XML icon in the main field. Choose the desired color of the icon. Click Select.
The new icon will appear in the main grid of the eiConsole.
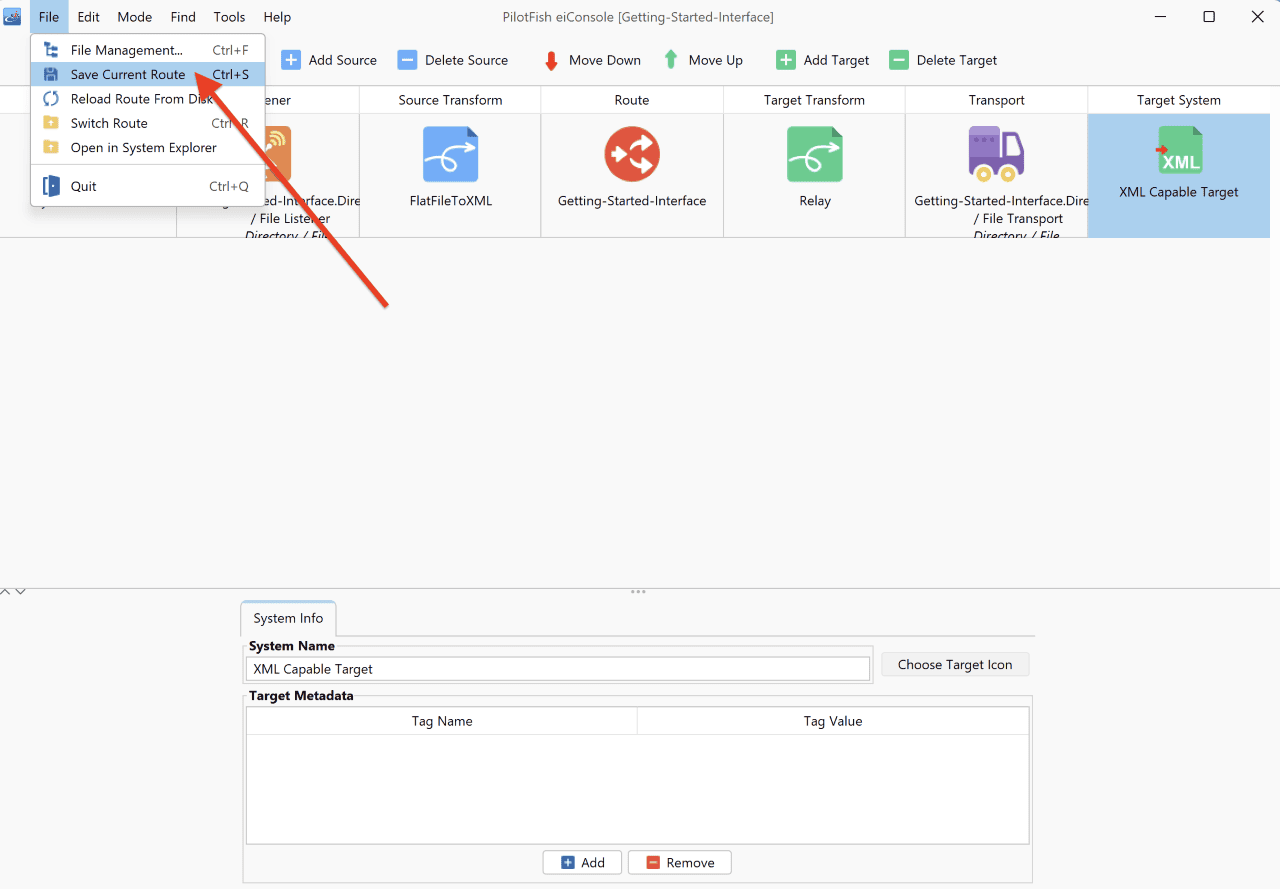
Now that the Source System and Target System have been defined go to the File menu and click Save Current Route.
Continue on to the next tutorial, Testing Using the Inline Test Mode.