


eiConsole v.25R1
Tutorial
eiConsole Foundation Tutorial
Testing an Interface Using the Inline Testing Mode
You will need to navigate to the Working Directory c:\Users\{USER _NAME}\PilotFish eiConsole Working Directories\Foundation where {USER_NAME} is the user’s name which was included in the sample files you downloaded in the first Foundation Tutorial – Creating a Working Directory.
Note: The Tutorials in eiConsole Foundation, 1-13, are modular and are designed to be used in the sequence presented.
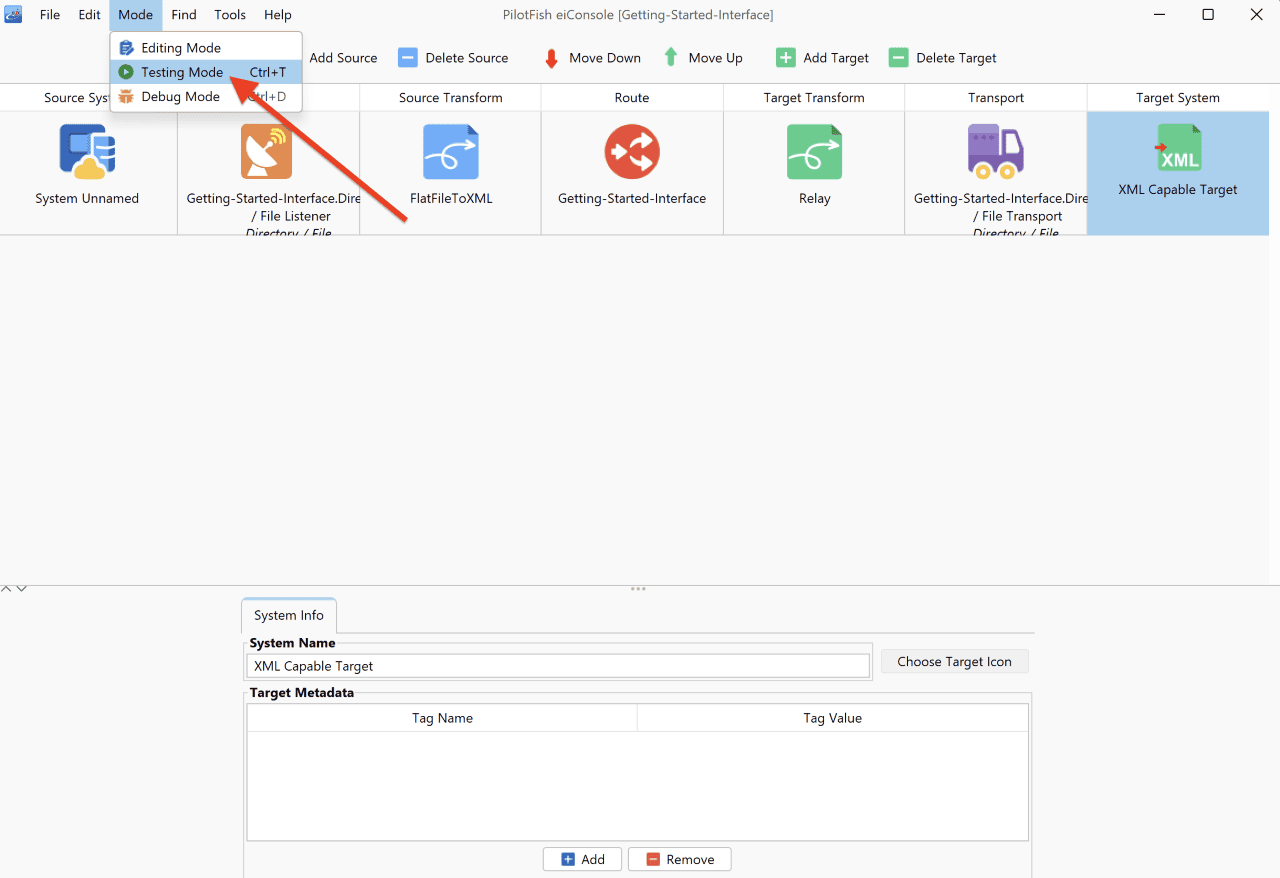
Now that the interface is configured from Source to Target, you can test its behavior before deployment to an eiPlatform environment.
Underneath the Mode drop-down, select Testing Mode.
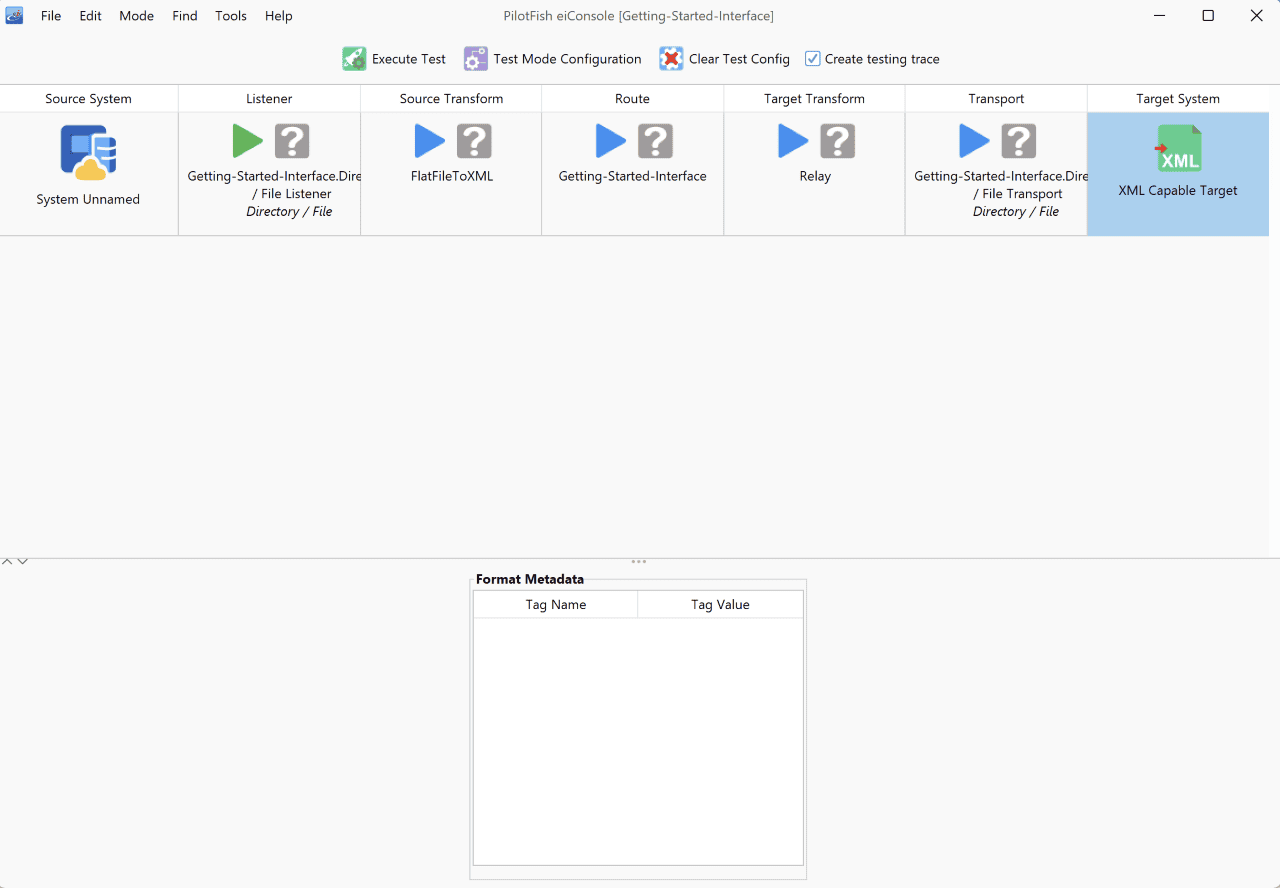
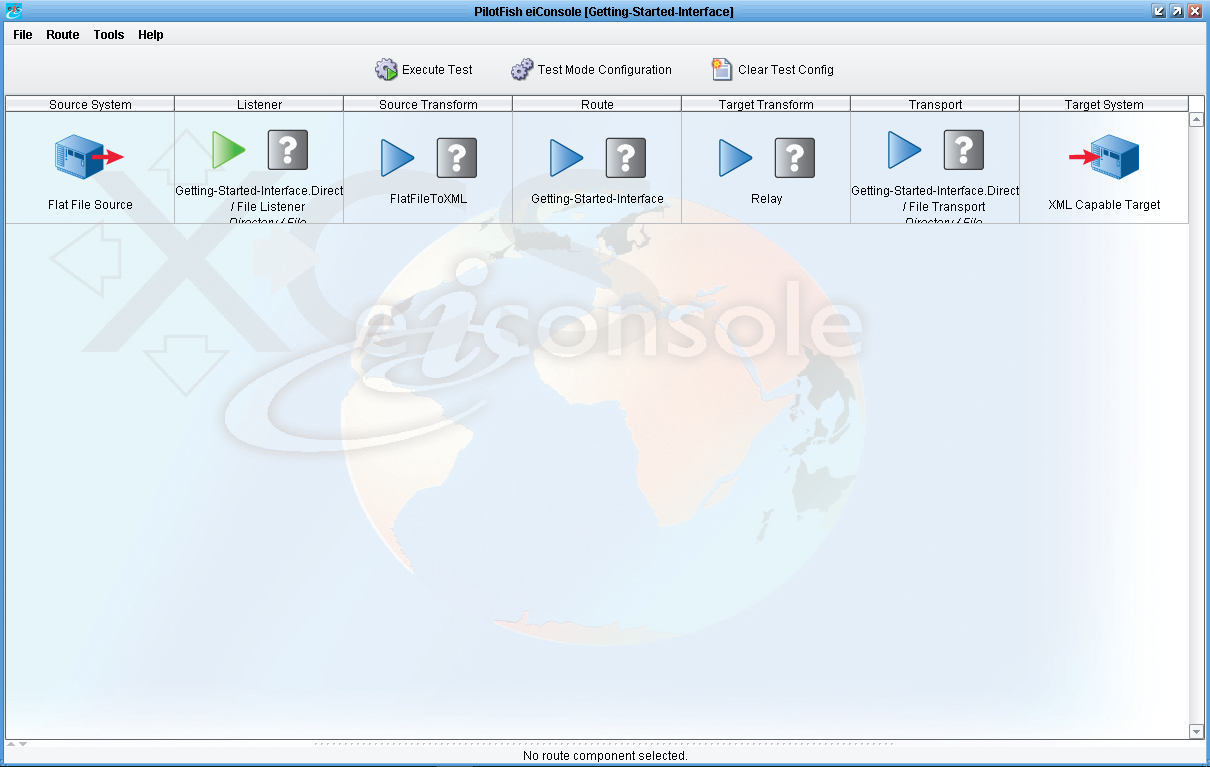
When you switch to Testing Mode, all of the icons between the Source and the Target become question marks, indicating stages that you may choose to test.
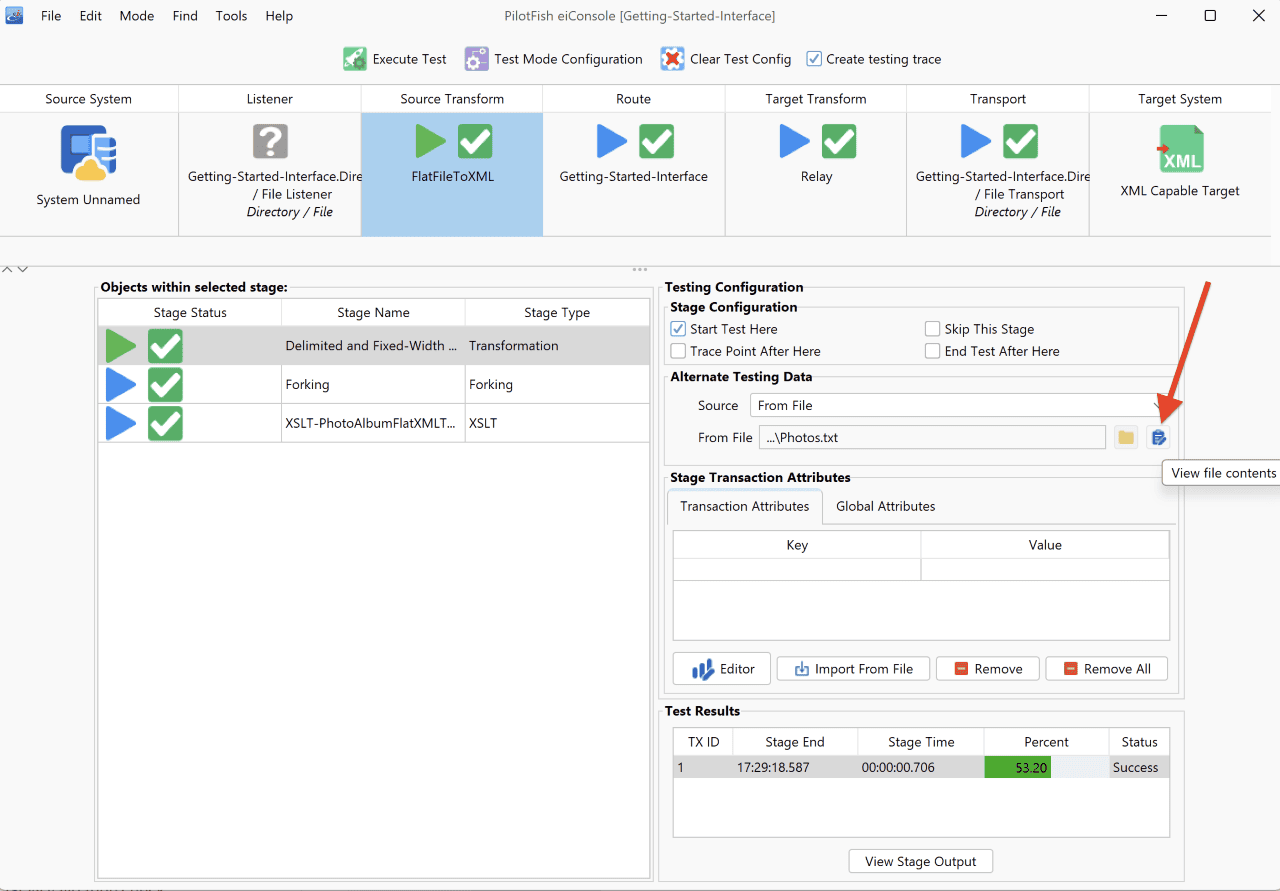
For this tutorial, you will want to start your test with the Source Transformation. Click the Source Transform stage and then select the Start Test Here checkbox. A green icon will appear in the Source Transform box to indicate that the test will start here.
Blue arrows indicate a stage of the test that may be executed. For our purposes, allow the test to flow all the way through to the Transport of the file to the directory.
Select the From File from the drop-down menu and click on the Browse button.
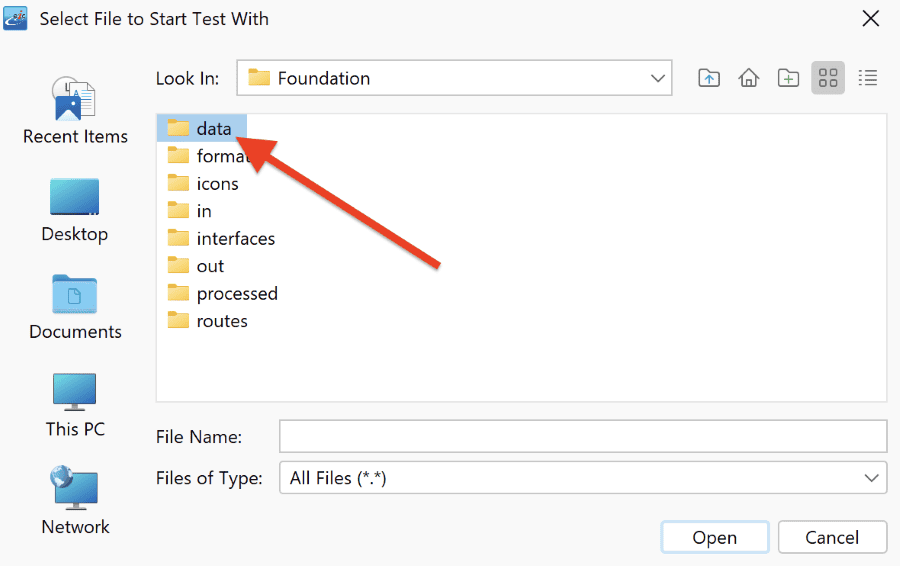
Navigate to the c:\Users\{USER _NAME}\PilotFish eiConsole Working Directories\Foundation folder or your distribution sample folder and double-click the data folder to open.
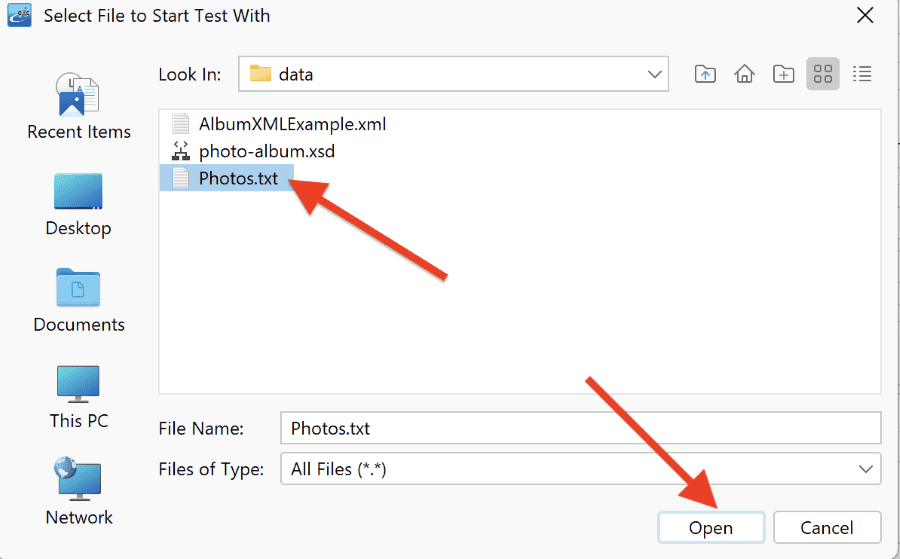
Then select the Photos.txt file and click Open.
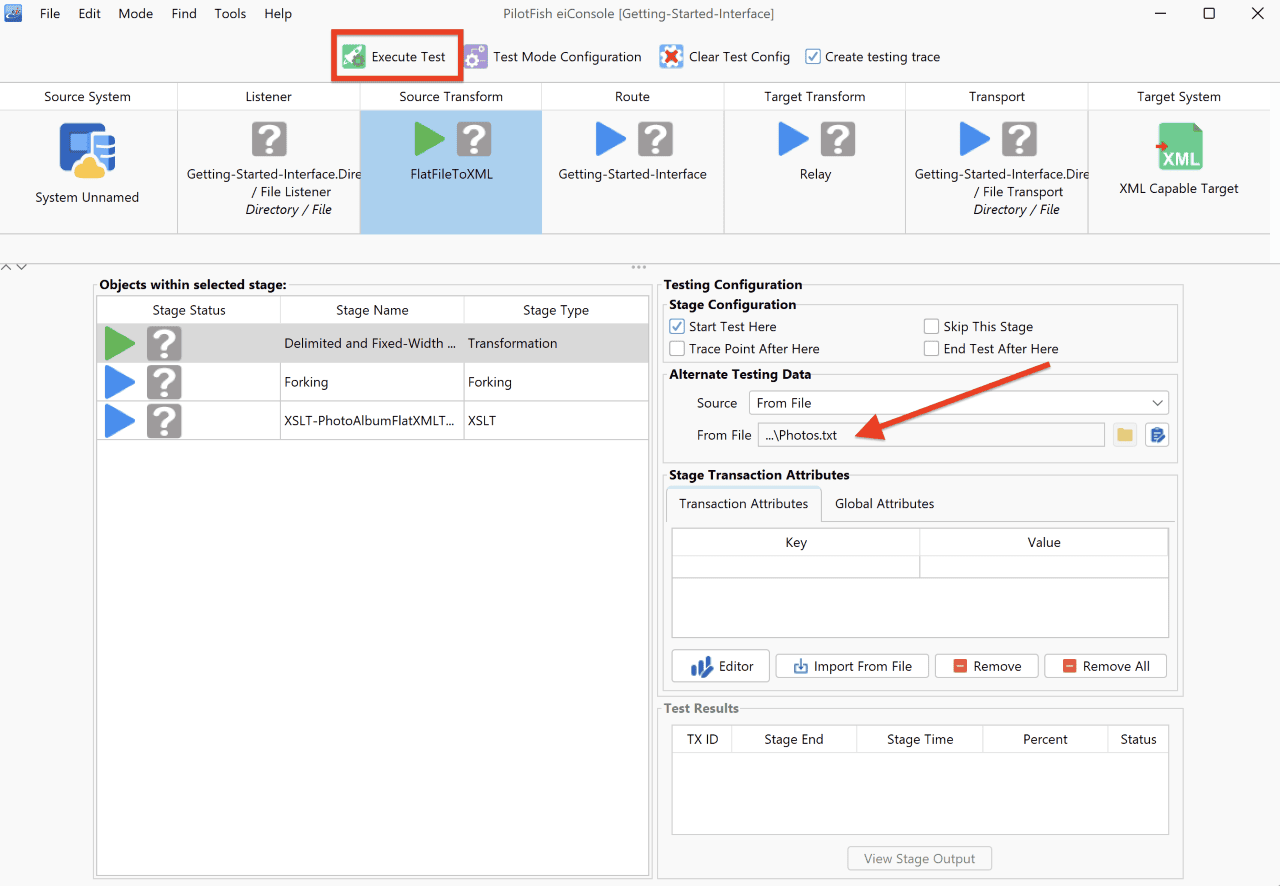
Click on the Execute Test button.
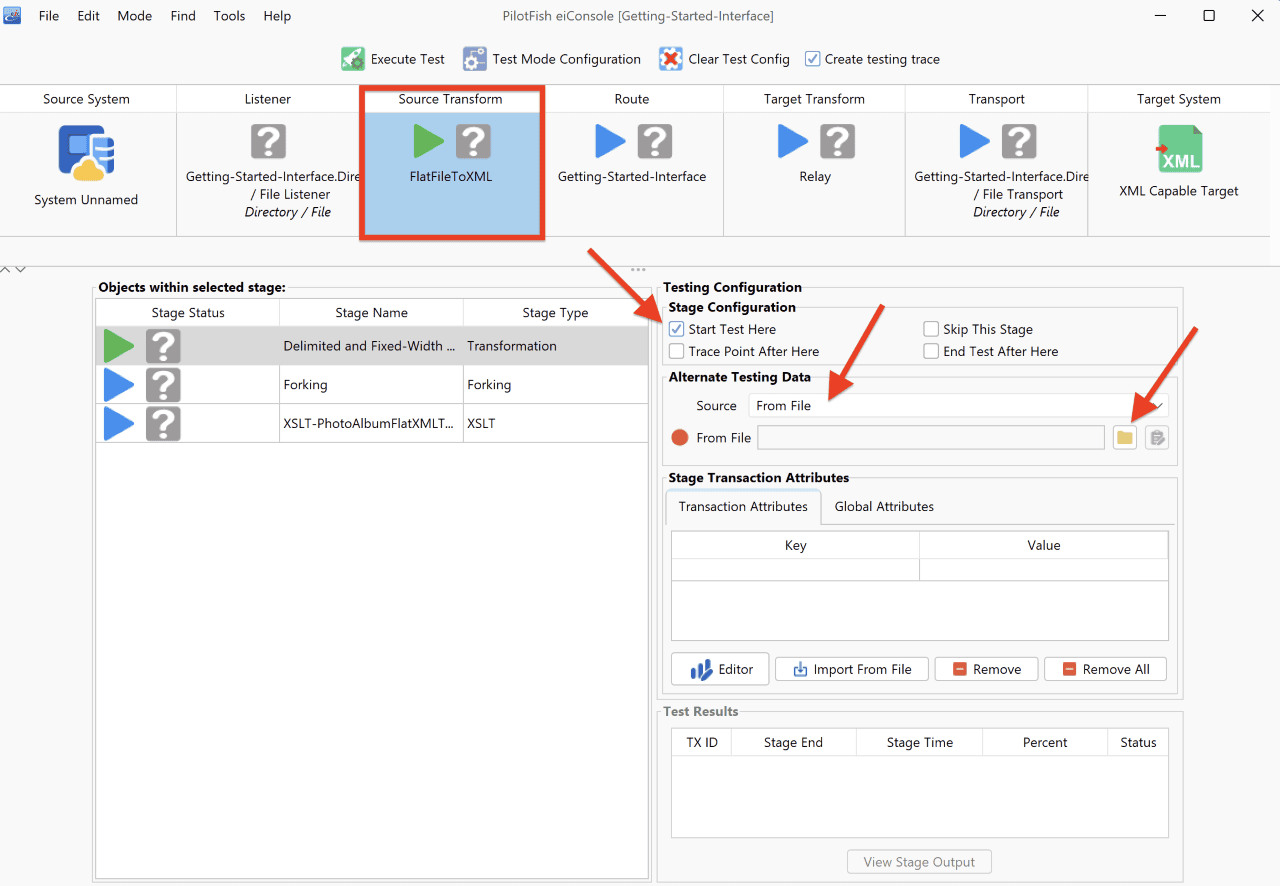
In a few seconds, the file will be picked up. As each stage completes, the question marks will be replaced by green checkmarks indicating that the stage has been completed successfully.
If there is an error, the blue question mark will become a red x. You can click on the stage with the red x to view the errors. If for example, the x is in the Source Transform stage, you may want to retrace your steps for that stage to see if you missed a step, failed to check a box or enter a field, etc.
You can now look at how the data appeared at each stage. With Source Transform selected, click the View button.

The original data processed was the tab-delimited file you first saw in the File Specification Editor.
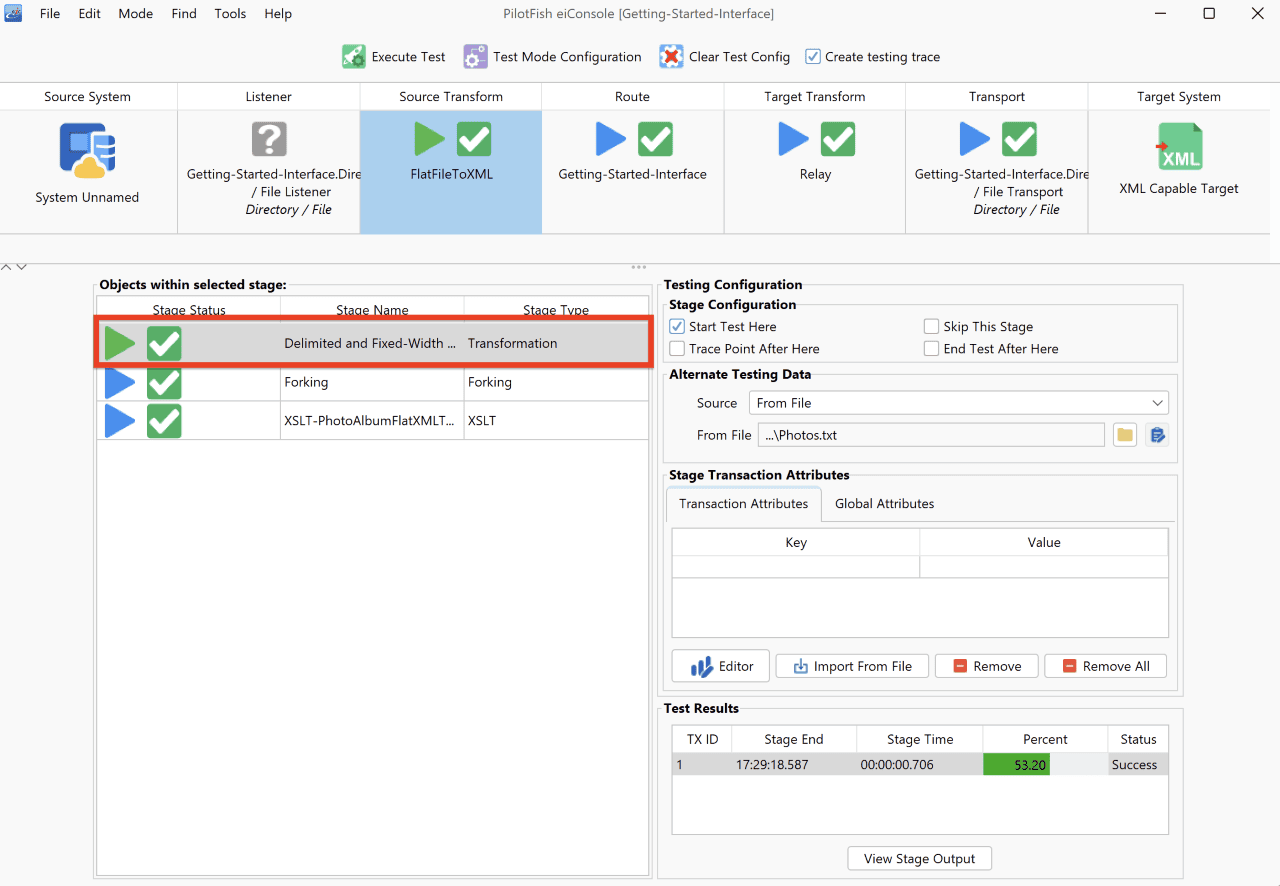
You then took that data and the File Specification Editor translated it into a generic format—Double-click on the Delimited and Fixed-Width row within the objects of the selected stage panel.
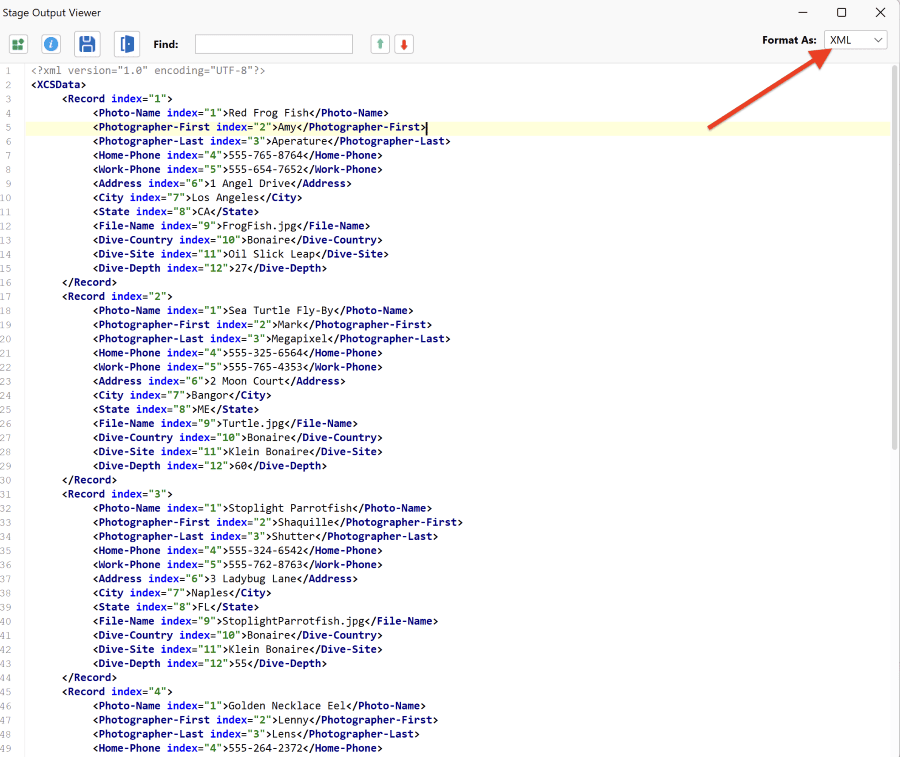
The Stage Output Viewer window opens. Choose the XML format in the drop-down menu.
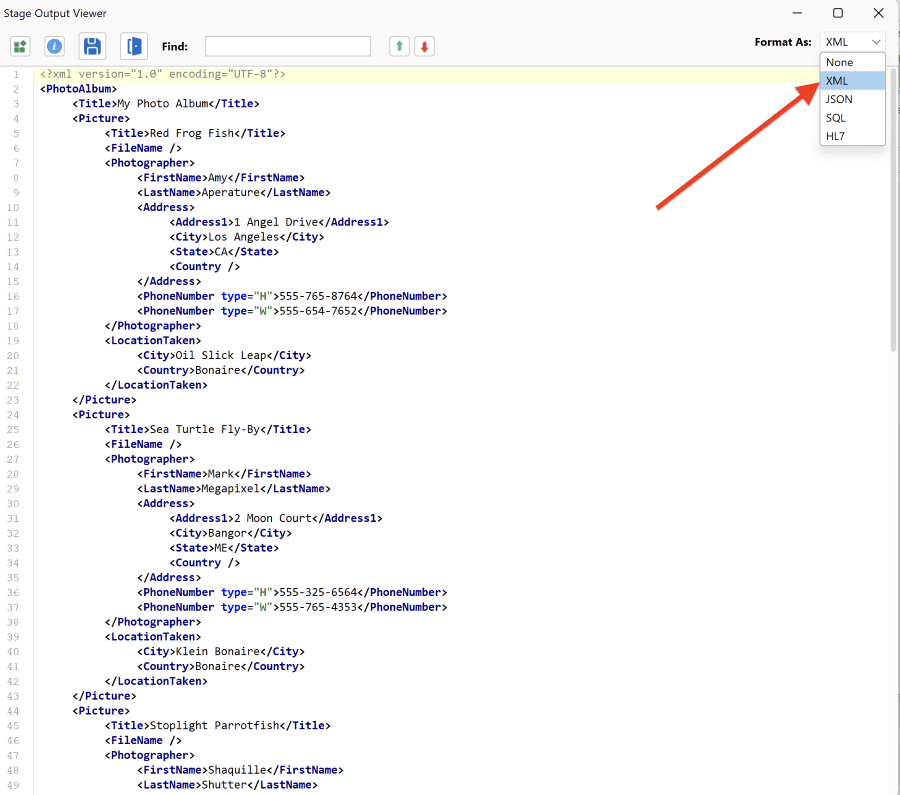
That XML format was then converted through the XSLT generated by the Data Mapper into the Photo Album XML Standard. Double-click XSLT in the same panel, under the Stage Type, to view the panel above.
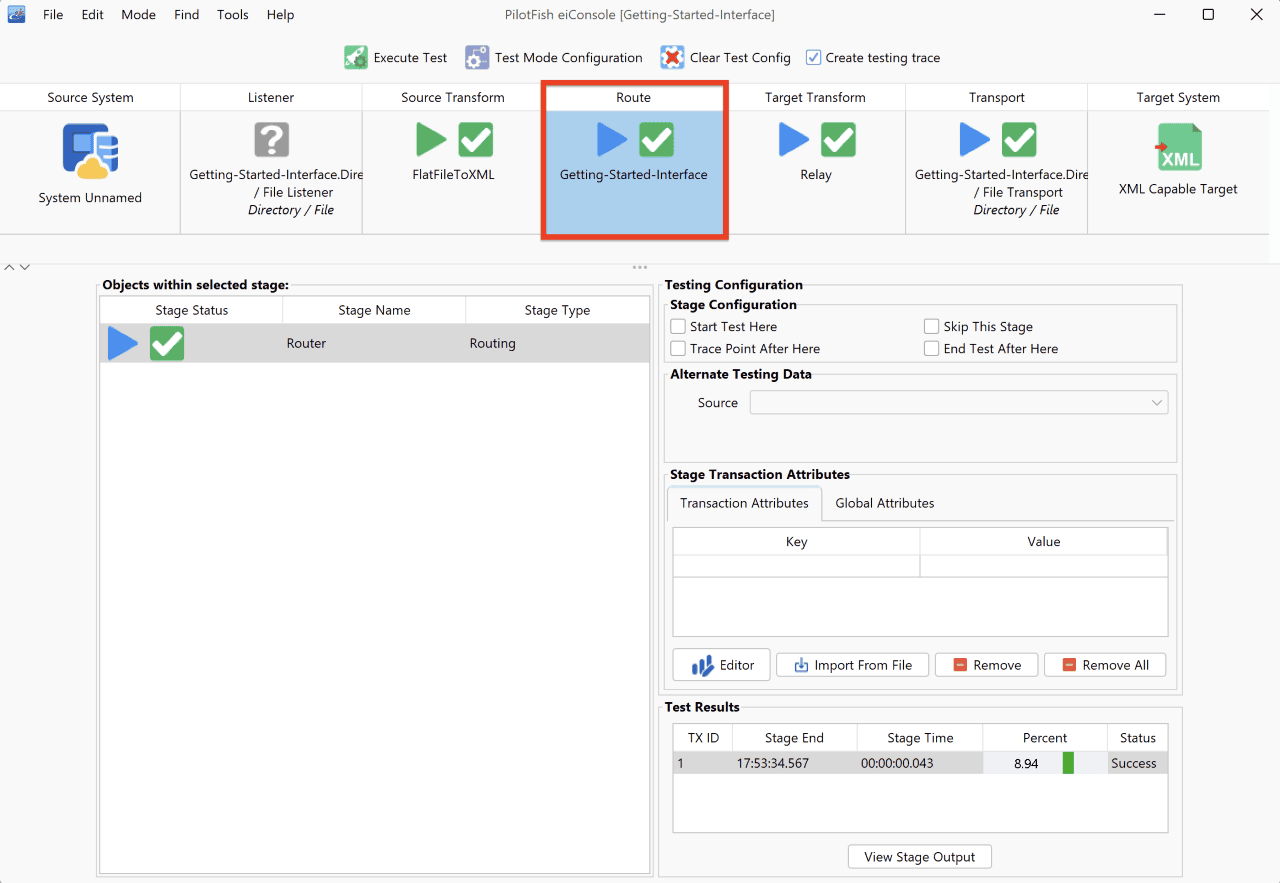
Next, click the Route stage. The Routing Module routed the data along to the one and only Target System.
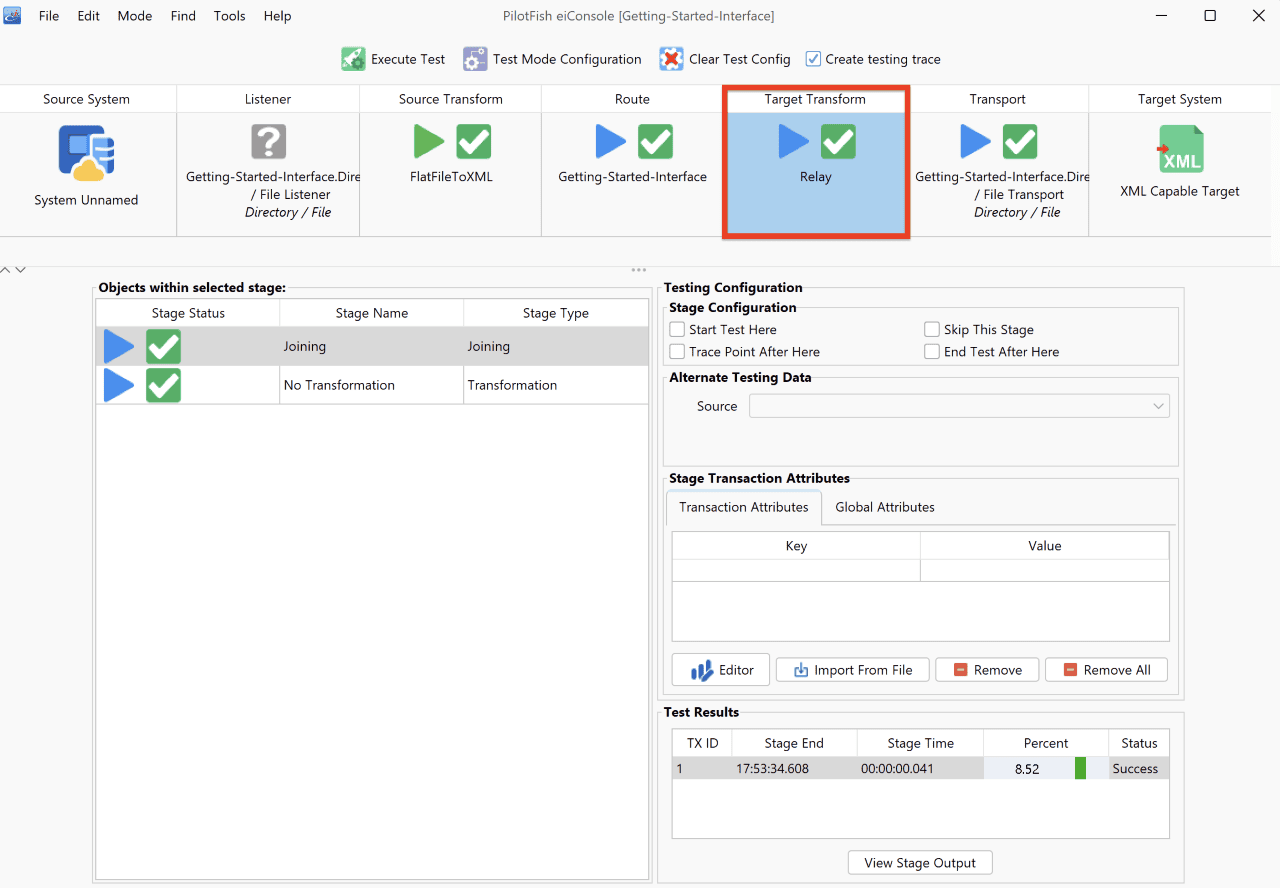
Next, click the Target Transform stage. The Target Transformation relayed this data forward without any further transformation.
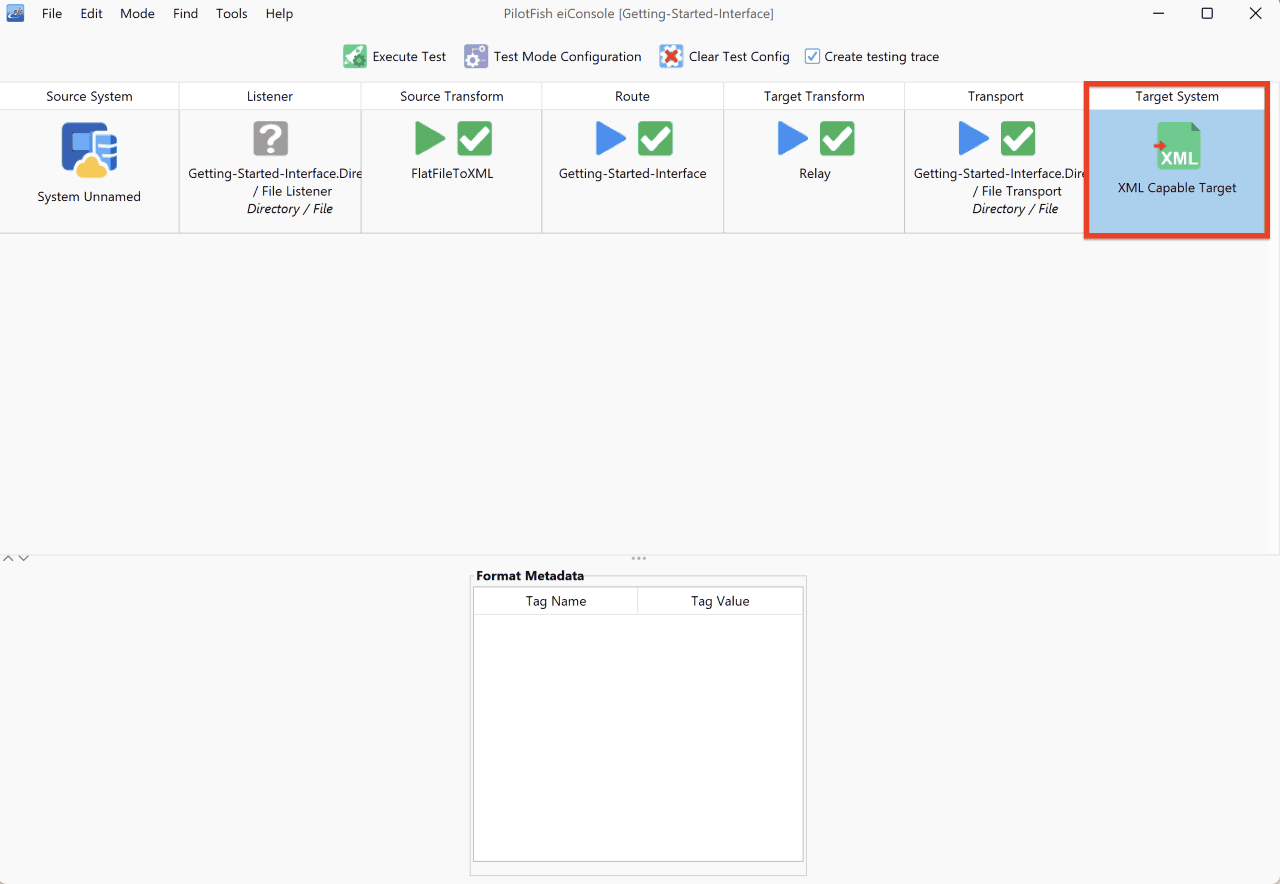
Finally, click the Target System stage. The Transport took that file and deposited it in the directory.
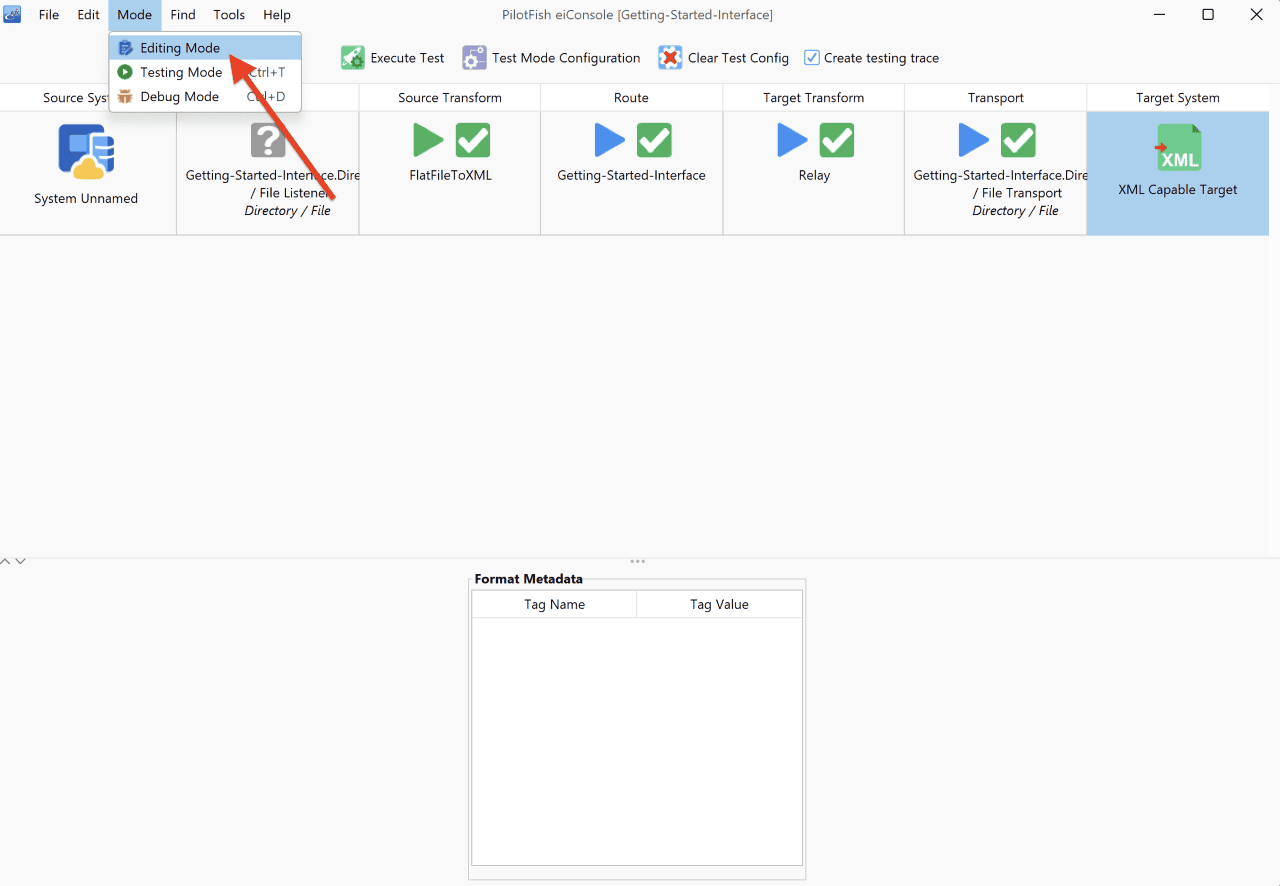
To find the file written with the Directory Transport:
1) Return to editing mode by selecting the Route and then Editing Mode from the Mode drop-down.
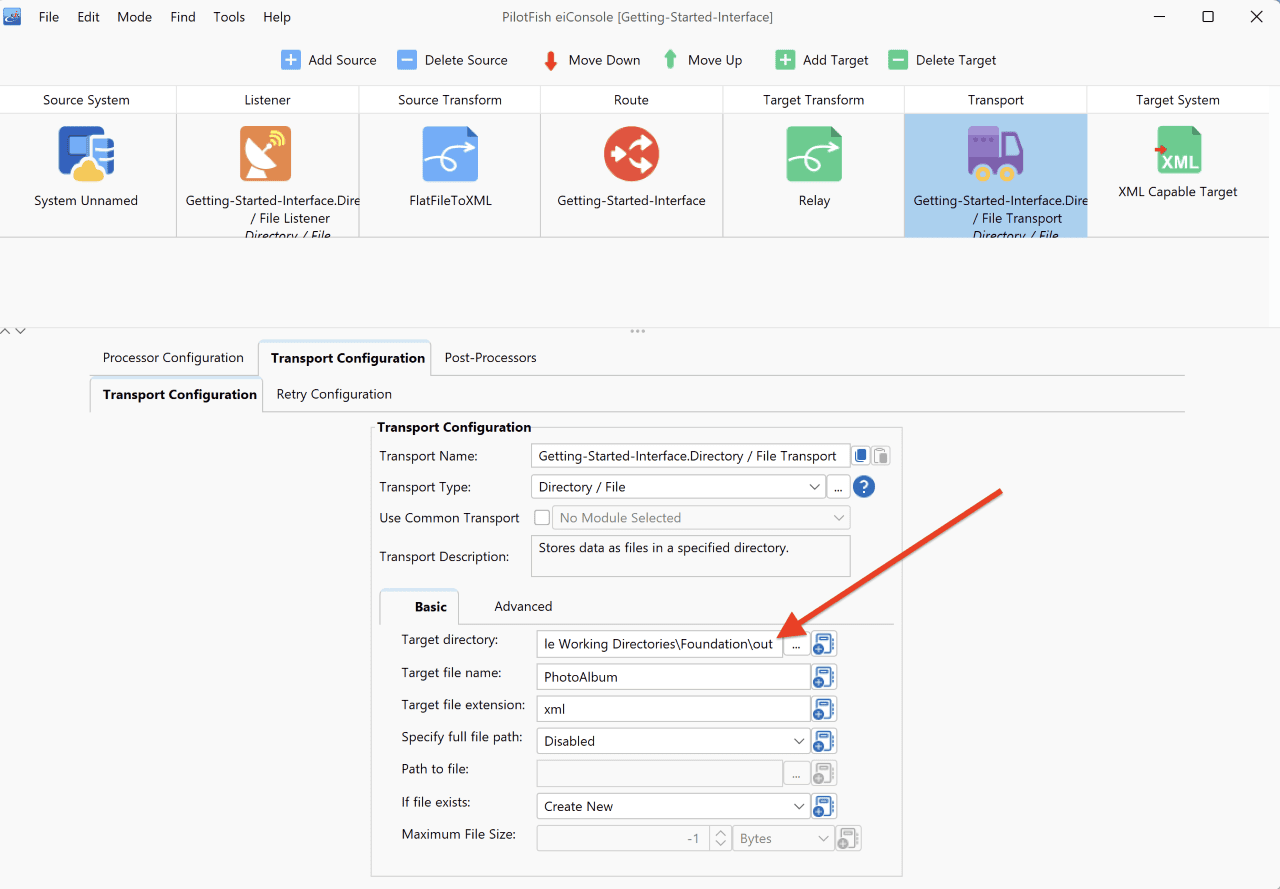
2) Select the Transport stage
3) Copy the contents of the “Target directory” configuration item
4) Paste the contents into a file browser on your computer, or navigate to the “out” directory of your Working Directory folder. In our case it’s: c:\Users\{USER _NAME}\PilotFish eiConsole Working Directories\Foundation\out
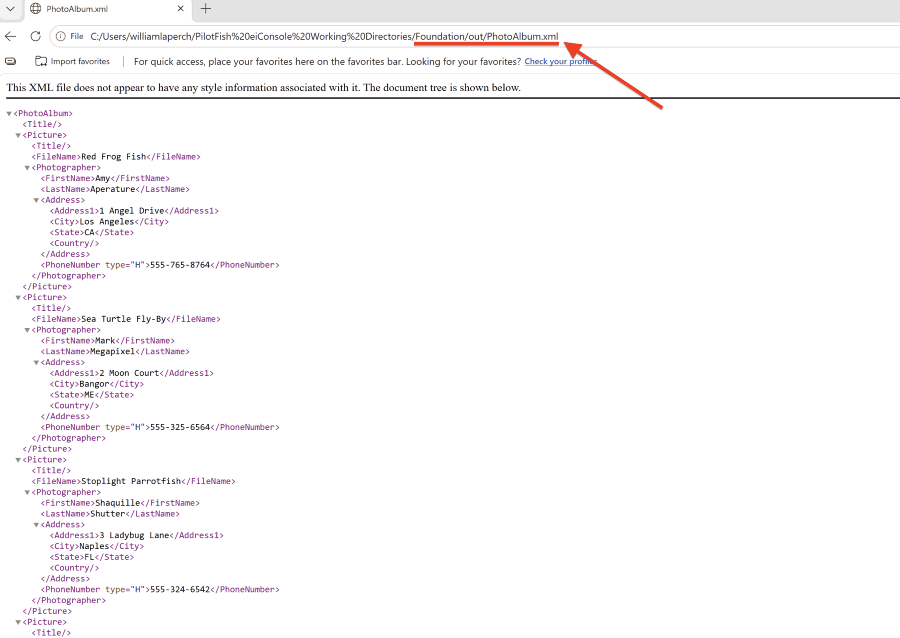
5) Open the created “PhotoAlbum.xml” file
You have now validated that the file was deposited in the directory.
To return to the File Management window, select File menu and select File Management from the drop-down.