eiConsole v.25R1
Tutorial & Interface
eiConsole – Data Mapping & Transformation
Using Variables
Note: The Quick Start, Foundation, and Topology tutorials should be completed before proceeding with the Data Mapping & Transformation Tutorials.
Overview
This interface and related tutorials demonstrate the use of the Data Mapper in Route configurations to transform the data between XML Formats. In this particular exercise, an existing Route (from “Data Mapping – Using Java Call-Outs“) is modified to transform a “PeopleA” XML format to the “PeopleG” XML format, which makes use of iteration, conditions and variables to output “Neighbor” elements.
The tutorial covers the use of variables within the Data Mapper for storing and retrieving values within transformations. It expands on the concepts covered in “Data Mapping Using Java Call-Outs“, so users are expected to be familiar with that content.
Before You Begin
Working Directory
Download the Using-Variables-Working-Directory.zip file with the sample Working Directory and unzip it on your computer to a convenient place. In our case, it’s c:\Users\{USER _NAME}\PilotFish eiConsole Working Directories\Using Variables where {USER_NAME} is the user’s name.
Open the eiConsole, browse to your Using Variables directory and open it. The fully configured Data Mapping – Using Variables route is included in the Working Directory. Your Route File Management screen will open, as shown below.
Next, follow the tutorial and walk through it step-by-step. You may check your work against the provided Route sample data at the end of the tutorial.
Double-click on the Data Mapping – Using Variables route.

Creating & Configuring a New Format
Start by creating and configuring a new format. Name it PeopleA XML to PeopleG XML.
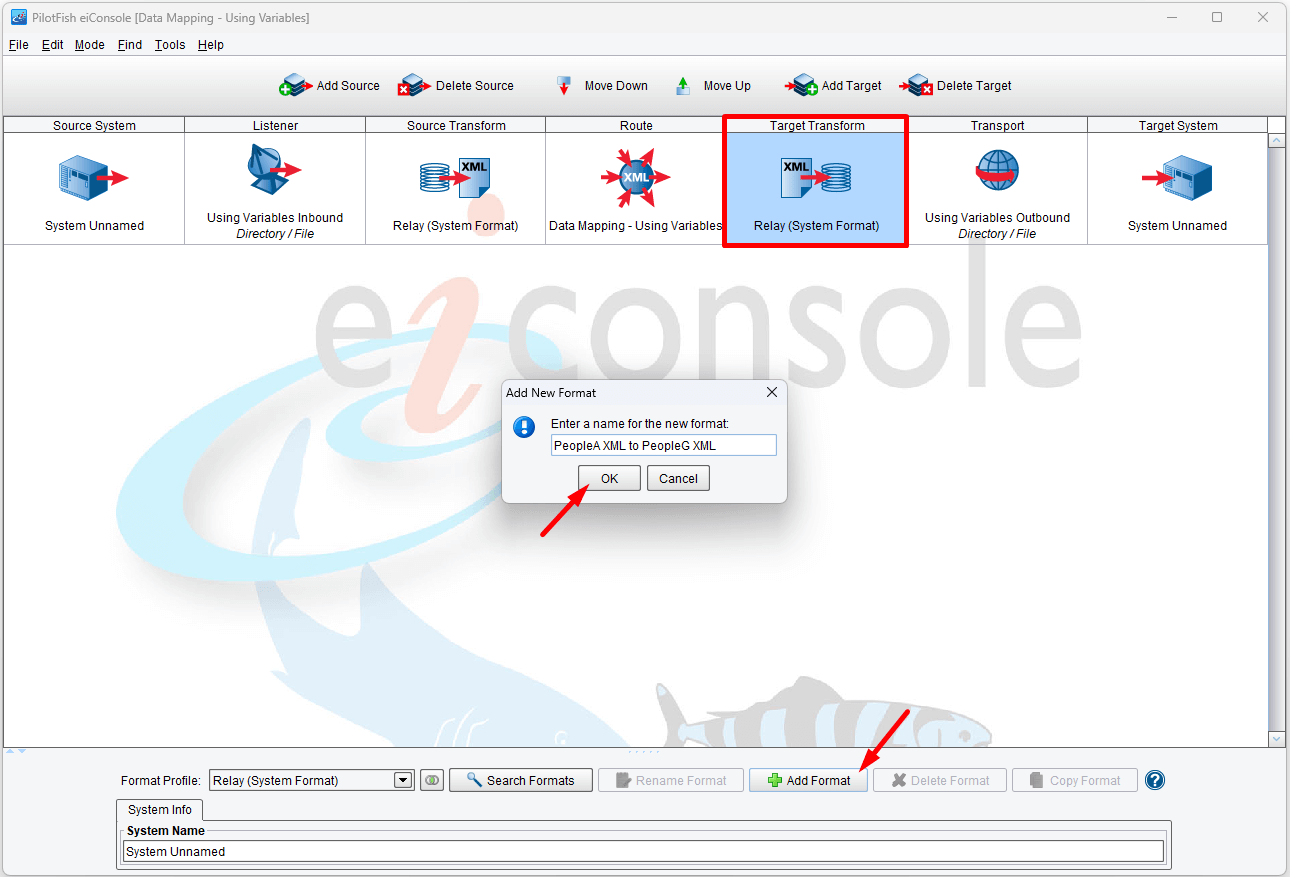
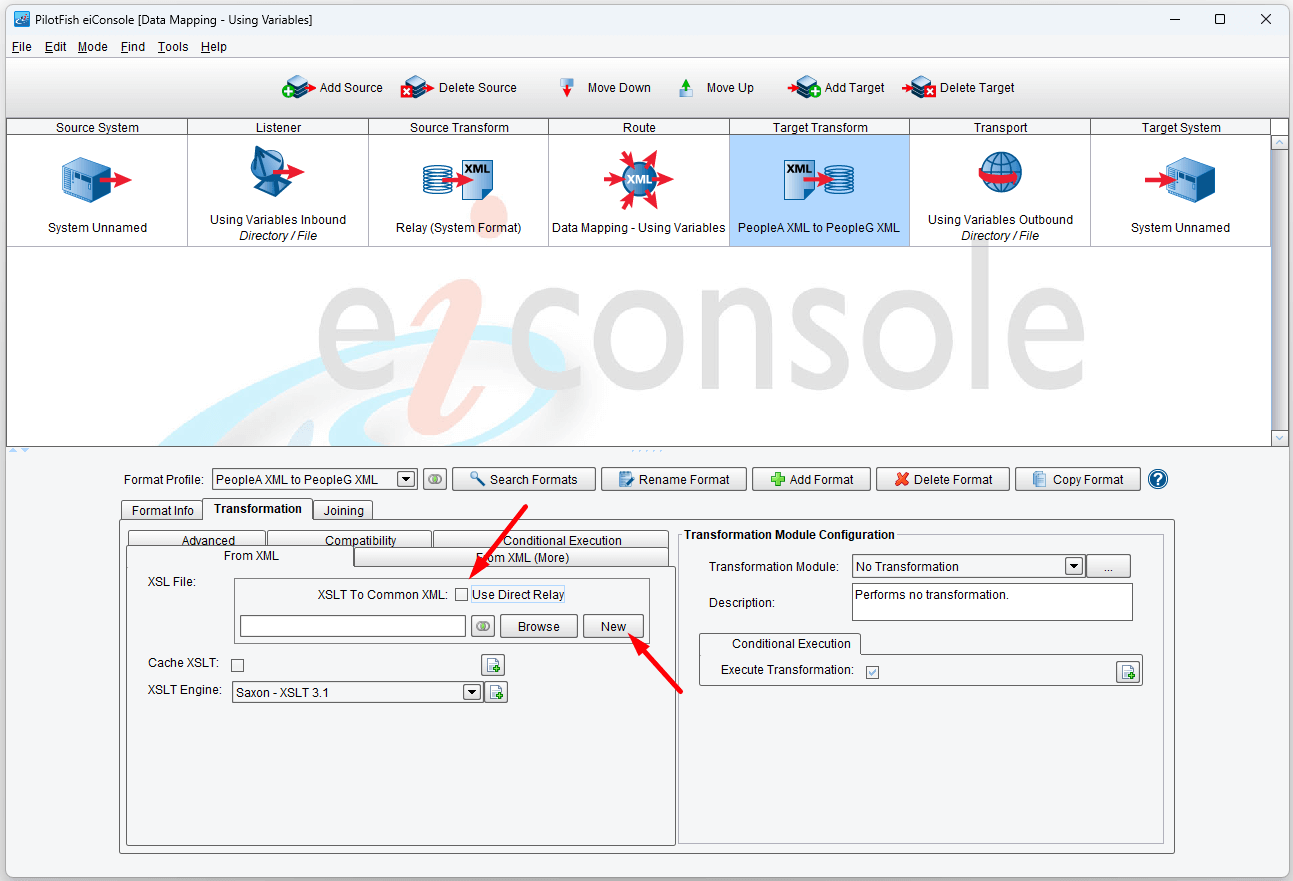
Uncheck the Use Direct Relay checkbox and click the New button to open the Data Mapper.
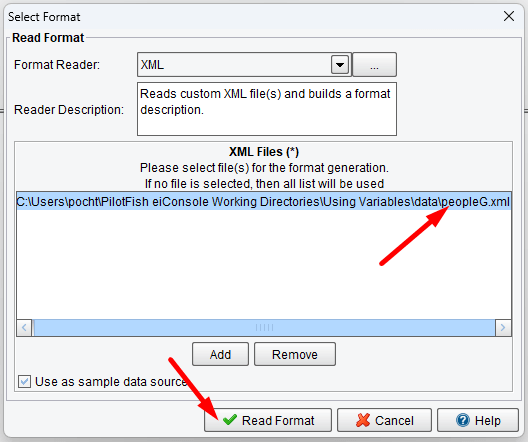
Then, using the Format Reader, select XML as the format and read “PeopleA.xml” as the Source. You can find it in c:\Users\{USER _NAME}\PilotFish eiConsole Working Directories\Using Variables\data. The “PeopleG.xml” data is also in this directory.
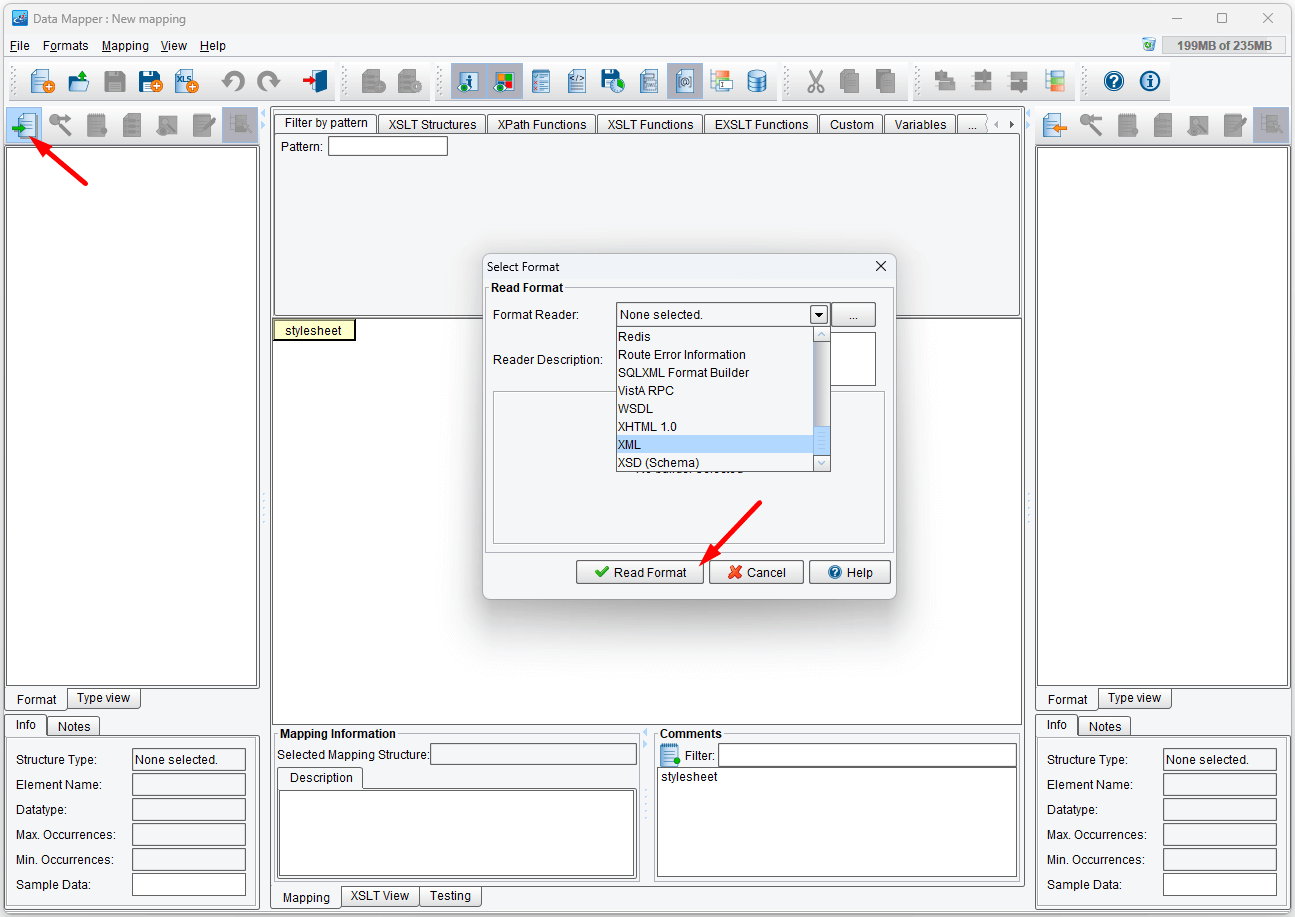
Click the Read Format button…

… and then read the “PeopleG.xml” as the Target – again selecting XML from the Format Reader.
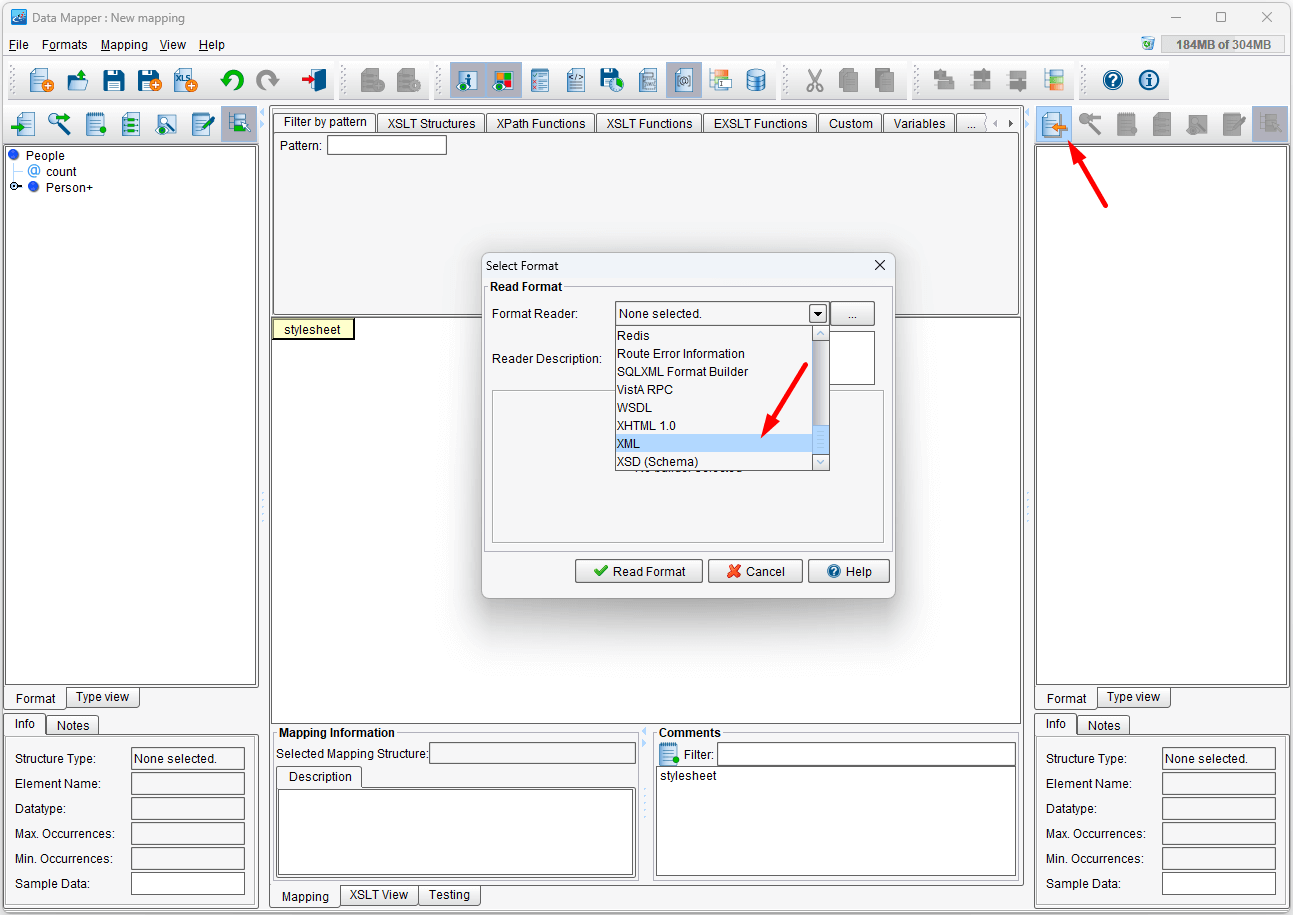
Click the Read Format button.
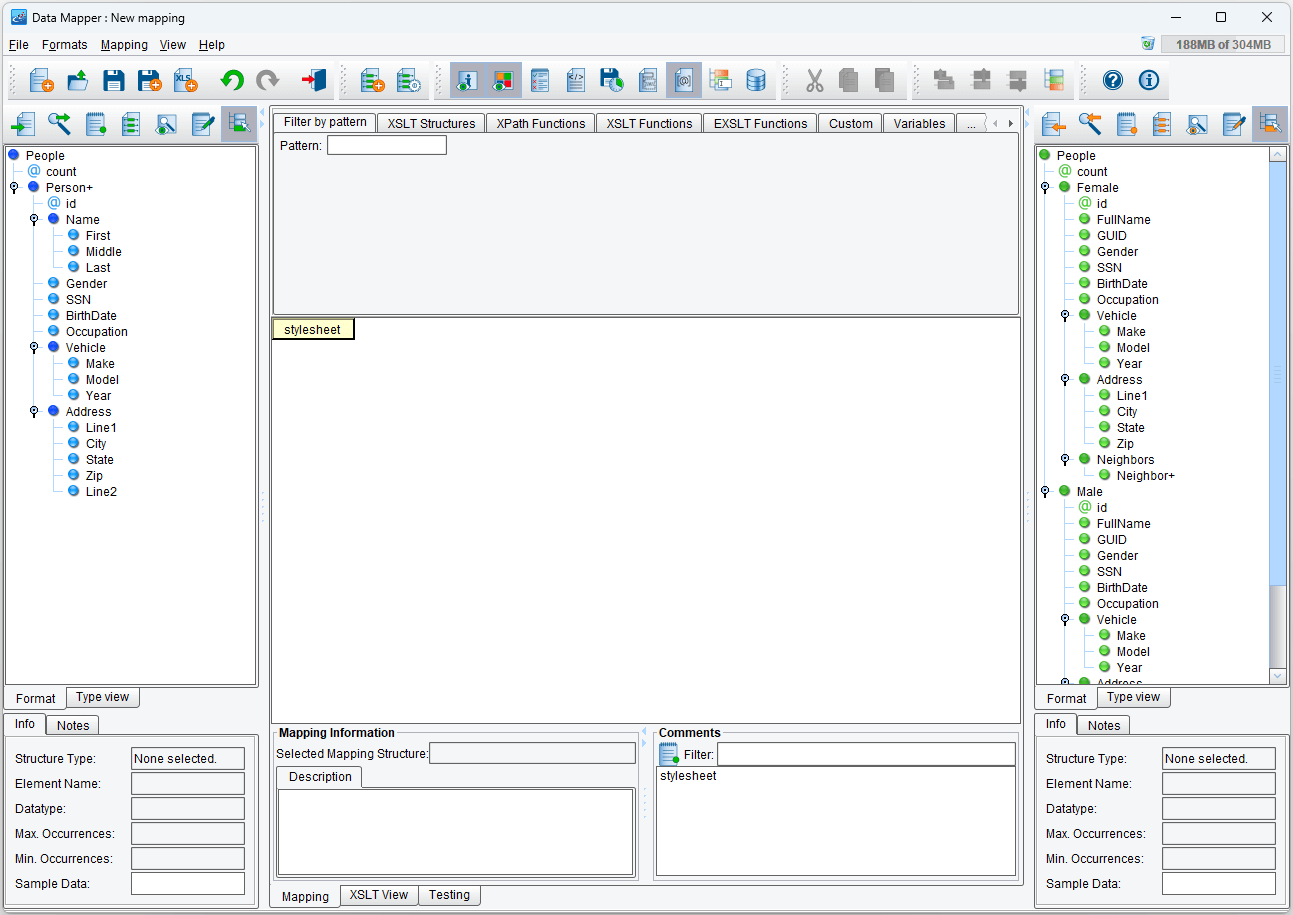
Now, your Data Mapper should look like the screen below.
Mapping Exercise
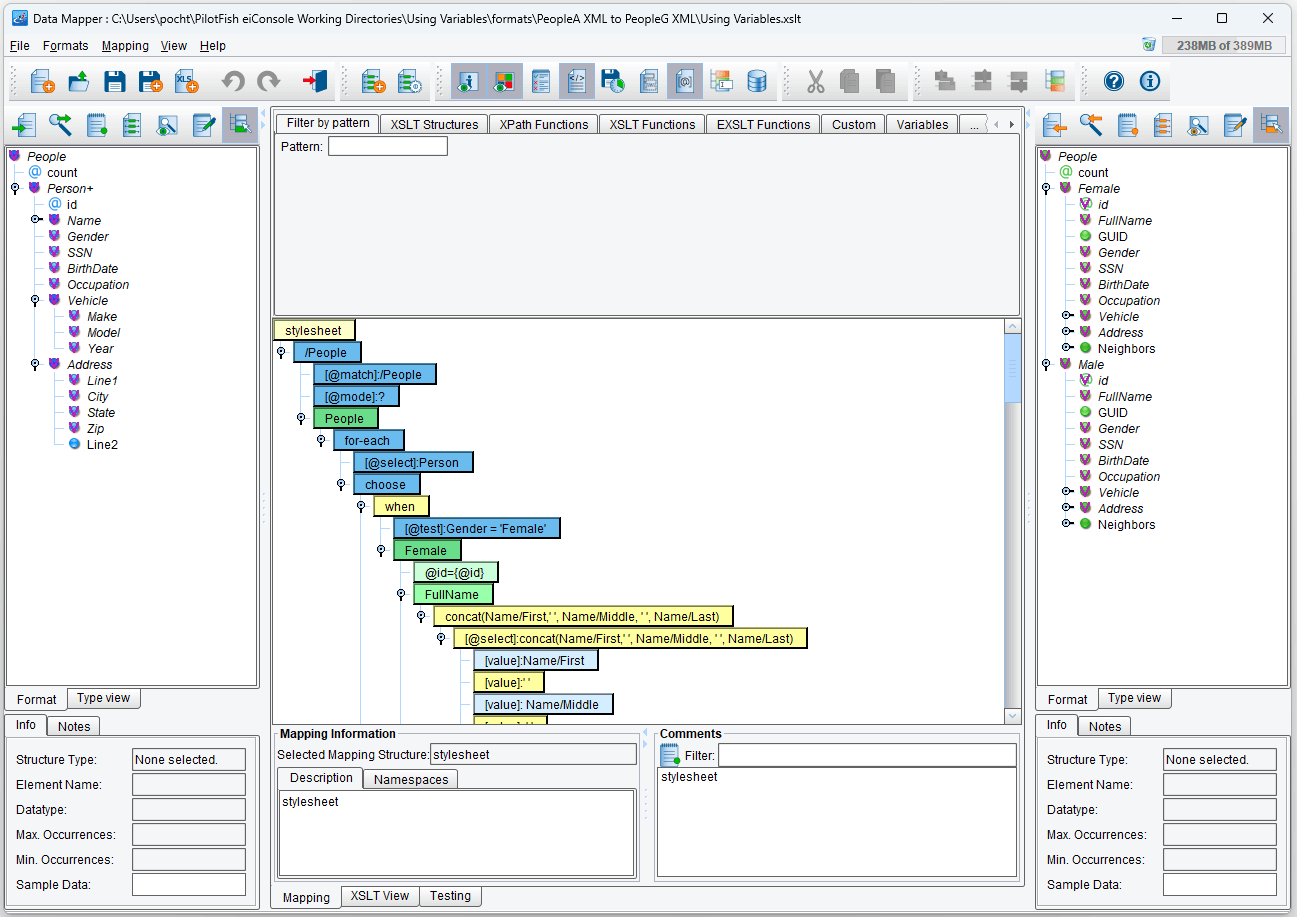
Repeat the mapping exercise from the previous tutorial or copy the resulting XSLT via the “XSLT View” tab.
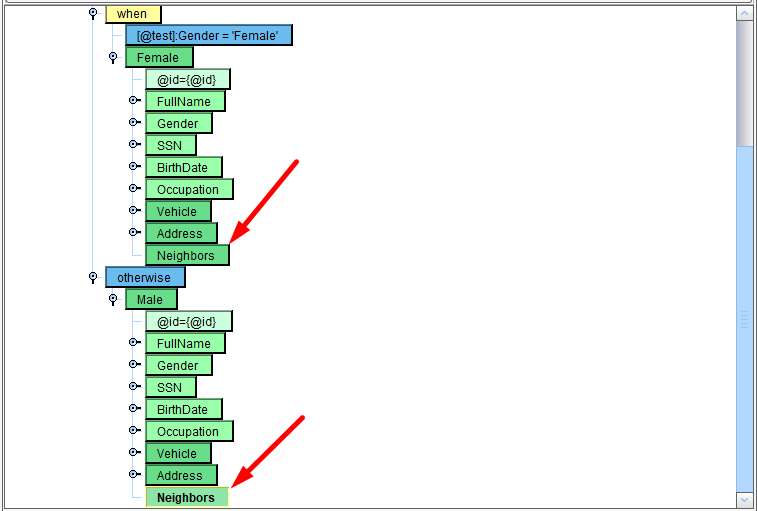
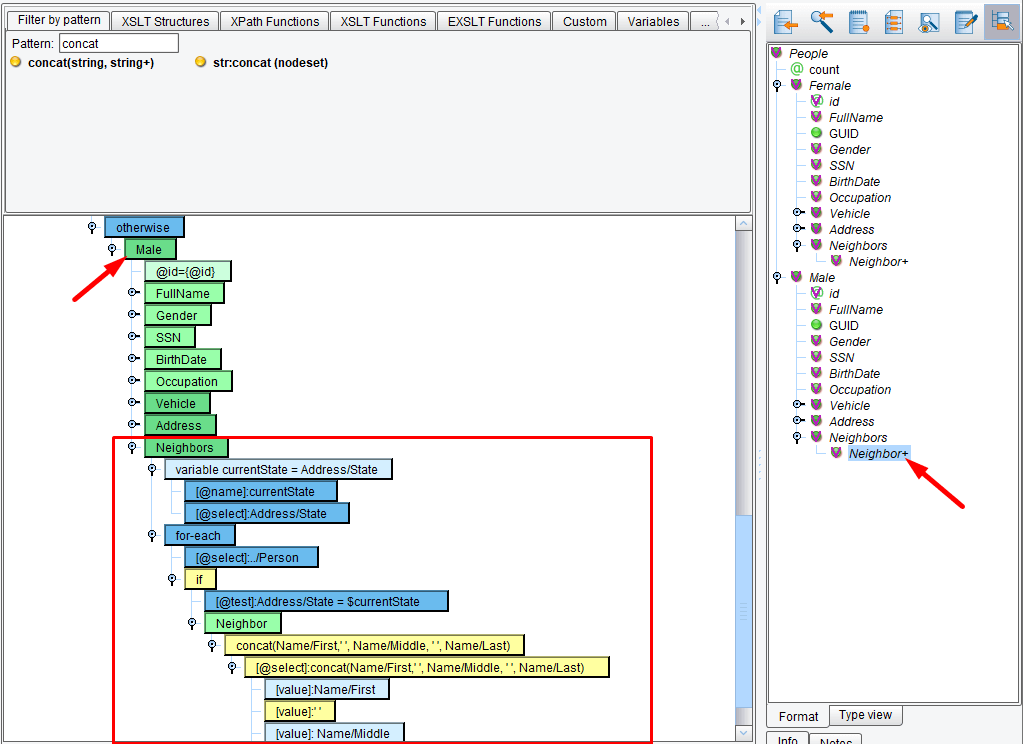
Once again, a small change has been made to the Target format – the addition of the “Neighbors” element and its child “Neighbor” element. For each Person within the same State as any given Male or Female, we’ll put the concatenated First, Middle, and Last Names into a Neighbor element. Start by dragging Neighbors onto Female and Male:
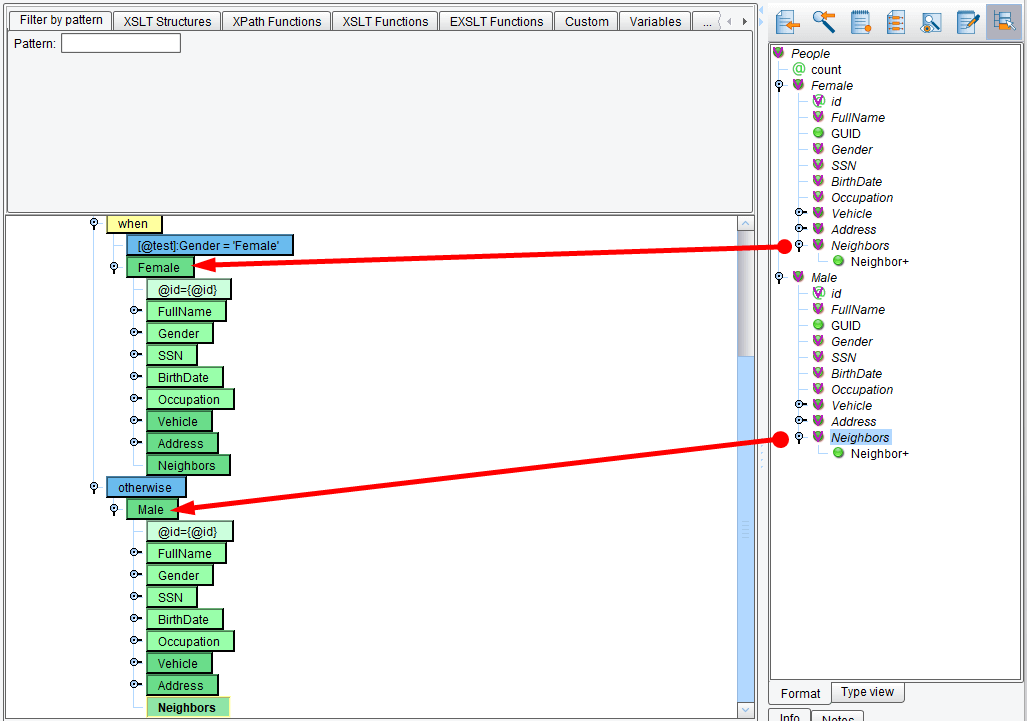
Once the Neighbor element is added, it should look like this:
We’ll use a “for-each” and “if” instruction to iterate over each person again, then conditionally place a Neighbor if the State matches. However, once we place the “for-each”, we’ll lose the context of the current person. It will be replaced by the person we’re iterating over within the second “for-each”.
Create a Variable
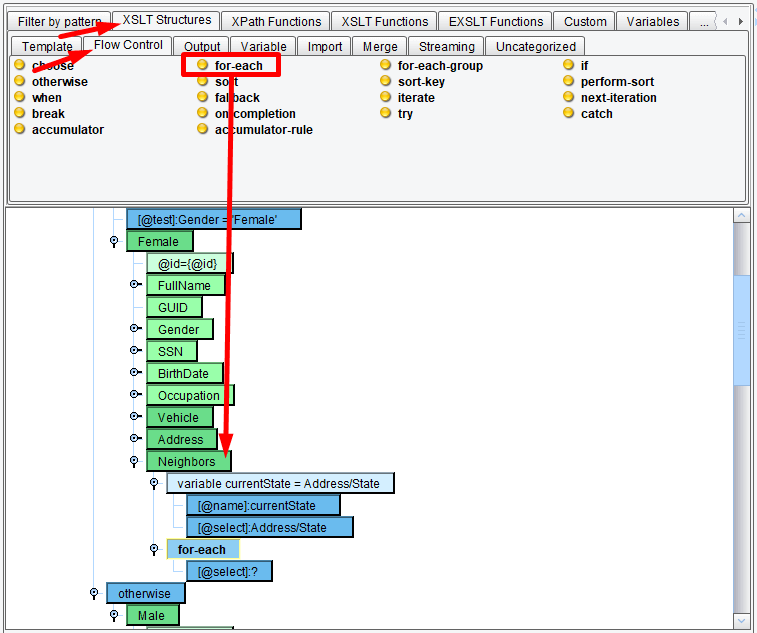
Create a variable by selecting the XSLT Structures tab, the Variable tab and then the variable XSLT function and dragging it onto the Neighbors element:
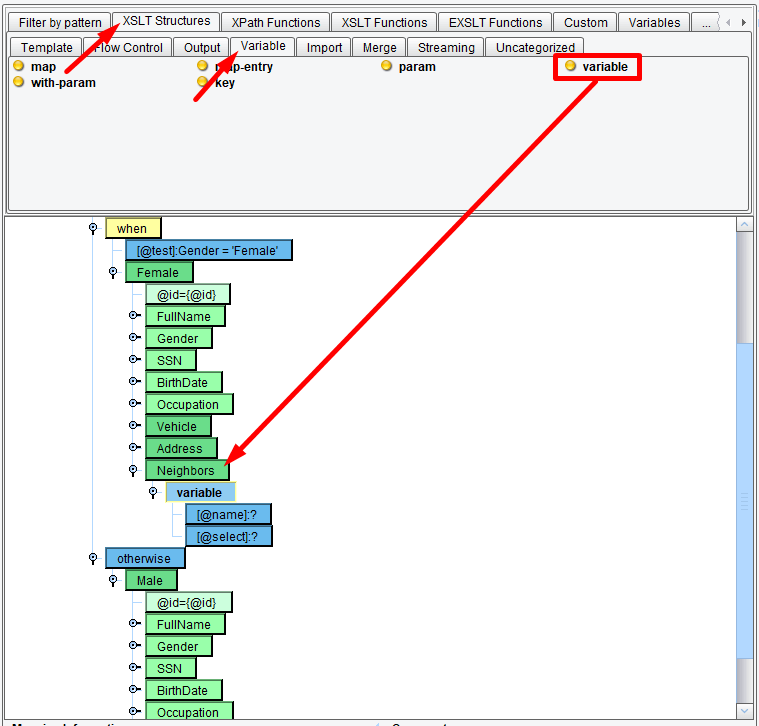
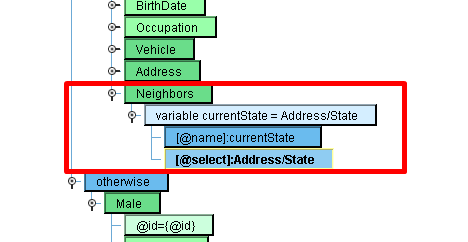
The created variable instruction has the attributes name and select. The name attribute defines the name of the variable to be referenced later. The select attribute is an expression that will be evaluated and the value will be placed into the variable.
We’ll set the name of our variable by double-clicking on the name attribute. We’ll be using currentState for our variable name:

Next, we need to provide a value for our variable, which in this case will be the current person’s State value. Drag & drop State from the Source list onto the select attribute:
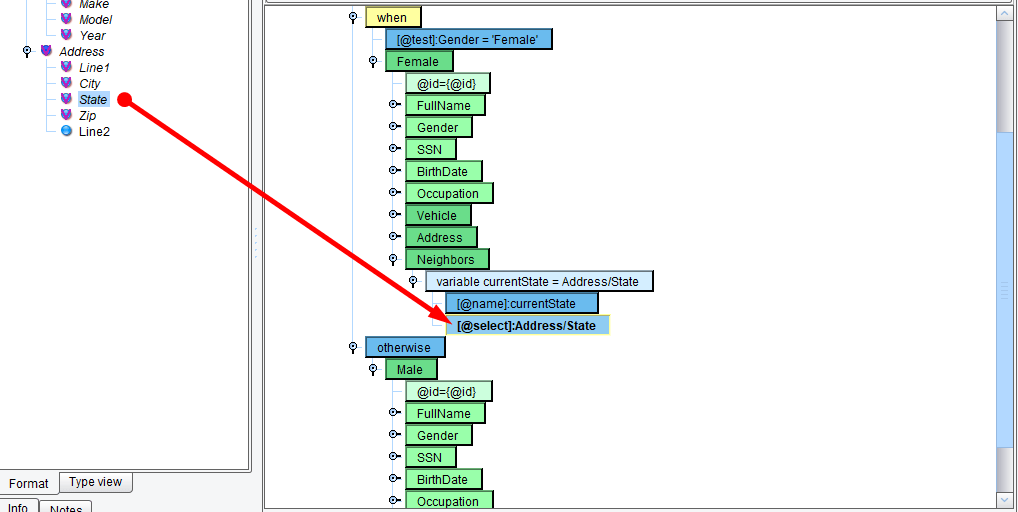
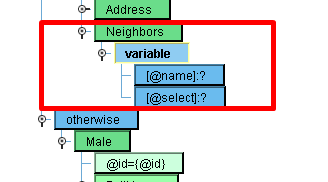
Our variable definition should now look like this:
Placing the XSLT Function onto the Neighbors Element
Next, we’ll place our “for-each” onto the Neighbors element:
If we drag Person from the Source panel onto the for-each select, the Mapper will assume you want the current person. We’ll need to manually modify the value by double-clicking it and changing it to read ../Person.
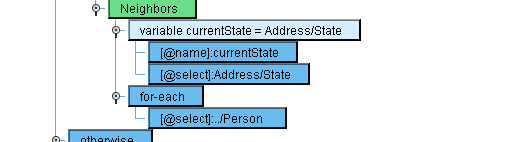
Hit enter to save the value.
Next, select the XSLT Structures tab, the Flow Control tab and the if XSLT function and drag it onto the “for-each“.
Dragging an XSLT Function onto the “for-each”
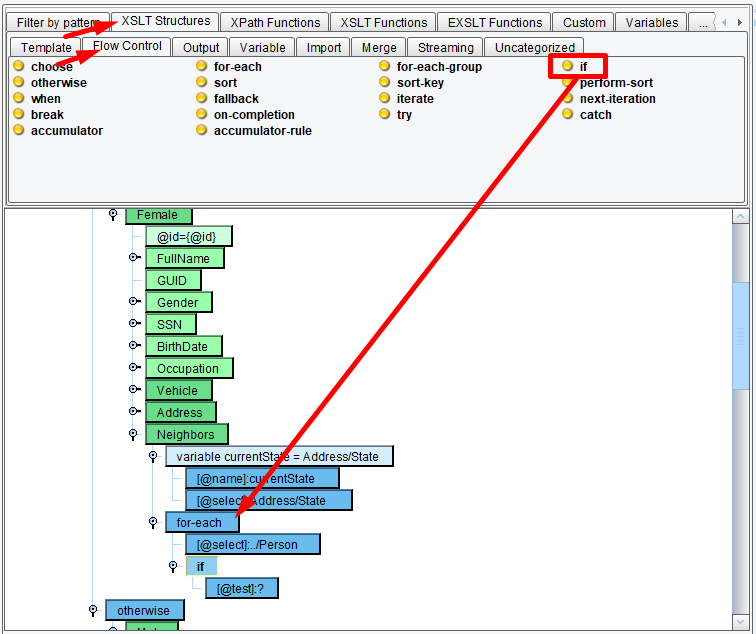
Double-click on the if [@test]: attribute and change it to read as follows: Address/State = $currentState

This will test to see if the current person’s State matches the previously stored State. Now, we’ll create a Neighbor element if the condition evaluates to true.
Creating a Neighbor Element
Drag Neighbor from the Target panel onto the if:

Next, repeat the concatenation from the Data Mapping – Using Functions tutorial using the Concat function and this code: concat(Name/First,' ', Name/Middle, ' ', Name/Last)
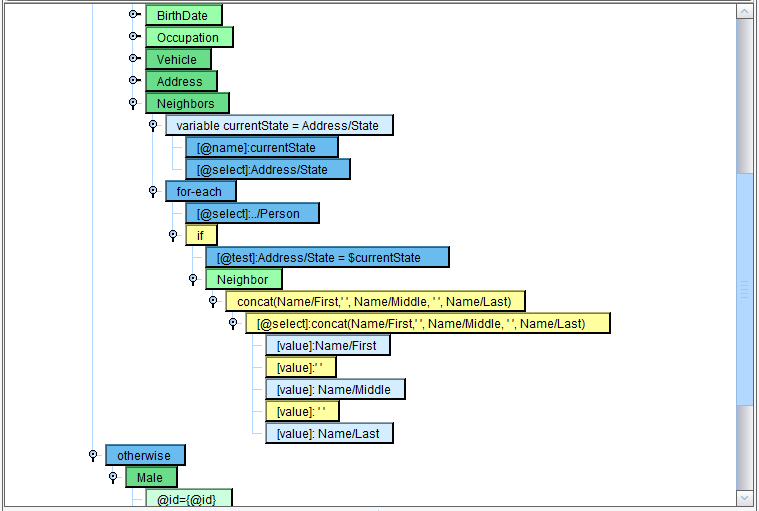
Now repeat the same mapping for the Male Node.
Testing the Mapping
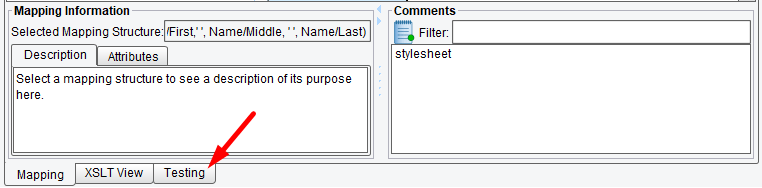
Go to the Testing tab…
…and click the Green arrow icon to begin testing.

XSLT and XPath provide numerous other functions, all of which are available in the tool palette at the top of the Data Mapper screen.
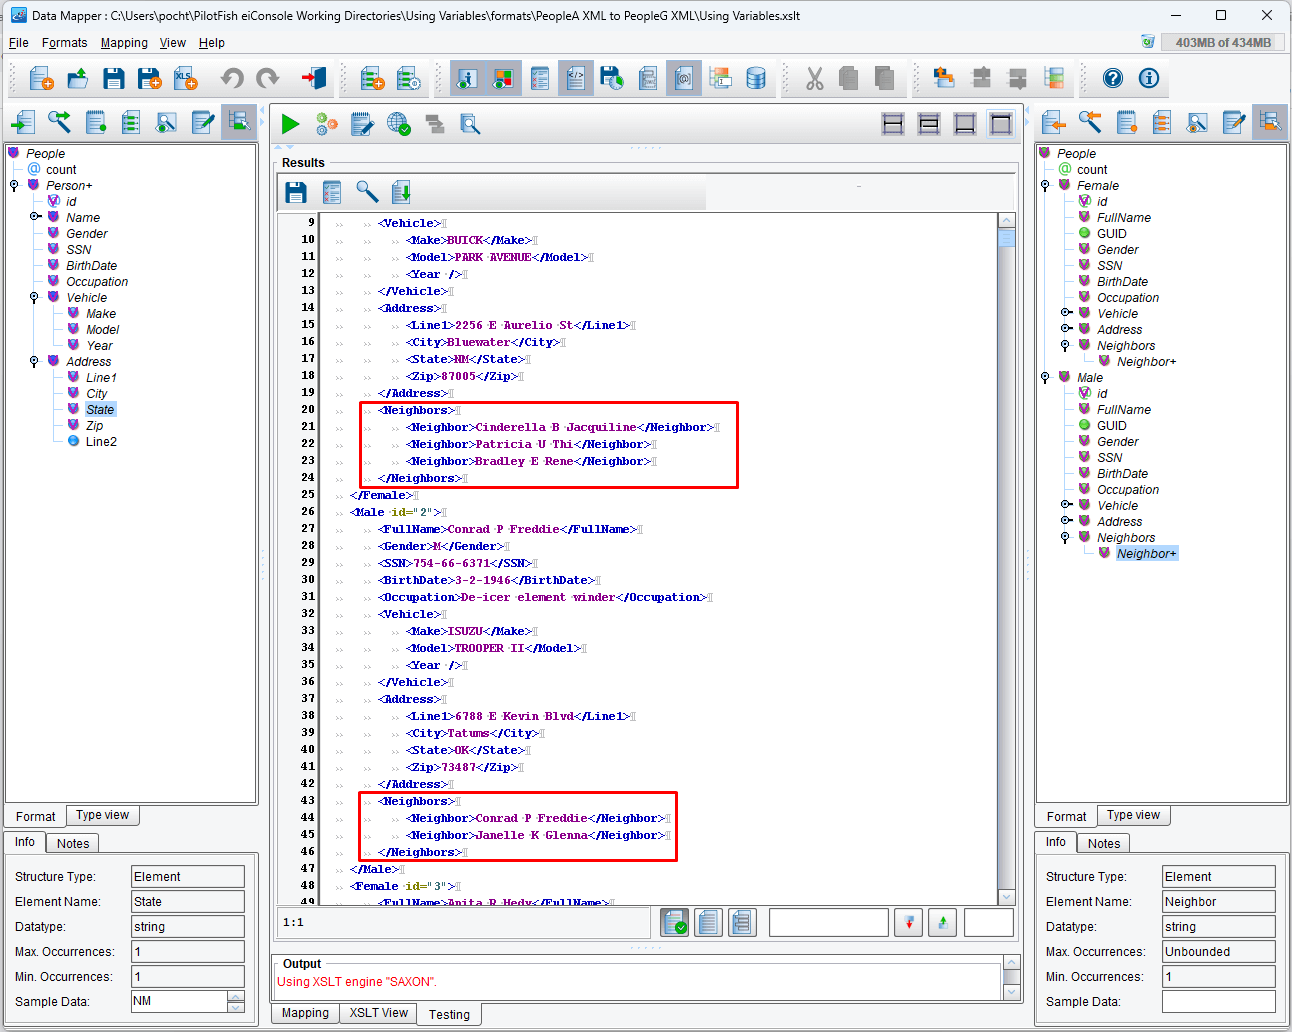
Click on the View Results button for more convenient checking results. Test the mapping and you should see the following output.
If it matches the above, you are done. Congratulations. Move on to the next tutorial, Transformation Using Transaction Attributes.