Documentation
eiDashboard
Installation Guide – Linux
Prerequisites
The prerequisites for this installation is to have a PostgreSQL or MS SQL Server database instance available and to install Tomcat and the eiPlatform It is also recommended that eiDashboard General Configuration documentation be read before installing the eiDashboard. It will help to understand what you are setting up and how the eiDashboard interacts and monitors eiPlatform’s.
The installation of the eiPlatform and Dashboard can be on different servers. For this document we are assuming they are both installed on the same server.
Installation of Java, Tomcat and the eiPlatform
On Linux, WAR files are used in conjunction with Tomcat to deploy PilotFish server applications. Currently, PilotFish needs Java to operate and the version of Java used for both Tomcat and PilotFish should be the same. A minimum of Java 17 should be used.
The eiDashboard and back-end eiPlatform must be of the same major version release to guarantee compatibility with the eiDashboard back-end Routes.
Please follow these steps for information on how to install Tomcat and the eiPlatform.
Installation of Dashboard WAR Files
Deployment of the Dashboard WAR
- Download the dashboard.war from https://customerportal.pilotfishtechnology.com/portal/
You can login to the customer portal with your eiConsole license credentials. If you don’t have credentials or do not see the needed dashboard.war file, reach out to support@pilotfishtechnology.com for assistance. - It will be named something like dashboard.war.23R1.78. Rename it to dashboard.war.
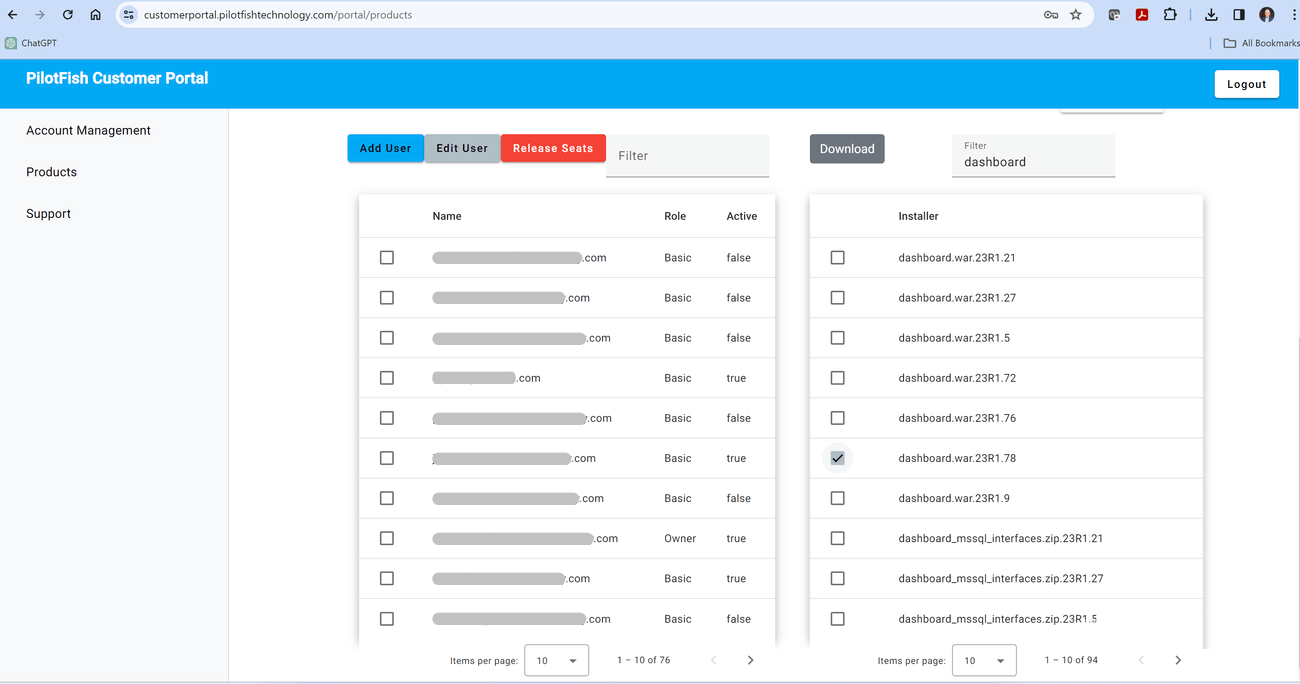
- Navigate to the Tomcat installation directory and select the webapps subdirectory. The dashboard.war file should be copied into that directory
/opt/tomcat/webapps
To start, you can simply drop your WAR file into the tomcat/webapps directory.
If Tomcat is running it will automatically explode out the files into the directory.
It is recommended that the eiDashboard WAR file be named dashboard.war and eiPlatform WAR file be named eip.war.
Ultimately the names of these files will be the name of the resource path that allows you to interact with the web application.
To connect to the eiDashboard in this scenario, with default port for Tomcat being 8080, the address in the browser would be
http://localhost:8080/dashboard
and to connect to the eiPlatform
http://localhost:8080/eip
Please note that if the eiPlatform and dashboard are installed on separate servers, you can use the IP address instead of localhost.
At this point, the dashboard will need to be configured to connect to a database. In this tutorial, we are following our reference implementation (PostgreSQL) of the eiDashboard.
Provided alongside the eiDashboard WAR file is a separate ZIP file containing the back-end routes and schema to be used with the back-end eiPlatform. The schema, once loaded into your database will seed all necessary information to log into the eiDashboard as well as for Transaction Logging.
Download the sql to create the Dashboard tables into your database
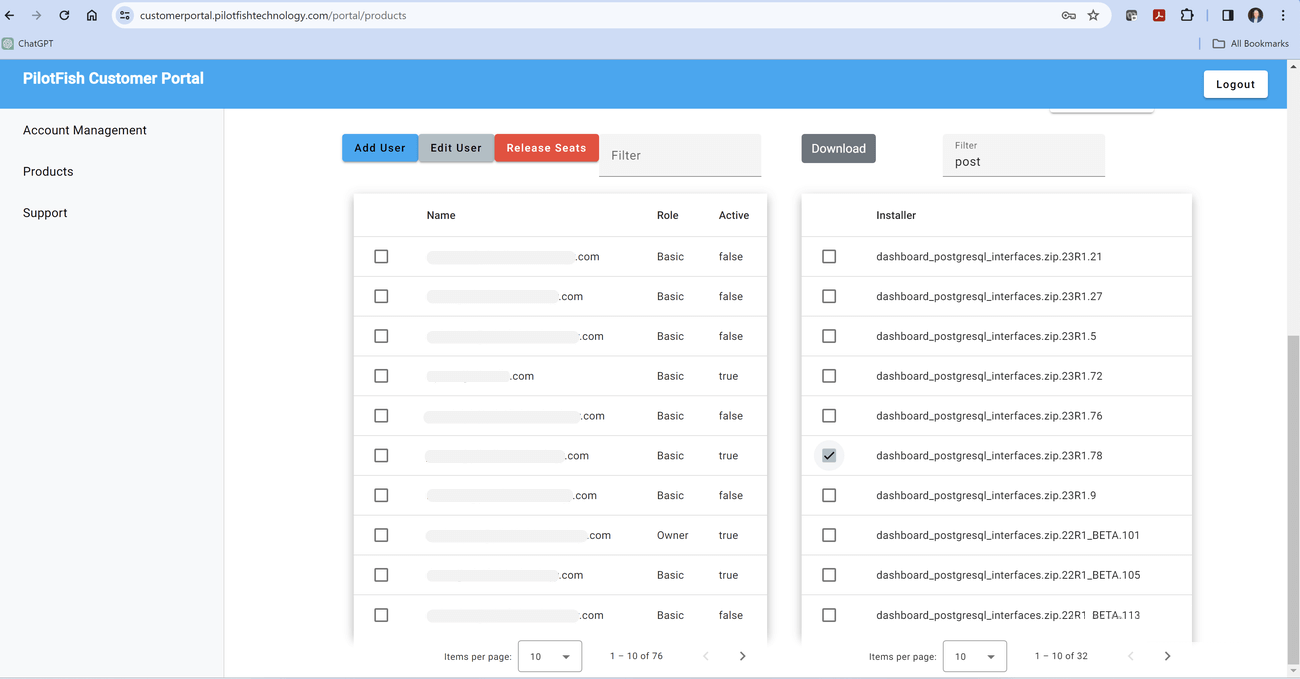
- Download the dashboard Interfaces from https://customerportal.pilotfishtechnology.com/portal/
You can login to the customer portal with your eiConsolel license credentials. If you don’t have credentials or do not see the needed eip.war file, reach out to support@pilotfishtechnology.com for assistance. - It will be named something like dashboard.postgress_interfaces.zip.23R1.78. Unzip this file

If you have not already, you should create a database as well as a user with read and write access to the said database as the next steps assume that this is setup. You can find documentation on how to do this at PostgreSQL’s site.
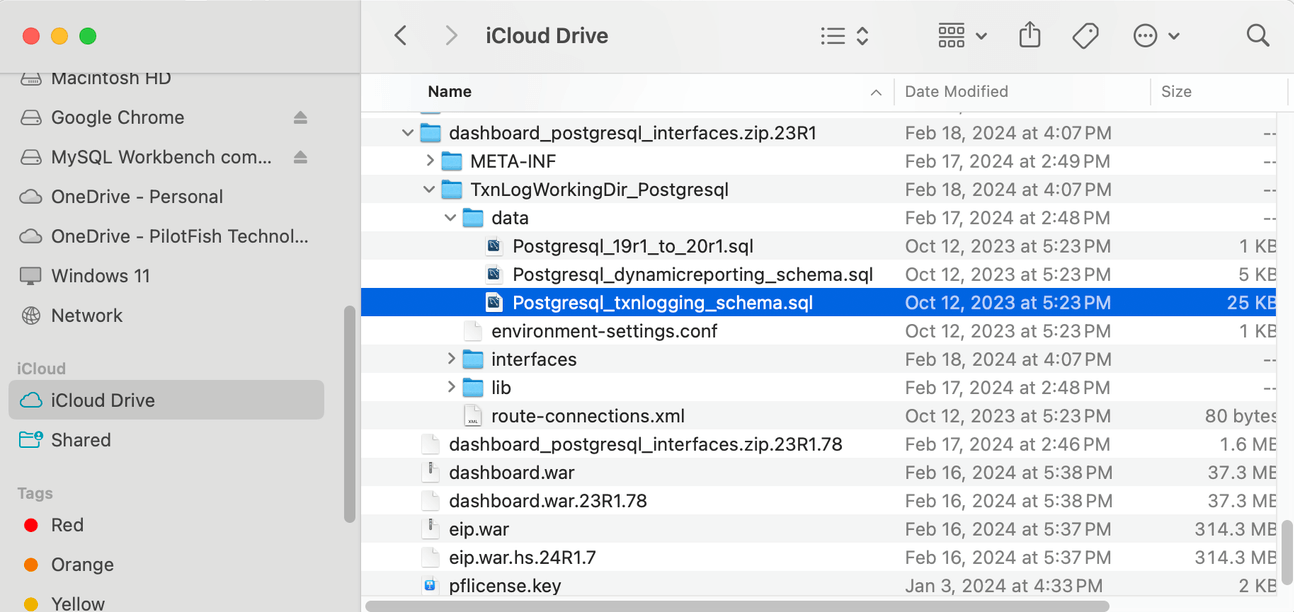
You can find the schema inside the zipped file. Unzip the Working Directory and navigate to the working directory root data folder and you will find Postgresql_txnlogging_schema.sql.
This file is the only SQL you will need to run if you are doing a fresh install.
Run this script in your database client. In this case, we used pgAdmin for postgres.
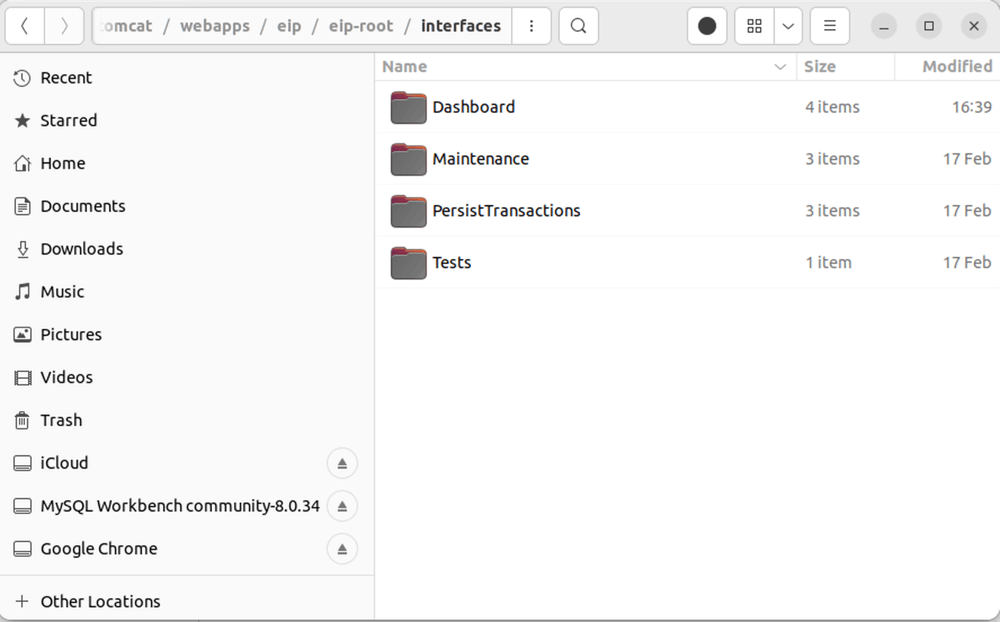
Next, you will need to configure the routes. This can be done by moving the contents of the unzipped working directory interfaces into the eip-root of the exploded eip.war tomcat directory:
After doing so the contents of the eip-root folder should look like the following:
Once that is done you can move on to copying the environment-settings.conf found here in your zip file
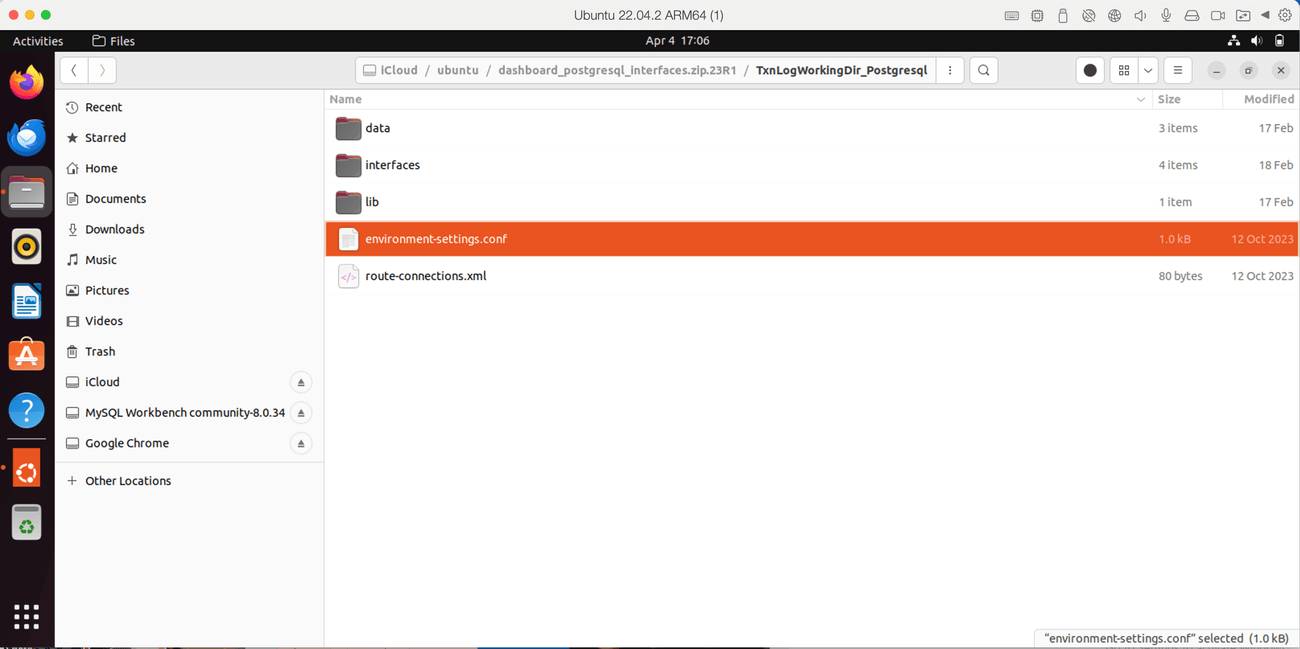
You will need to move it under eip-root.

The file should look similar to this:
#eiPlatform environment properties
 Postgresql_Driver={ognl\:\#system.getenv('PFISH_DASH_CONF_com_pilotfish_eip_txlog_dbDriver', 'org.postgresql.Driver')}
 Postgresql_Password={ognl\:\#system.getenv('PFISH_DASH_CONF_com_pilotfish_eip_txlog_dbPass', '${installer:jdbcPassword}')}
 Postgresql_URL={ognl\:\#system.getenv('PFISH_DASH_CONF_com_pilotfish_eip_txlog_dbUrl', '${installer:jdbcUrl}')}
 Postgresql_Username={ognl\:\#system.getenv('PFISH_DASH_CONF_com_pilotfish_eip_txlog_dbUser', '${installer:jdbcUsername}')}
 Postgresql_Read_Driver={ognl\:\#system.getenv('PFISH_DASH_CONF_com_pilotfish_eip_txlog_dbDriver', 'org.postgresql.Driver')}
 Postgresql_Read_Password={ognl\:\#system.getenv('PFISH_DASH_CONF_com_pilotfish_eip_txlog_dbPass', '${installer:jdbcPassword}')}
 Postgresql_Read_URL={ognl\:\#system.getenv('PFISH_DASH_CONF_com_pilotfish_eip_txlog_dbUrl', '${installer:jdbcUrl}')}
 Postgresql_Read_Username={ognl\:\#system.getenv('PFISH_DASH_CONF_com_pilotfish_eip_txlog_dbUser', '${installer:jdbcUsername}')}
The environment properties may look a little strange, but this is because we are using OGNL to set the value of the property.
Postgresql_Driver is the full classpath to the driver installed in your embedded EIP’s eip-root/lib folder. Likely you can leave this as a default
Postgresql_Password is the password to the user created in your database
Postgresql_URL is the JDBC url to your database. Connecting to a locally running PostgreSQL database with database named txlogdb would have a JDBC url of jdbc:postgresql://localhost:5432/txlogdb
Postgresql_Username is the username of the user created in your database
So if the username is test and password was test with the URL mentioned above, the settings would look like this:
Postgresql_Driver={ognl\:\#system.getenv(‘PFISH_DASH_CONF_com_pilotfish_eip_txlog_dbDriver’, ‘org.postgresql.Driver’)}
Postgresql_Password={ognl\:\#system.getenv(‘PFISH_DASH_CONF_com_pilotfish_eip_txlog_dbPass’, ‘test’)}
Postgresql_URL={ognl\:\#system.getenv(‘PFISH_DASH_CONF_com_pilotfish_eip_txlog_dbUrl’, ‘jdbc:postgresql://localhost:5432/txlogdb’)}
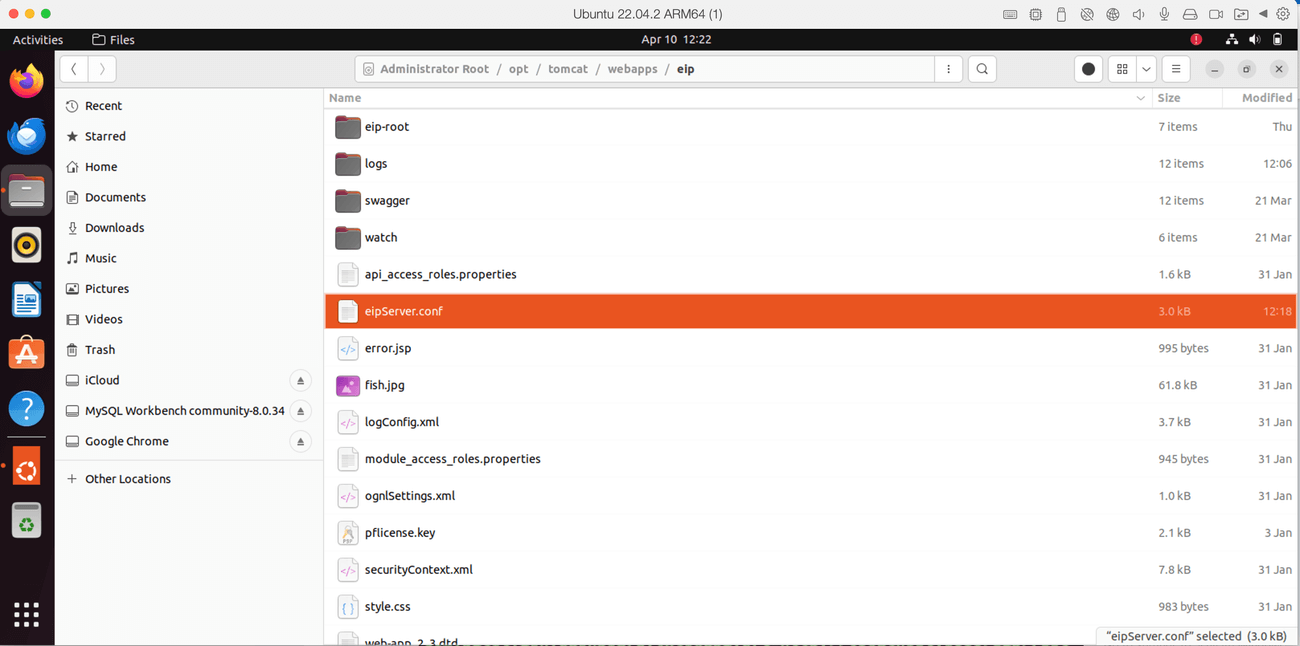
Postgresql_Username={ognl\:\#system.getenv(‘PFISH_DASH_CONF_com_pilotfish_eip_txlog_dbUser’, ‘test’)}At this point you will also need to set up your administrative user and password in the eipserver.conf file
Here are the lines in the eipserver.conf file that you need to modify.
# PilotFish eiDashboard default username & password
 com.pilotfish.eip.dashboard.User={ognl\:#system.getenv('PFISH_EIP_CONF_com_pilotfish_eip_user', '<myUser>')}
com.pilotfish.eip.dashboard.Password={ognl\:#system.getenv('PFISH_EIP_CONF_com_pilotfish_eip_password', '<myPassword>')}- Replace <myUser> with any user you want.
- Replace <myPassword> with any password you want.
Please Note: This file is located in the eip installation not the dashboard installation.
Finally, you will need to tell the eiDashboard how to connect into the back-end routes and point to the pflicense key.
Navigate to the exploded dashboard.war directory under the Tomcat webapps directory. Beneath that, you will find a WEB-INF folder. In that folder will be a configuration file called dashboard.conf, as seen below:
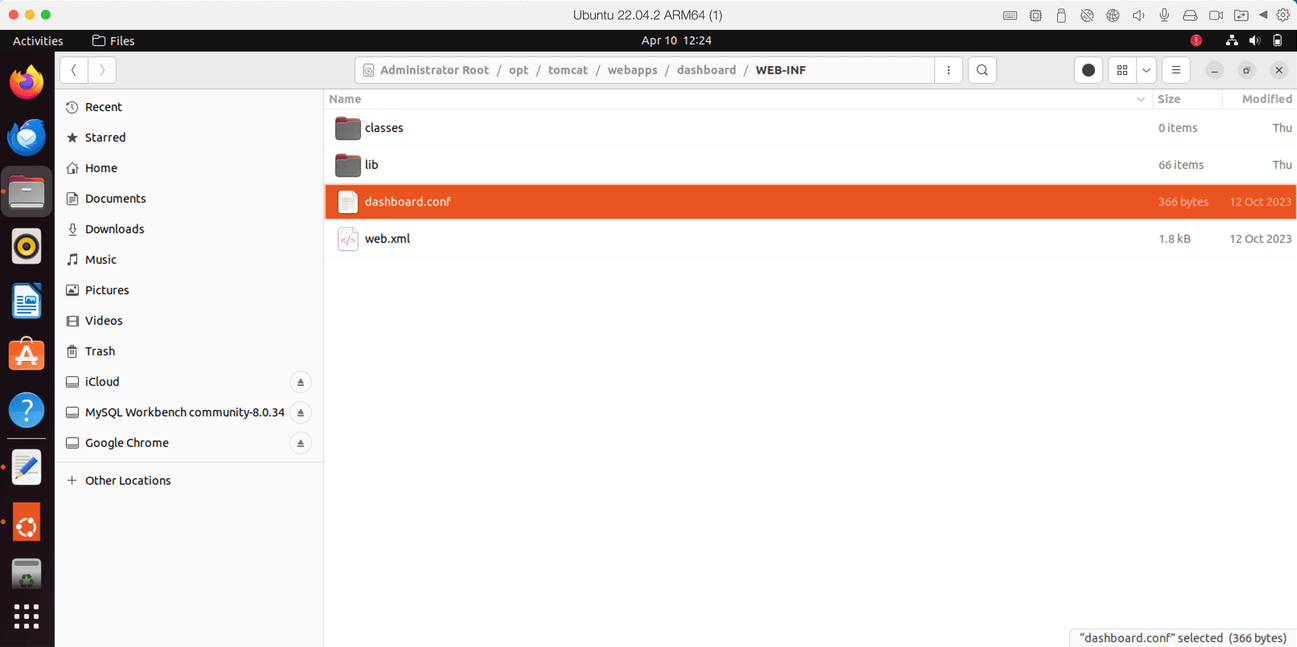
Open dashboard.conf. It should look like this:
com.pilotfish.dashboard.proxy.enabled=false
 com.pilotfish.dashboard.proxy.host=
 com.pilotfish.dashboard.proxy.port=
 com.pilotfish.dashboard.proxy.username=
 com.pilotfish.dashboard.proxy.password=
 com.pilotfish.dashboard.txlogapi.url=
 com.pilotfish.dashboard.i18n.country=US
 com.pilotfish.dashboard.i18n.language=en
 com.pilotfish.dashboard.license.file=pflicense.key
Modify com.pilotfish.dashboard.txlogapi.url.
This will need to point to the eiPlatform’s RESTful listeners running the back-end routes.
The default http://localhost:8080/eip/rest should work for default Tomcat settings, but if running at a different port IP, this will need to be modified.
Modify com.pilotfish.dashboard.license.file.
This will need to point to the Pilotfish license file you installed in the eiPlatform Installation.
In our case, it is /opt/tomcat/webapps/eip/pflicense.key.
The file should look like this when modified:
com.pilotfish.dashboard.proxy.enabled=false
 com.pilotfish.dashboard.proxy.host=
 com.pilotfish.dashboard.proxy.port=
 com.pilotfish.dashboard.proxy.username=
 com.pilotfish.dashboard.proxy.password=
 com.pilotfish.dashboard.txlogapi.url= http://localhost:8080/eip/rest
 com.pilotfish.dashboard.i18n.country=US
 com.pilotfish.dashboard.i18n.language=en
 com.pilotfish.dashboard.license.file= /opt/tomcat/webapps/eip/pflicense.key
At this point, everything should be set up.
You will need to stop and start tomcat.
After you stop Tomcat it is advisable to delete the eip.log file(s) so you can get a clean log file after startup. The log files are located here:
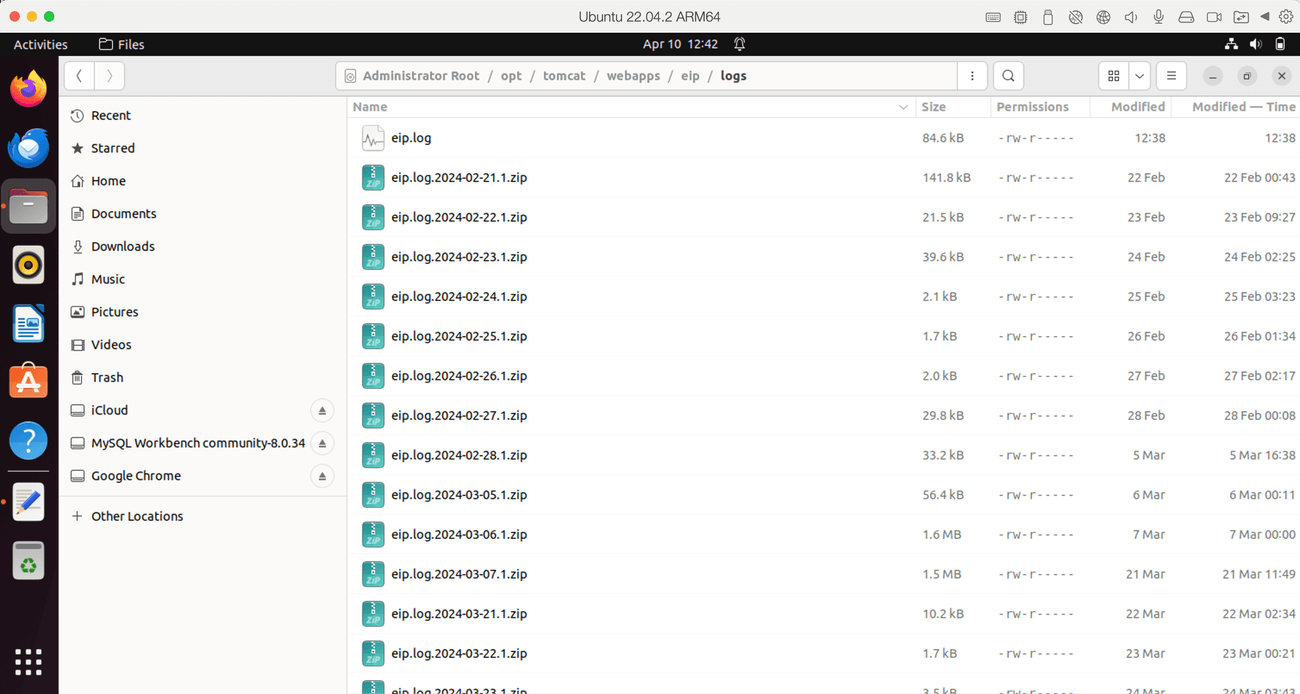
Stopping and Starting the Tomcat service.
Open a terminal window.
sudo systemctl stop tomcat
 sudo systemctl start tomcat
Check the eip.log for any errors.
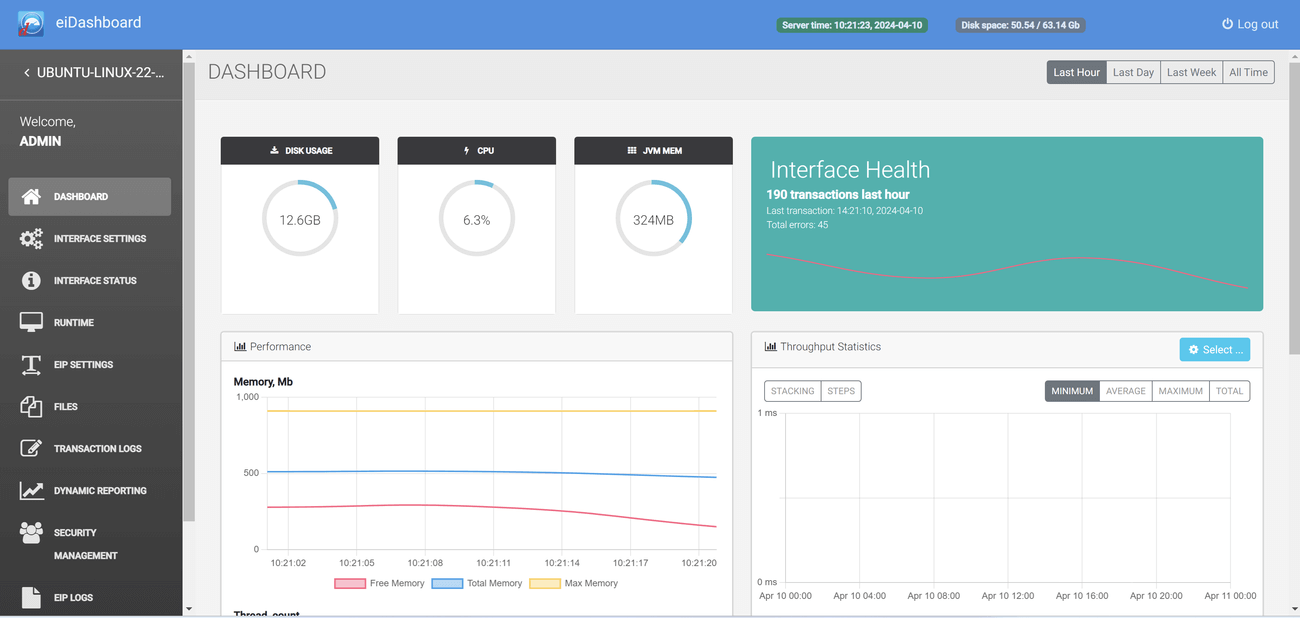
First Login and Instance Setup
Once the service is started, it can be accessed through a web browser. The default port for Tomcat is 8080, so if you are testing it out on the same machine that is running the dashboard the URL would be http://localhost:8080/dashboard.
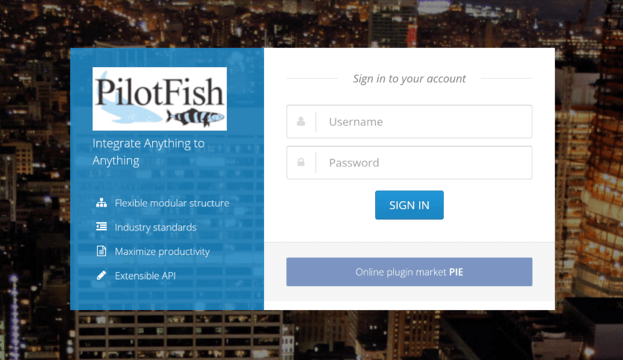
When the page loads in, you can log in using the default credentials:
user: admin
password: admin
For security reasons, we will modify these in a later step.
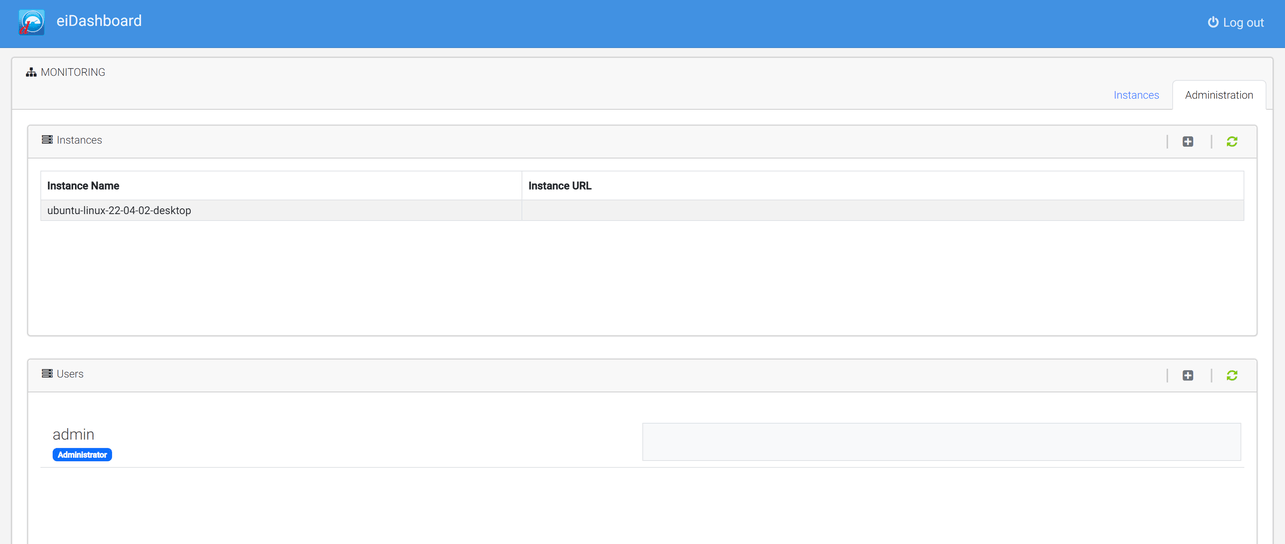
Due to a bug please modify the instance created by default.

In order to do that you will need to click the Administration tab and highlight the instance and click the delete icon.
Edit the instance by clicking the edit icon and add the url http://localhost:8080/eip/
Click Submit.

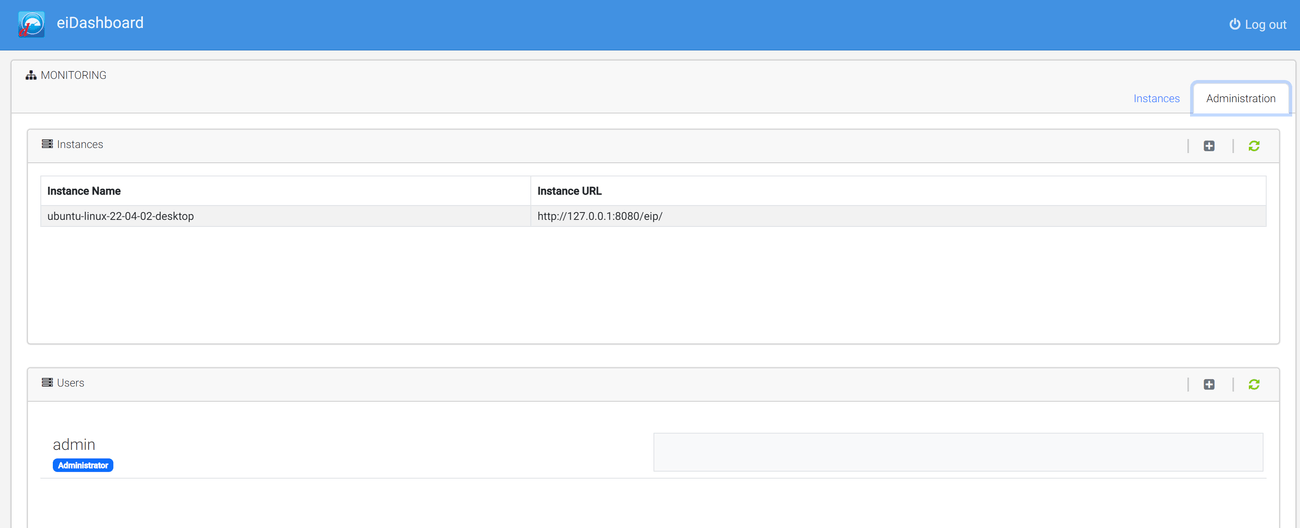
Click the Instances tab to see if it is online.
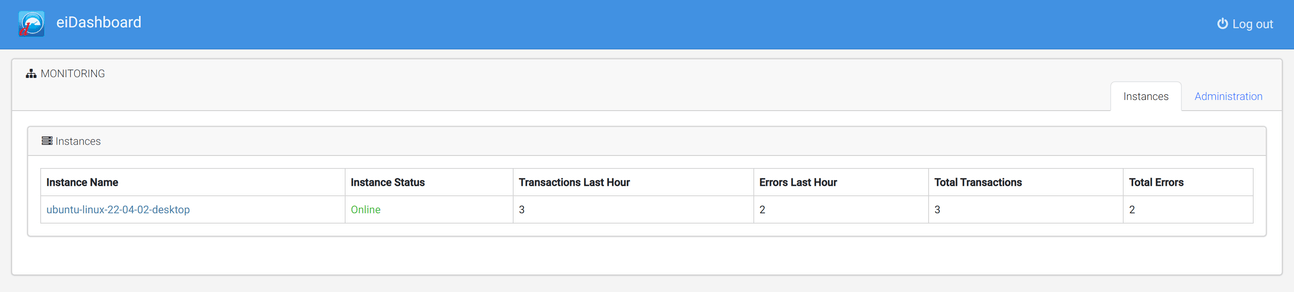
The administration page allows you to add eiPlatform instances for monitoring as well as manage users and their access to eiPlatform instances. eiPlatform instances are uniquely identified in the database based on their EIP ID. This is the system name by default but can be manually set in the monitored eiPlatform’s eipServer.conf settings. This will be necessary if you are running more than one EIP instance on a single system. Please see the eipServer.conf settings information for more details.
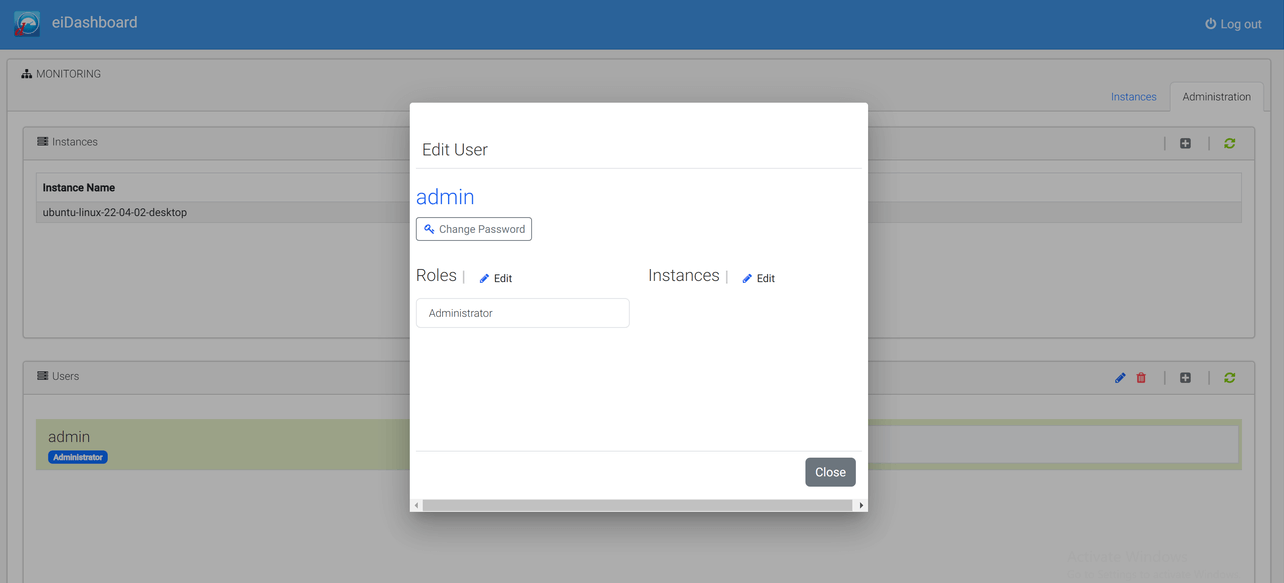
Change your administrator password
To change the password, click the Edit icon in the Users section for the admin user.
Click Change Password and follow the prompts.
When logging into an eiPlatform, it should be noted that there is yet another layer of users and permissions specific to the individual eiPlatform instances. These can be managed through the eiDashboard once logged in, but you will have to set up the RESTful API super user for the initial configuration. The user was previously set up in eipserver.conf in an above step.
Once that is set up you can simply login by clicking on the instance name in the table. You will be presented with a login popup that requires credentials set to the individual EIP instance.
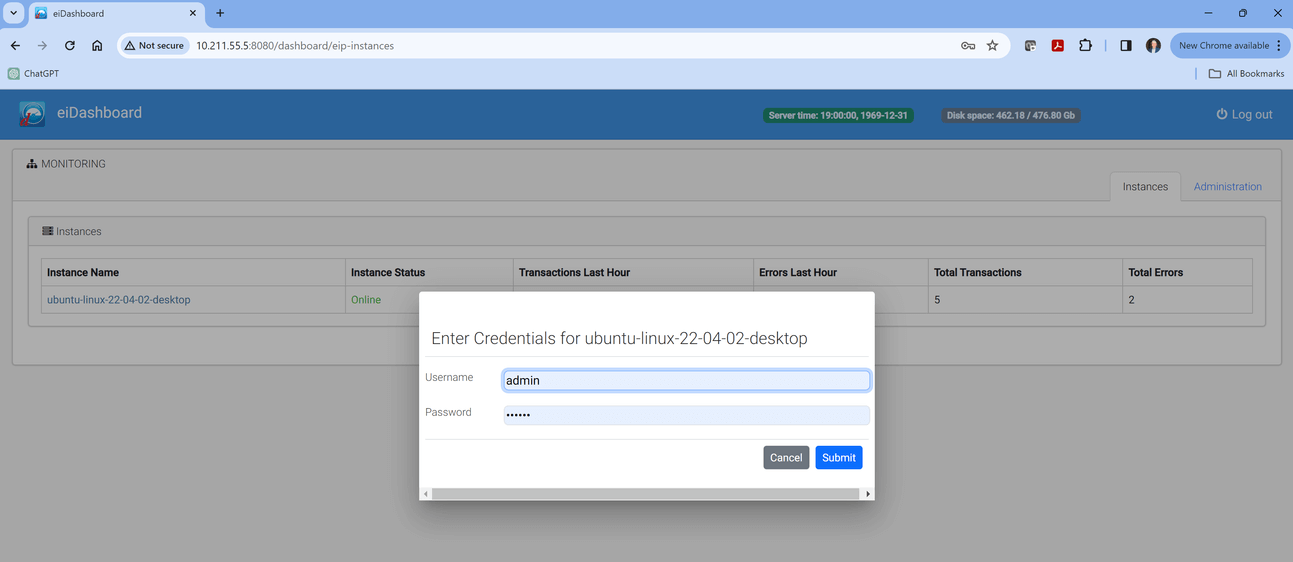
Once entered correctly you will be logged into the Dashboard page for your monitored EIP!