eiDashboard v.20R1
eiDashboard – Windows Installation
This page will take you through the installation process of the 20R1 eiDashboard for Windows.
The only prerequisite for this installation is to have a PostgreSQL or MS SQL Server database instance installed and for the eiDashboard instance to have JDBC access to the database with permission to read and write.
It is also recommended that eiDashboard General Configuration documentation be read before installing the eiDashboard. It will help to understand what you are setting up and how the eiDashboard interacts and monitors eiPlatform’s.
Running Through the Installer
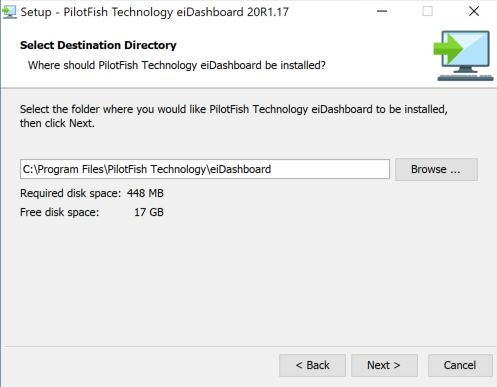
To begin we will execute the installer, accept some license agreements and pick an installation directory. Default settings should be fine for most installations.

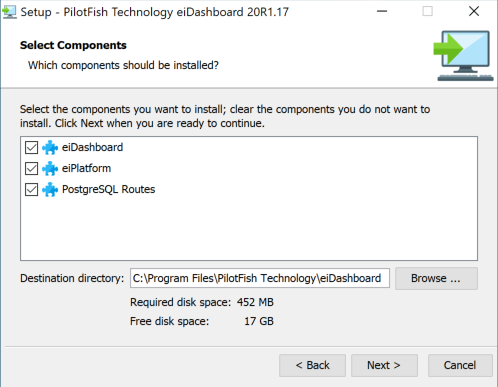
As you step through the installer, you will be presented with some settings for the embedded eiPlatform. These are related to your database of choice (PostgreSQL or MS SQL Server). In this tutorial, we are following our reference implementation (PostgreSQL) of the eiDashboard.
If you have not already, you should create a database as well as a user with read and write access to said database. By default, the JDBC URL points to a local install of PostgreSQL at port 5432 with a database called txlogdb. Once you have entered this information you can move onto the next step. You can find documentation on how to do this at PostgreSQL’s site and here you can find Windows installation files.
Note: Don’t worry if you find you need to change this information later. We will go over how to modify these settings.

It is recommended to keep default settings for the below steps unless you have a reason not to.

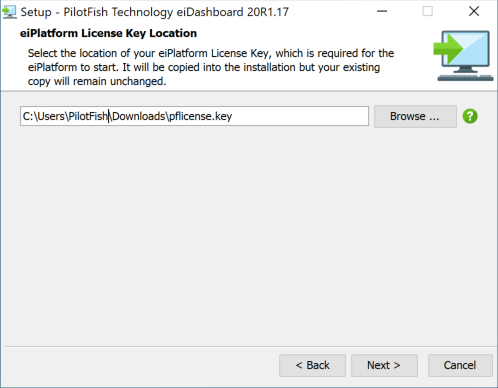
At this step, you will need to locate your pflicense.key license file. If you do not have or cannot find this file, please contact us.
Click through the remaining steps, leaving all set to default to finish installing the eiDashboard Service.

Keep Start Service checked so that we do not have to start the service under Windows services initially.

Loading the Database Schema
After running through the installer, we will need to load the database schema into our database. This will seed all necessary information to log into the eiDashboard as well as for Transaction Logging.
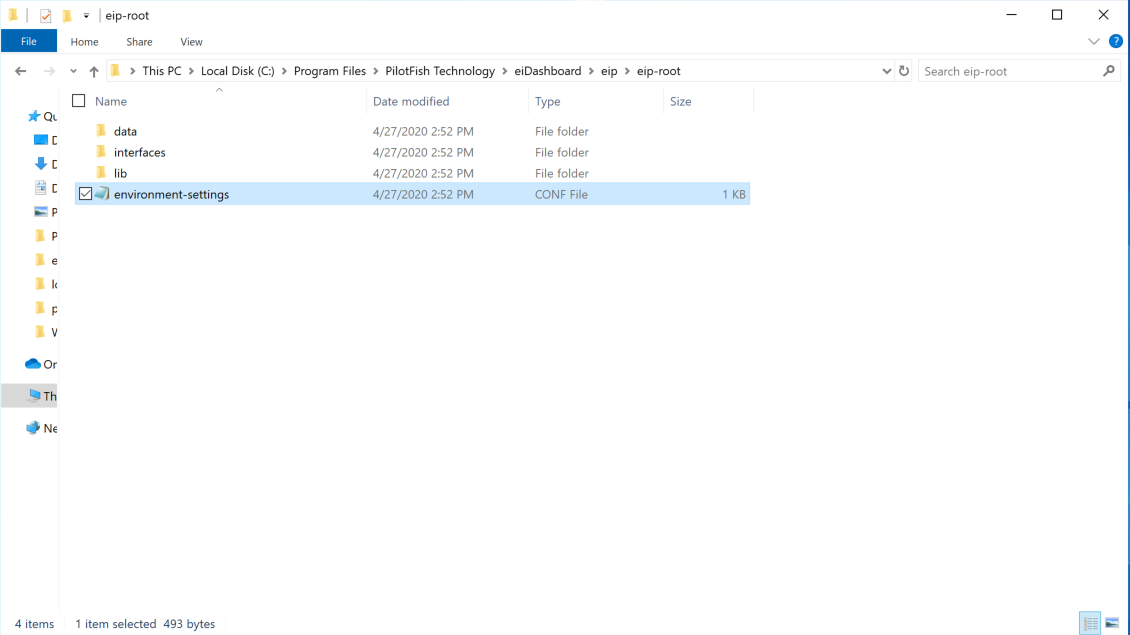
Navigate to your installation directory and find a folder called ‘eip’. In most cases, this will be something similar to “C:/Program Files/PilotFish Technology/eiDashboard Windows/eip”. The directory here contains the embedded eiPlatform which hosts our back-end dashboard Routes.
These routes are what the eiDashboard uses to communicate with the database to perform authentication as well as retrieve transaction logs and reports.

If you navigate to the eip-root folder, beneath that is a data folder. This data folder contains the schema for the database as well as a SQL file to run if you are migrating a database from an older version. In a fresh install, you will need to run the only queries found in the txnlogging_schema file.

Updating Database Information
If you need to change your database credentials or JDBC URL, you can do so by navigating to the embedded eip-root folder and open the environment-settings.conf file in notepad.
These were the settings we set during the initial install.

To briefly explain each entry similar to the following:

{ognl\:\#system.getenv('PFISH_DASH_CONF_com_pilotfish_eip_txlog_dbDriver', 'org.postgresql.Driver')}

The environment properties may look a little strange, but this is because we are using OGNL to set the value of the property. The OGNL for each property does the same thing except the values change for each.
Essentially what it is doing is checking if there is a Windows System Environment variable of the name PFISH_DASH_CONF_com_pilotfish_eip_txlog_dbDriver, and if so, uses that value over the org.postgresql.Driver value.
This means you can set your database credentials at the system level rather than directly in the configuration file.  Either method is fine and can be set to your discretion.

Postgresql_Driver is the full classpath to the driver installed in your embedded EIP's eip-root/lib folder.  Likely you can leave this as a default
Postgresql_Password is the password to the user created in your database
Postgresql_URL is the JDBC url to your database
Postgresql_Username is the username of the user created in your database
First Login and Instance Setup
If not running, open and start Windows Services and find and start the eiDashboard Service. If the service was already running and you’ve made changes you will need to restart the service at this step.

Once the service is started, it can be accessed through a web browser. The default port is 8989, so if you are testing it out on the same machine that is running the dashboard the URL would be http://localhost:8989/dashboard.

When the page loads in, you can login using the default credentials, user: admin password: admin. For security reasons, we will modify these in a later step.

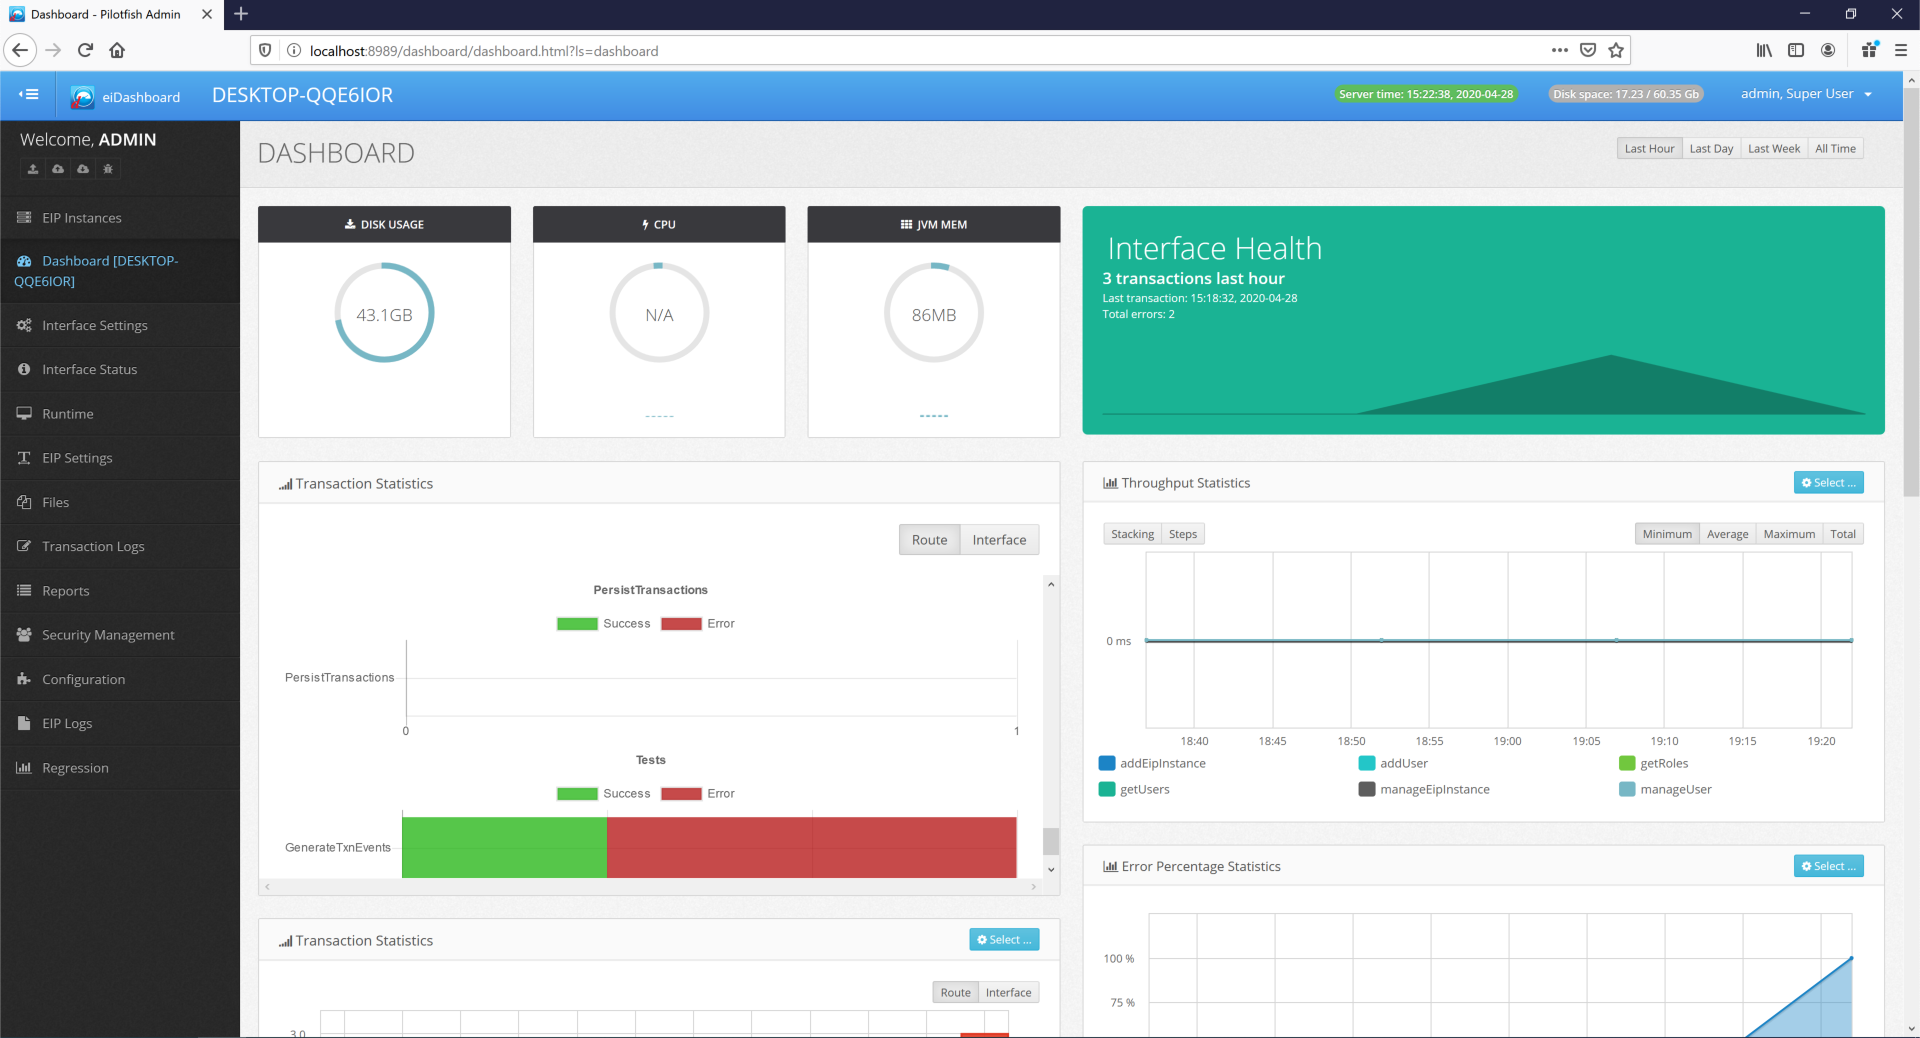
Once you are logged in you should see the EIP instances page below. As an administrator, you will have access to the Administration tab at the top right.
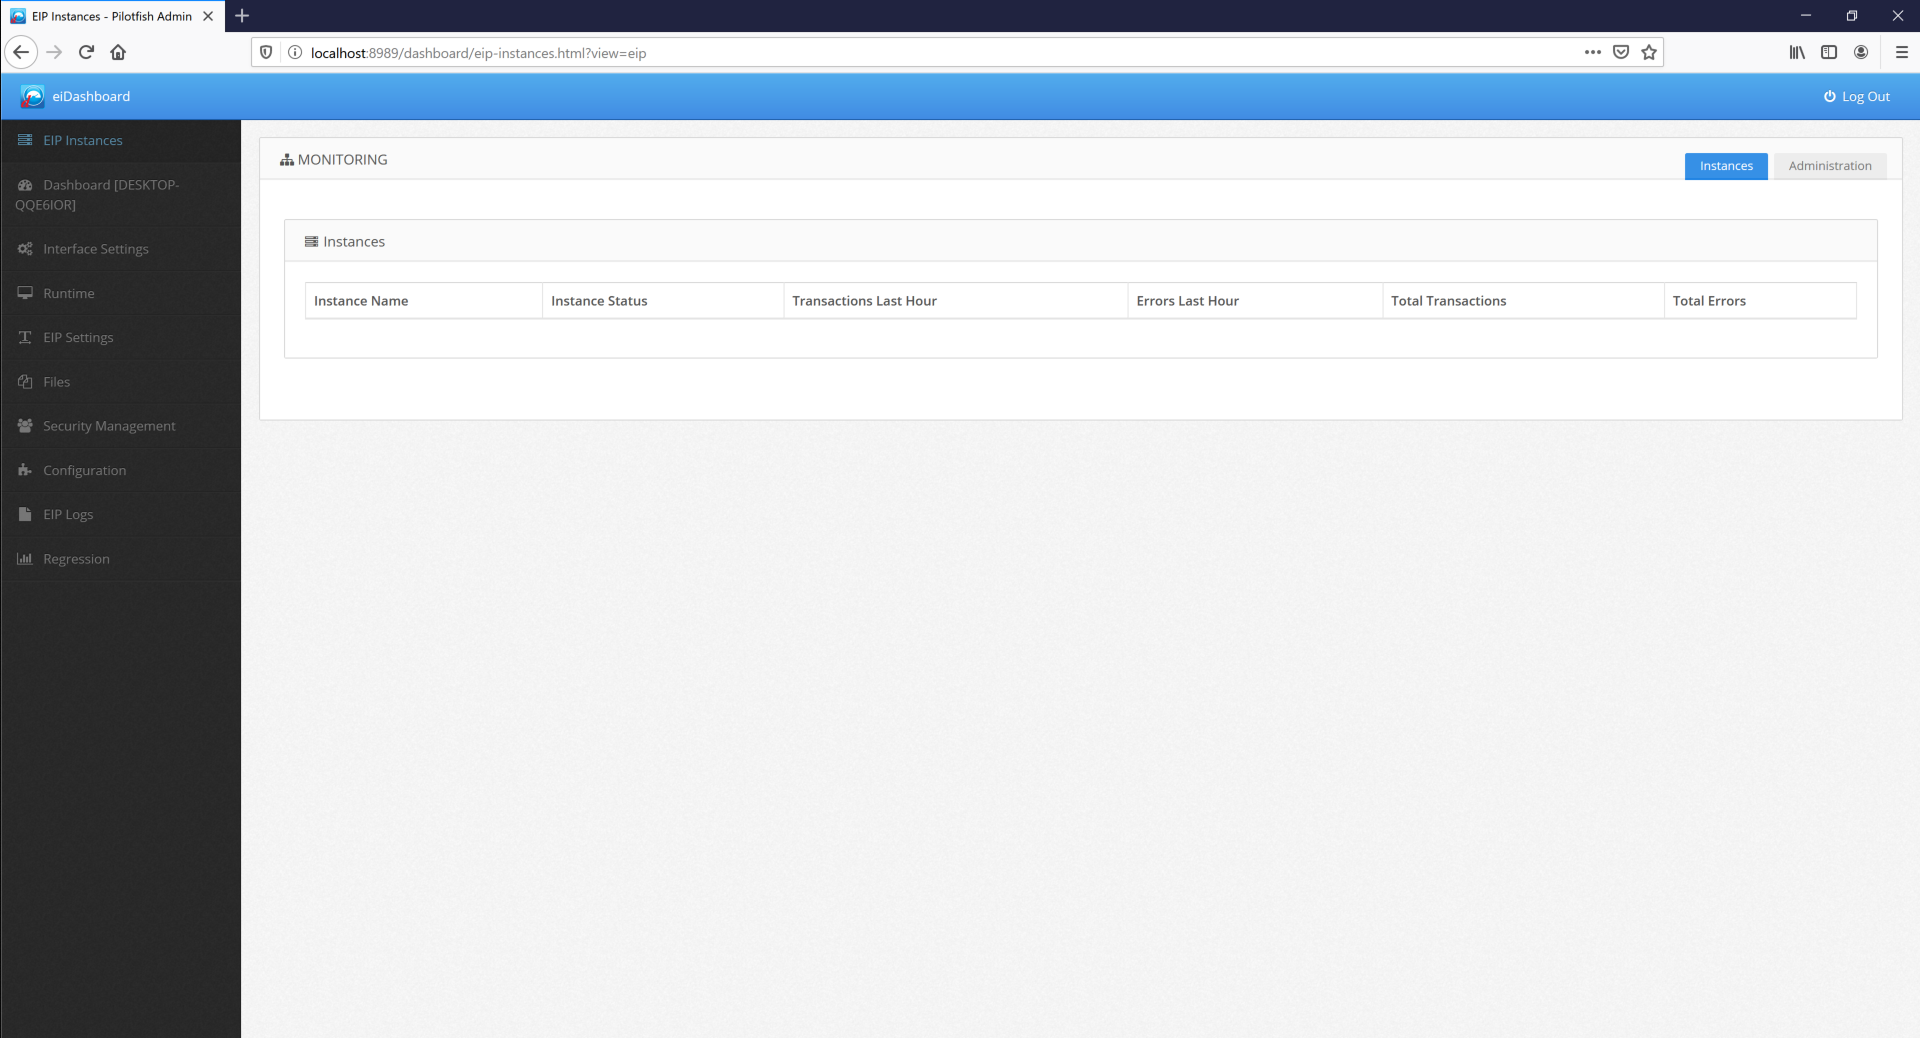
After clicking on the tab you will be presented with the following administration page.

The administration page allows you to add eiPlatform instances for monitoring as well as manage users and their access to eiPlatform instances. eiPlatform instances are uniquely identified in the database based on their EIP Id. This is the system name by default but can be manually set in the monitored eiPlatform’s eipServer.conf settings. This will be necessary if you are running more than one EIP instance on a single system. Please see eipServer configuration settings for more detailed information.
At this point you should change your administrator password:
To change the password, click the yellow ‘Edit Password’ button in the Users section for the admin user.
If you click Add Instance, you will be presented with the following window:
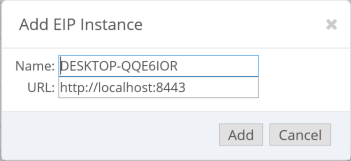
You will need to enter in the monitored eiPlatform’s EIP Id as well as the location of the eiPlatform. The URL is usually the IP address at port 8443 on Windows installs, or on Tomcat it will be port 8080. Example URLs are as follows:
http://127.0.0.1:8443 (Windows Install)
http://127.0.0.1:8080/eip (Tomcat Install)
Once added you should be able to see your eiPlatform in the Instances tab as seen below:

When logging into an eiPlatform, it should be noted that there is yet another layer of users and permissions specific to the individual eiPlatform instances. These can be managed through the eiDashboard once logged in, but you will have to set up the RESTful API super user for the initial configuration. For information on how to set up the initial user see Using the eiPlatform REST API documentation.
Once that is set up, you can simply login by clicking on the instance name in the table. You will be presented with a login popup that requires credentials set to the individual EIP instance.
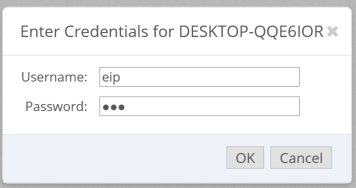
Once entered correctly you will be logged into the Dashboard page for your monitored EIP!