eiConsole v.25R1
Tutorial & Interface
eiConsole – Data Mapping & Transformation
Using Functions
Note: The Quick Start, Foundation, and Topology tutorials should be completed before proceeding with the Data Mapping & Transformation Tutorials.
Overview
This tutorial will cover the use of XPath and XSLT functions in the Data Mapper to perform name concatenation for the Target format. This tutorial expands on concepts covered in Data Mapping – Using Conditions, so users are expected to be familiar with that material.
Before You Begin
Working Directory
Download the Using-Functions-Working-Directory.zip file with the sample Working Directory and unzip it on your computer to a convenient place. In our case, it’s c:\Users\{USER _NAME}\PilotFish eiConsole Working Directories\Using Functions where {USER_NAME} is the user’s name.
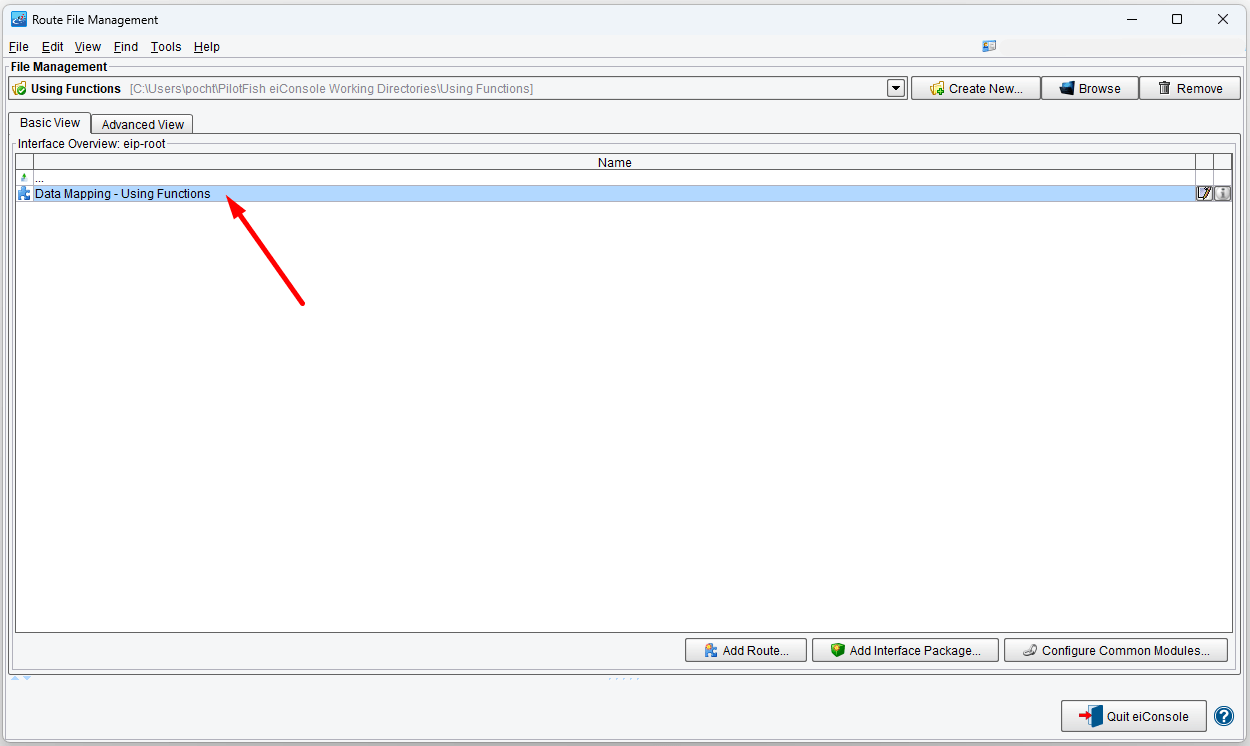
Open the eiConsole, browse to your Using Functions directory, and open it. The fully configured Data Mapping – Using Functions route is included in the Working Directory. Your Route File Management screen will open, as shown below.
Next, follow the tutorial and walk through it step-by-step. Finally, you may check your work against the provided Route (Sample Data).
Double-click on the Data Mapping – Using Functions
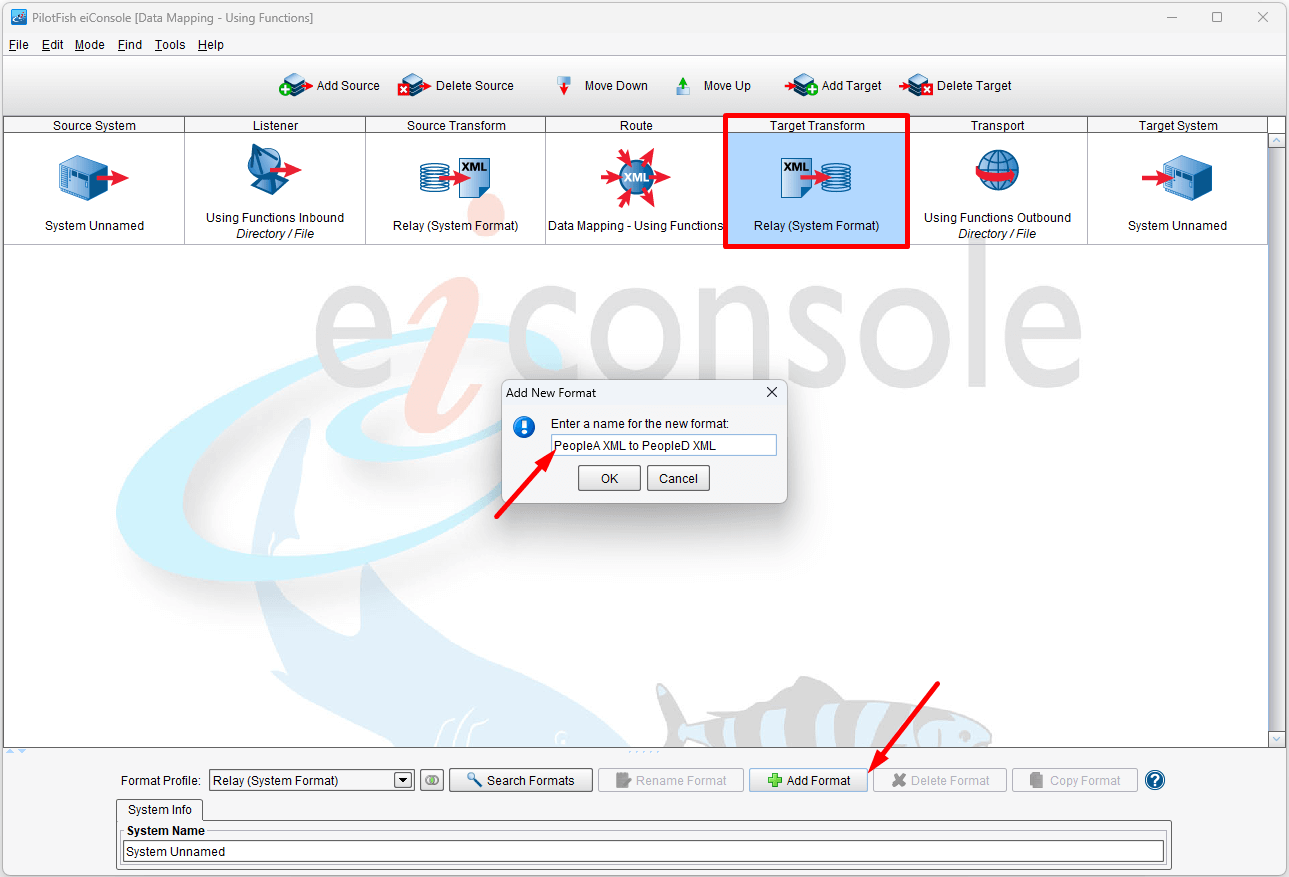
Creating and Configuring a Format
Start by creating and configuring a new Format. Name it PeopleA XML to PeopleD XML and click OK.
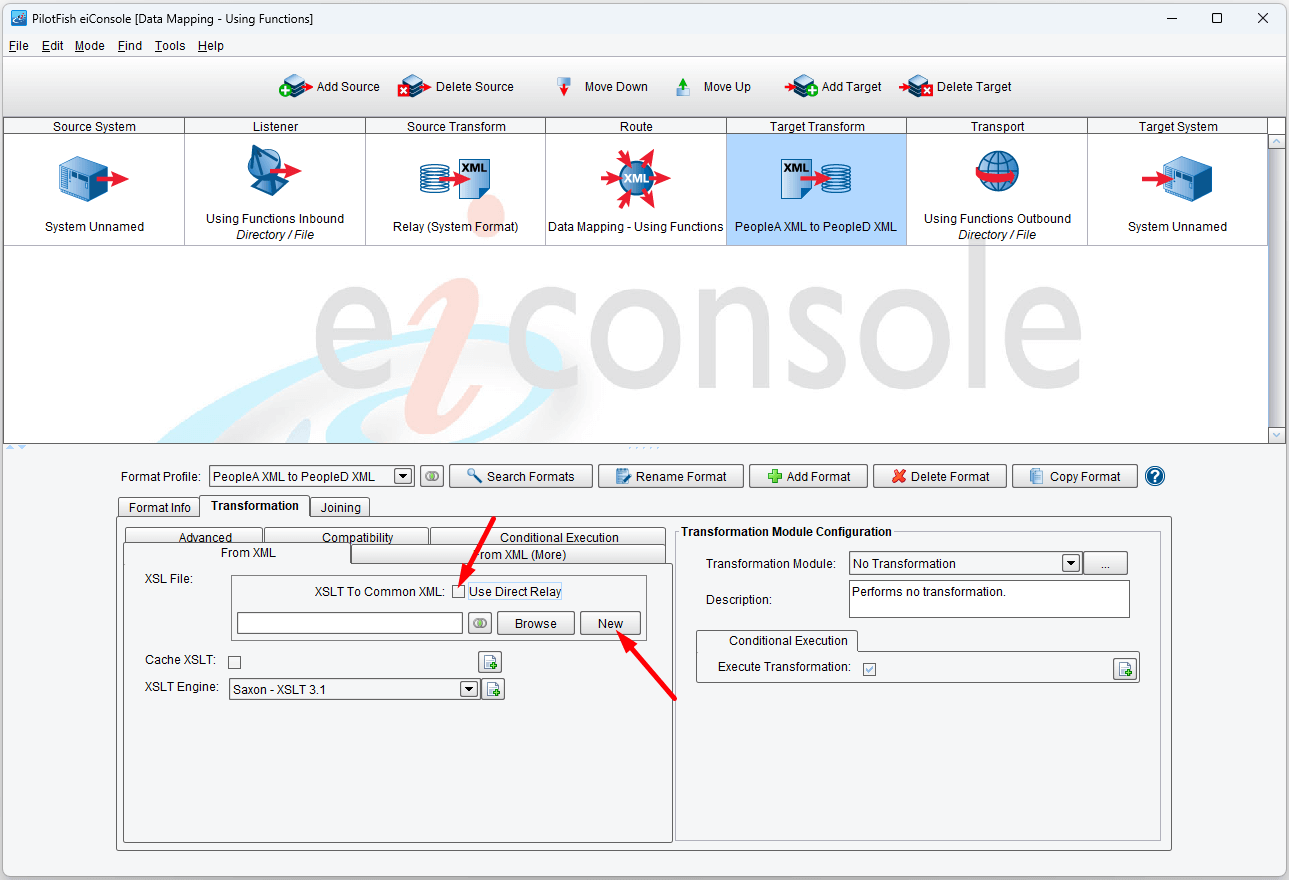
Uncheck Use Direct Relay and click New to open the Data Mapper.
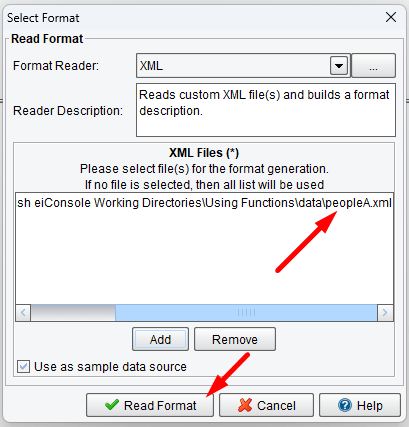
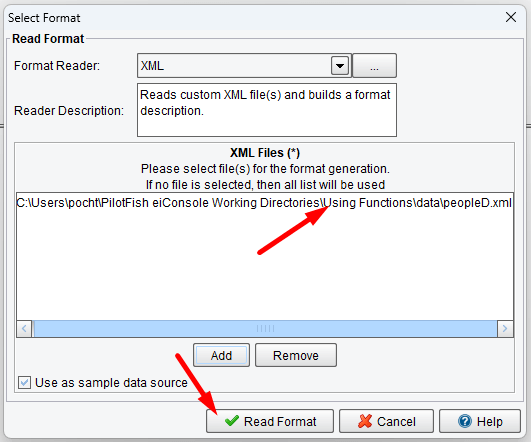
Then, using the XML Format Reader, read PeopleA.xml as the Source. You can find it in c:\Users\{USER _NAME}\PilotFish eiConsole Working Directories\Using Functions\data. The PeopleD.xml is also here.
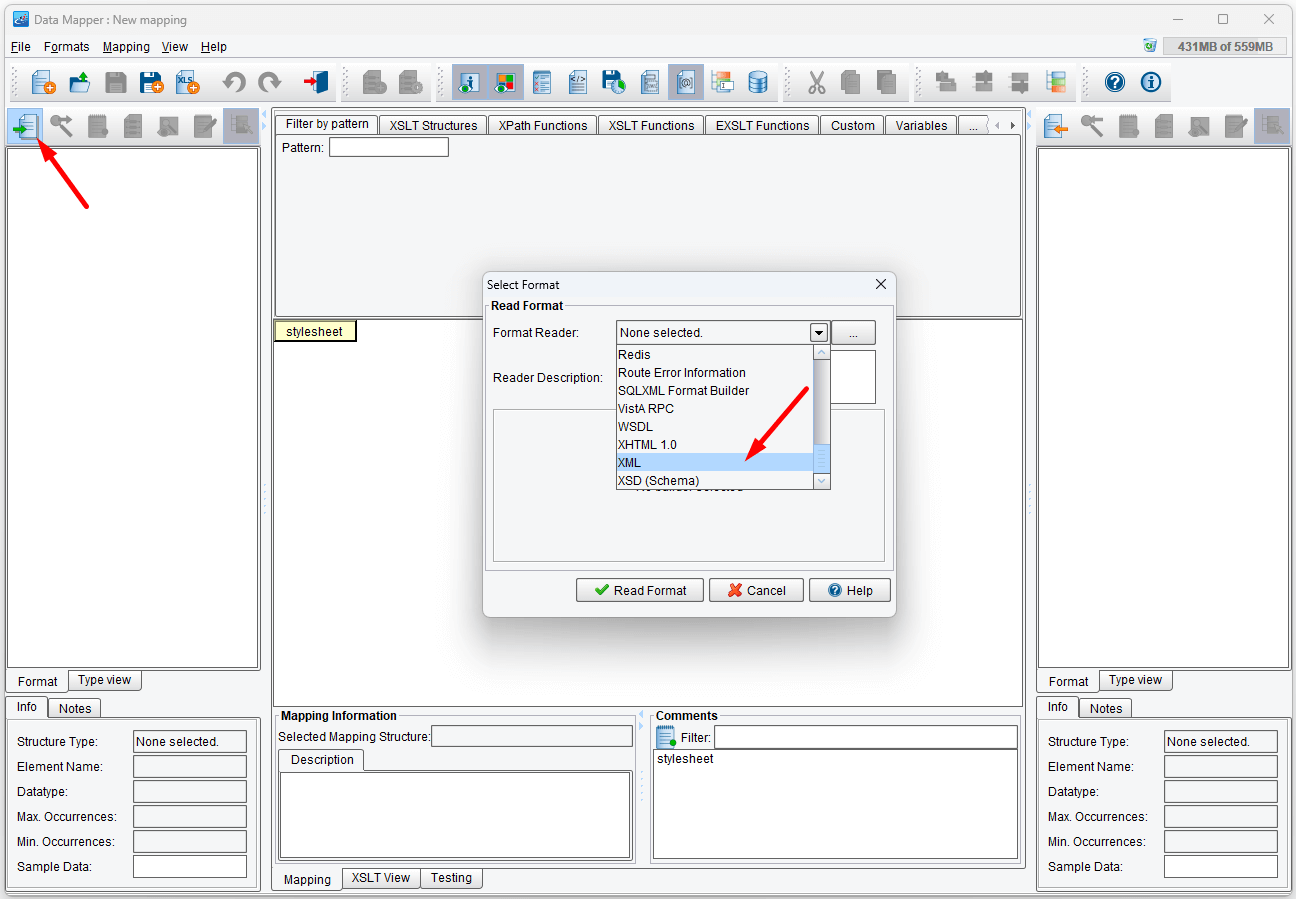
Click the Read Format button.
Then using the XML Format Reader, read in PeopleD.xml as the Target.
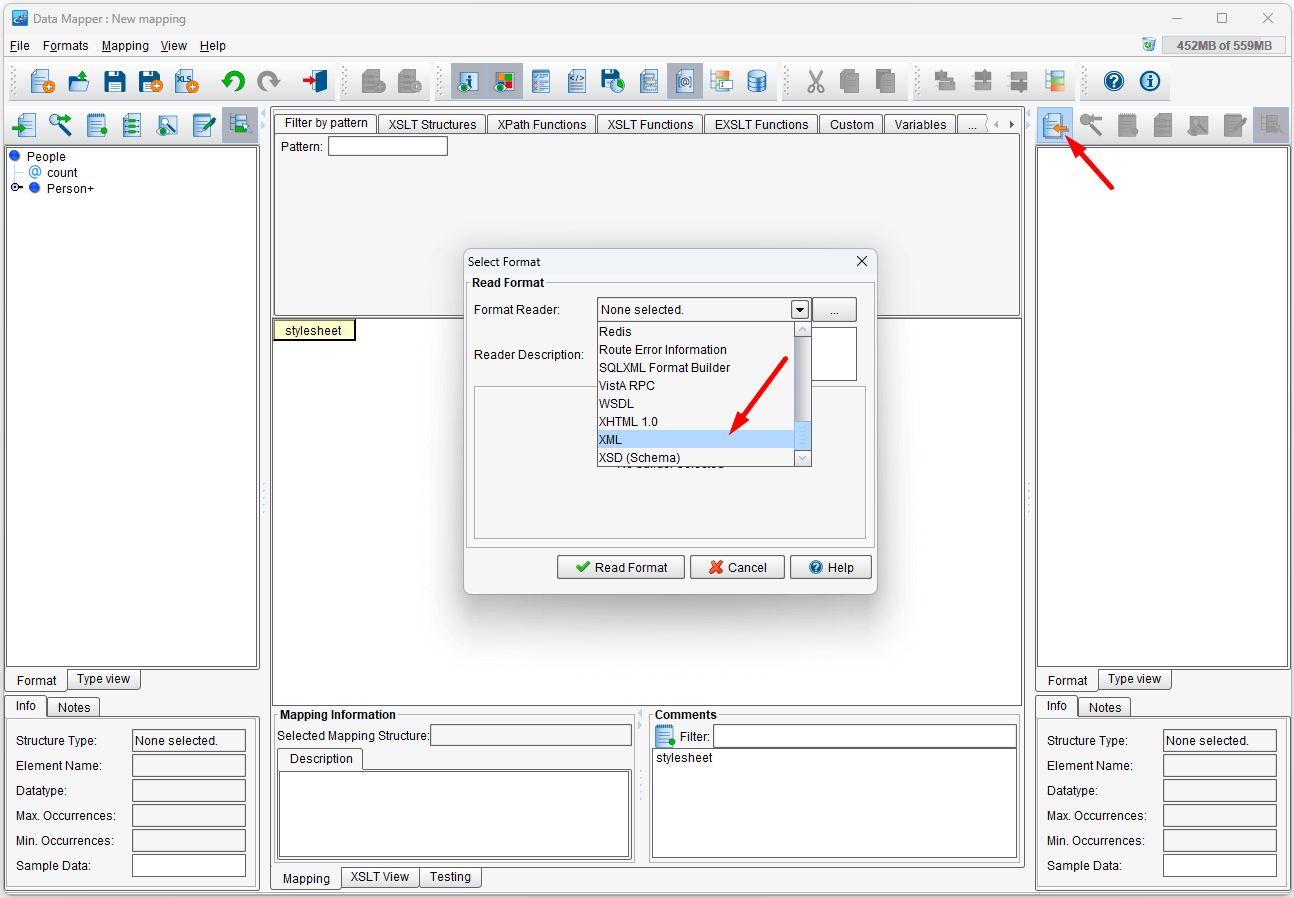
Click the Read Format button.
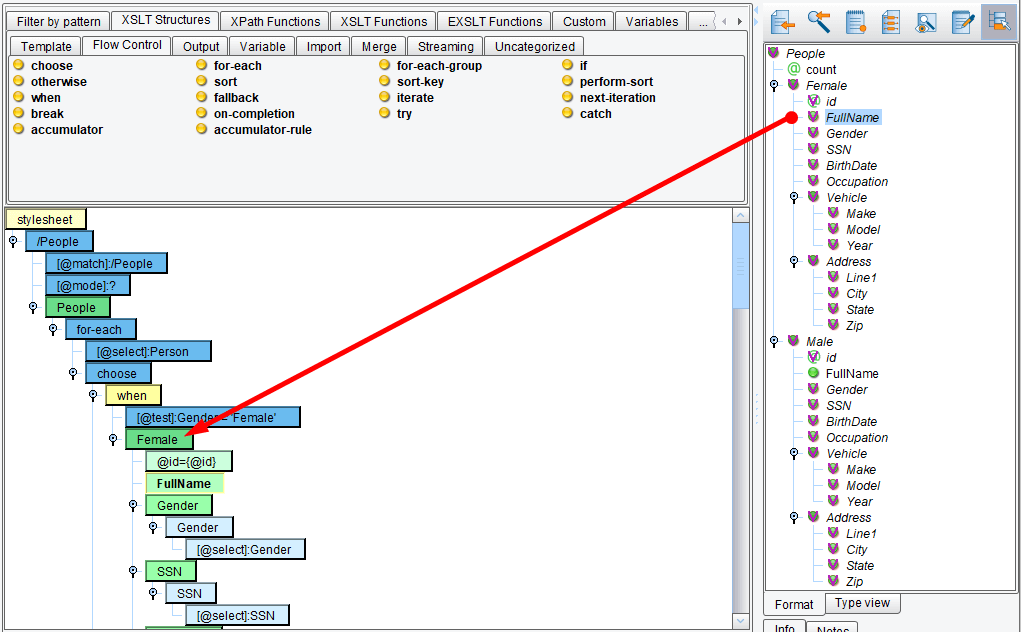
Now your Data Mapper should look like below.

Repeat the mapping exercise from the previous tutorial Data Mapping – Using Conditions, with the exception of leaving the various name elements unmapped:
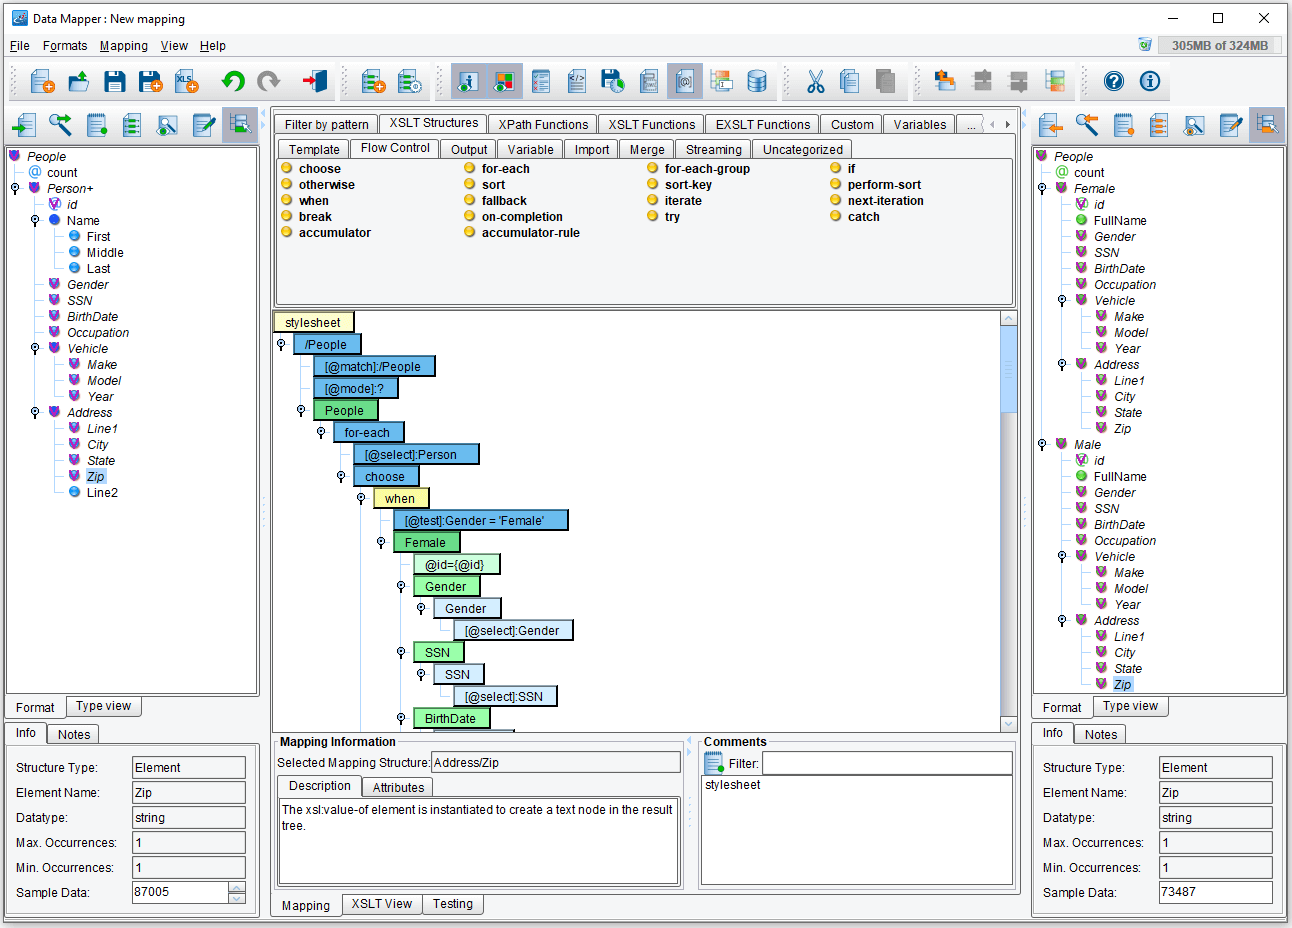
Mapping Name Values
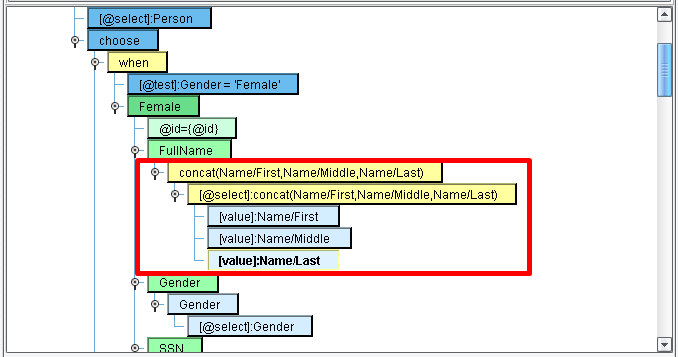
Map FullName from the Target onto the Female and Male elements in the center:
We’ll map the First, Middle, and Last name values onto FullName, but we also want them to be separated with spaces. While we can do this using additional XSLT instructions, we can also make use of one of the many functions provided by XPath. Under XPath Functions → String – drag concat(string, string+) onto FullName:

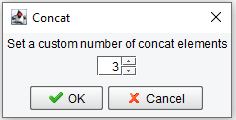
After dropping the concat Node onto the mapping, a dialog box will pop up asking you how many concat elements you wish to add. Select the number 3 and click OK.
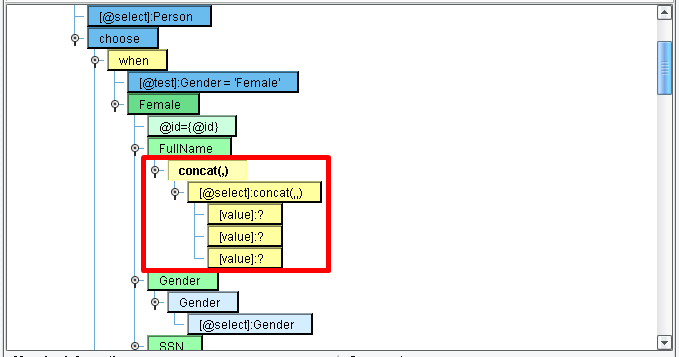
This will create an XSLT instruction called value-of and populate it with a Concat function call. Concat accepts any number of arguments and concatenates their literal values together. The Data Mapper will create a concat entry in the mapping panel with the number of child elements you selected in the previous dialog. You can drag & drop values onto these children to concatenate their values together.
We’ll start by mapping First under Name onto the first element in the concat function:
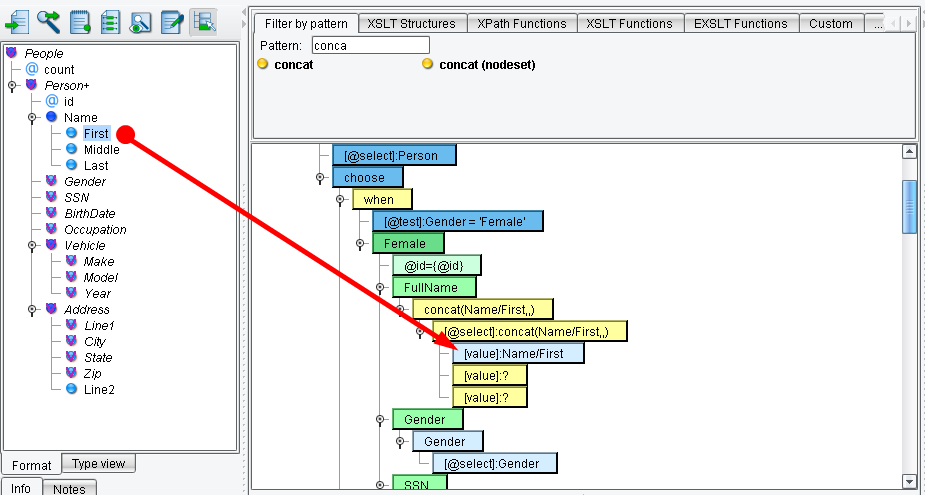
Next, repeat this process for the Middle node under Name, dragging it onto the second Value element in the Concat function. Of course, we could do the same thing for Last as well, but drag & drop is not the only way to fill in this function. We can also do it manually.
To manually add a value, double-click on the last Value element in the Concat function. A text field will open in the node. Enter Name/Last in the text field, and don’t forget to hit enter when you’re done.

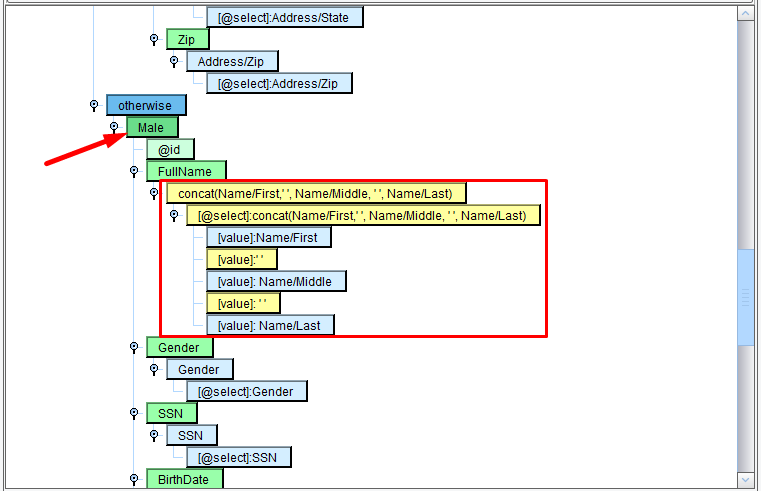
Now your Concat mapping should look like the next screenshot below, with First, Middle, and Last Name mapped to it. There’s just one thing missing, though: there are no spaces between the words. If we executed the transformation now, the value assigned to FullName would be FirstMiddleLast, which is all a part of one word. We obviously don’t want that, but how do we add the spaces? We’ve filled up all 3 of the elements in the function.
Fortunately, there is another way to modify the function manually.
Adding Additional Parameters Manually
Double-click on the concat() select attribute to open its text box. In it, you see the raw XSLT code of the function: concat(Name/First,Name/Middle,Name/Last). We need to add spaces between each word; to do this, add an additional element in between each word with the text ‘ ‘ (space). When you are done, it should read:”concat(Name/First,' ', Name/Middle, ' ', Name/Last)”
Don’t forget to press enter, and your function should now look like the screenshot below.

Now make a similar mapping for the Male node.
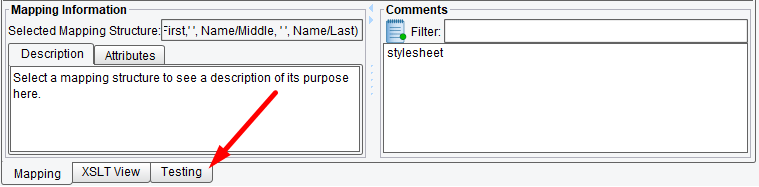
Testing the Mapping
Go to the Testing tab….
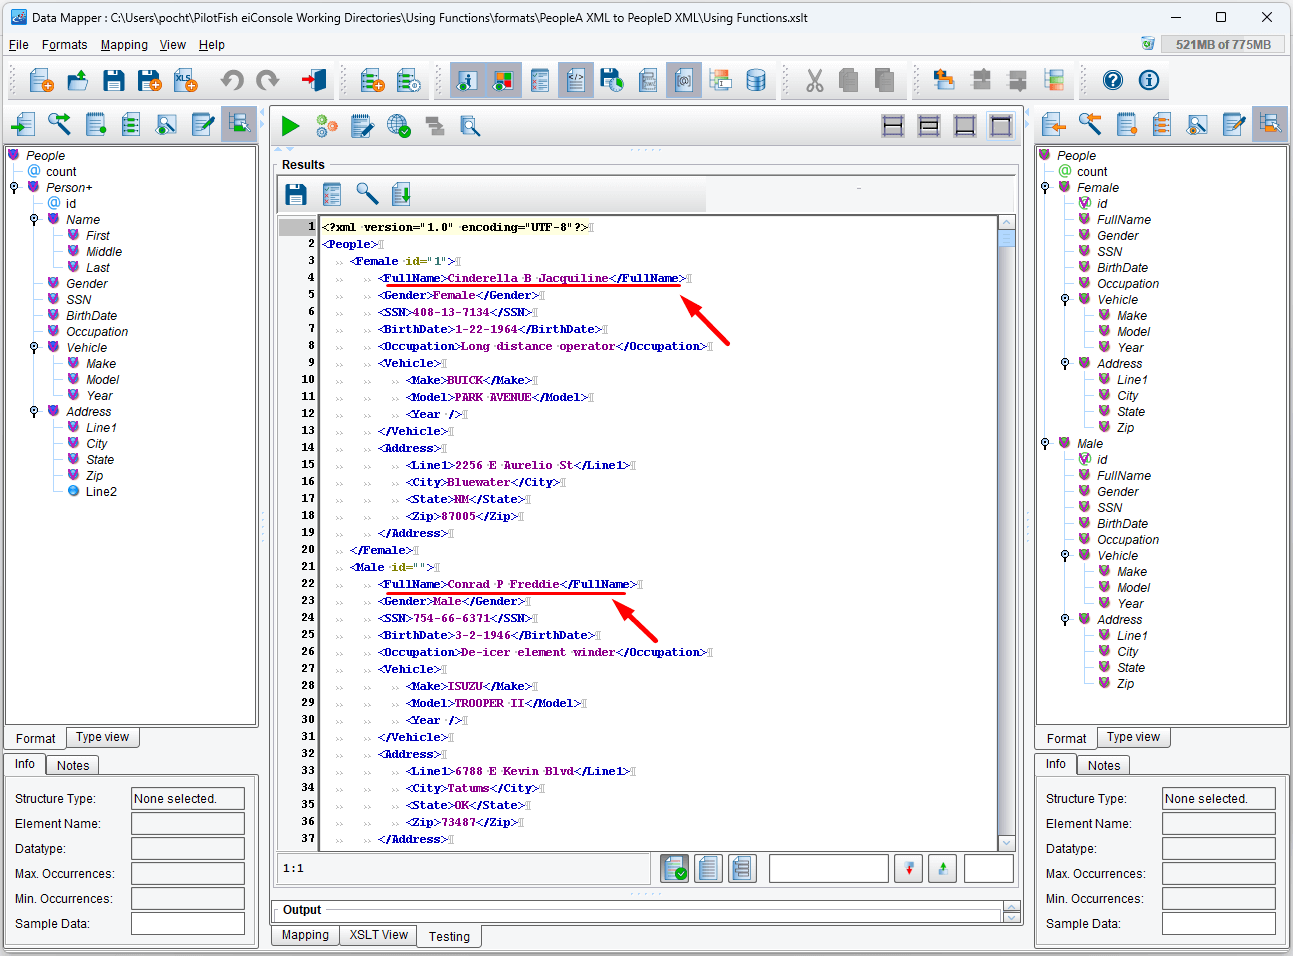
… and click the green arrow to begin testing.

XSLT and XPath provide numerous other functions, all of which are available in the tool palette at the top of the Data Mapper screen.
Click on the View Results button for more convenient checking results. Test the mapping and you should see the following for output. You can see that now the full name is the First, Middle and Last names combined together.
Congratulations! You’ve learned how to use XPath and XSLT functions in the Data Mapper. Next, move on to Using Tabular Mappings for more advanced training.