Exercise 9.3 – API XL
Purpose:
To practice configuring an API XL transform to make multiple HTTP calls to an outbound endpoint.
Create a Route
- From the eiConsole File Management screen, select the Add Route button.
- In the dialog that appears, enter the name File Trigger to API-XL and select OK.
- The Route should now appear in the table on the screen. Double-click it to open it.
Document Source System
- Select the Source System stage in the Route Editing Grid. The configuration panel will appear at the bottom.
- Change the System Name to Static File.
- Select the Choose Source Icon button, and scroll down to select an icon.
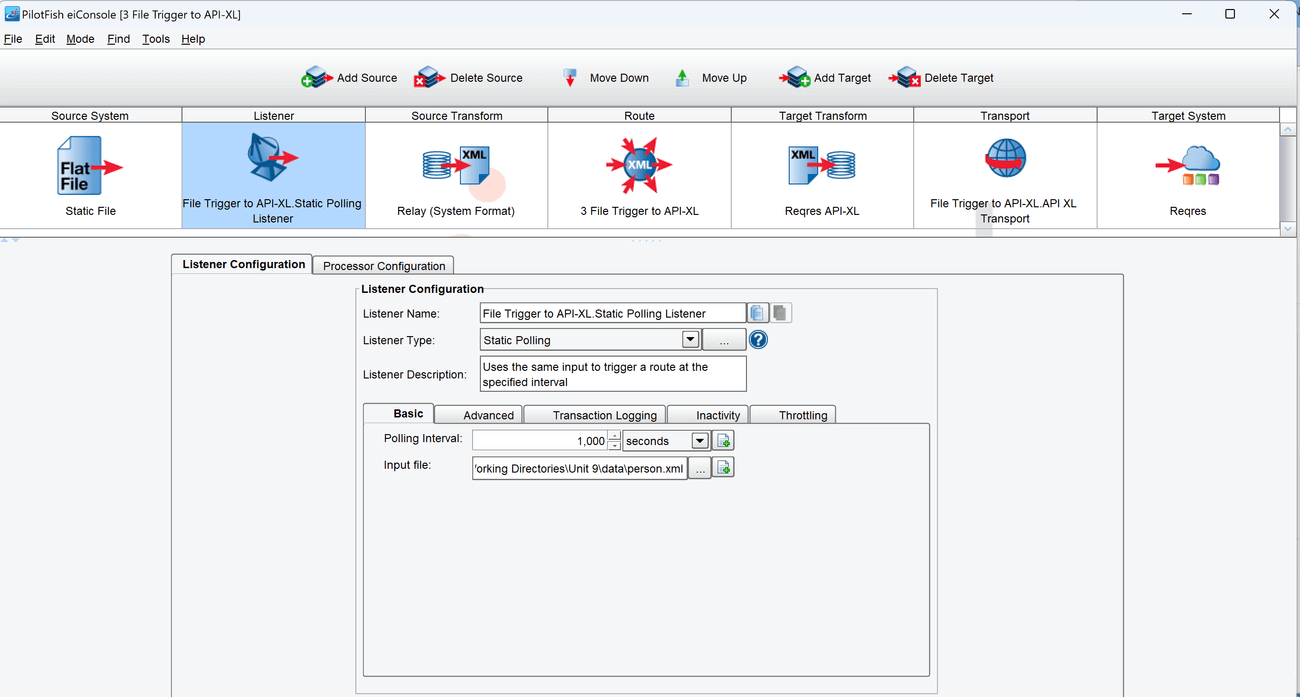
Configure the Listener
- Select the Listener stage in the Route Editing Grid. The configuration panel will appear at the bottom.
- Select Static Polling from the Listener Type selection box.
- For the Input File, select the person.xml file.
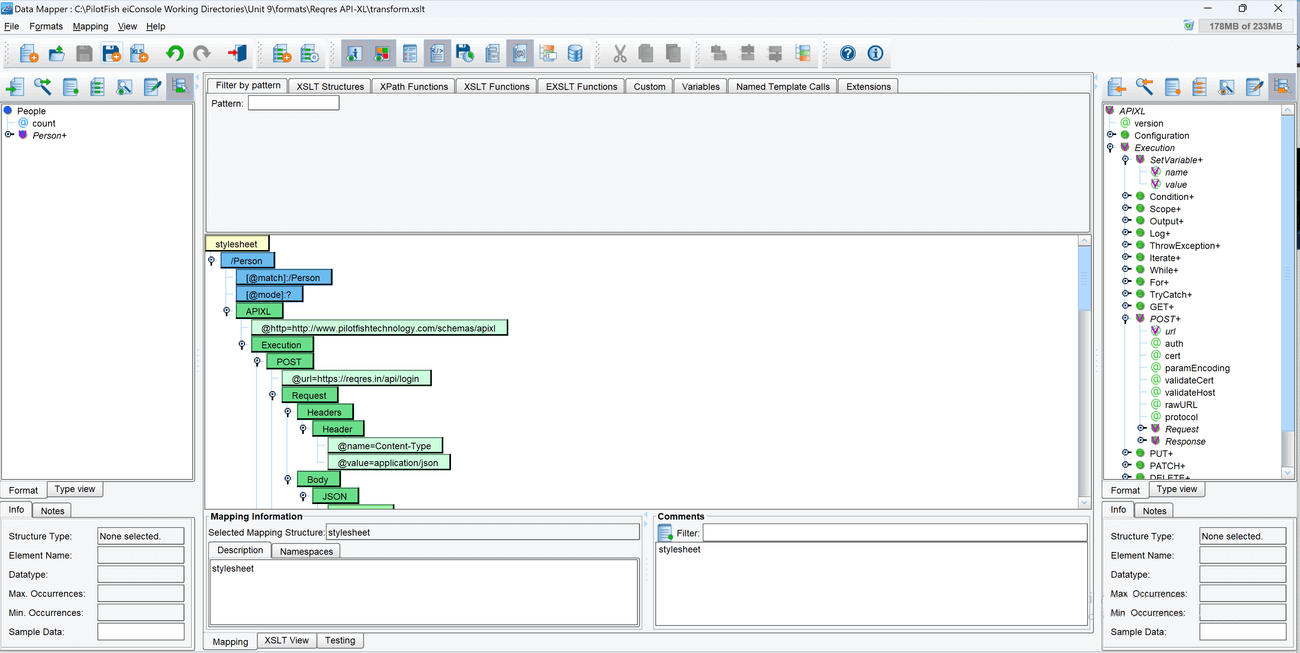
Configure the API-XL XSLT
- Select the Target Transform.
- Select Add Format.
- Name the Format: Reqres API-XL.
- For the XSLT file, uncheck Use Direct Relay. Select New to create a new XSLT. For Source format, select XML, then select the person.xml file. For Target format, select API XL and read format.
- Grab the api-xl-sample.xslt from the sample files and copy the XSLT code from it into the XSLT View of the Data Mapper. Save the Transform and close the screen.

Configure the Transport
- Select the Transport stage in the Route Editing Grid. The configuration panel will appear at the bottom.
- Select API XL from the Transport Type selection box.
Document the Target Systems
- Select each Target System stage in the Route Editing Grid. The configuration panel will appear at the bottom.
- Change the System Name to Reqres.
- Select each Choose Target Icon button, and scroll down to select one of the icons.
Prepare to Test
- In the menu bar at the top, select Mode -> Testing Mode. Make sure the changes to the Route are saved.
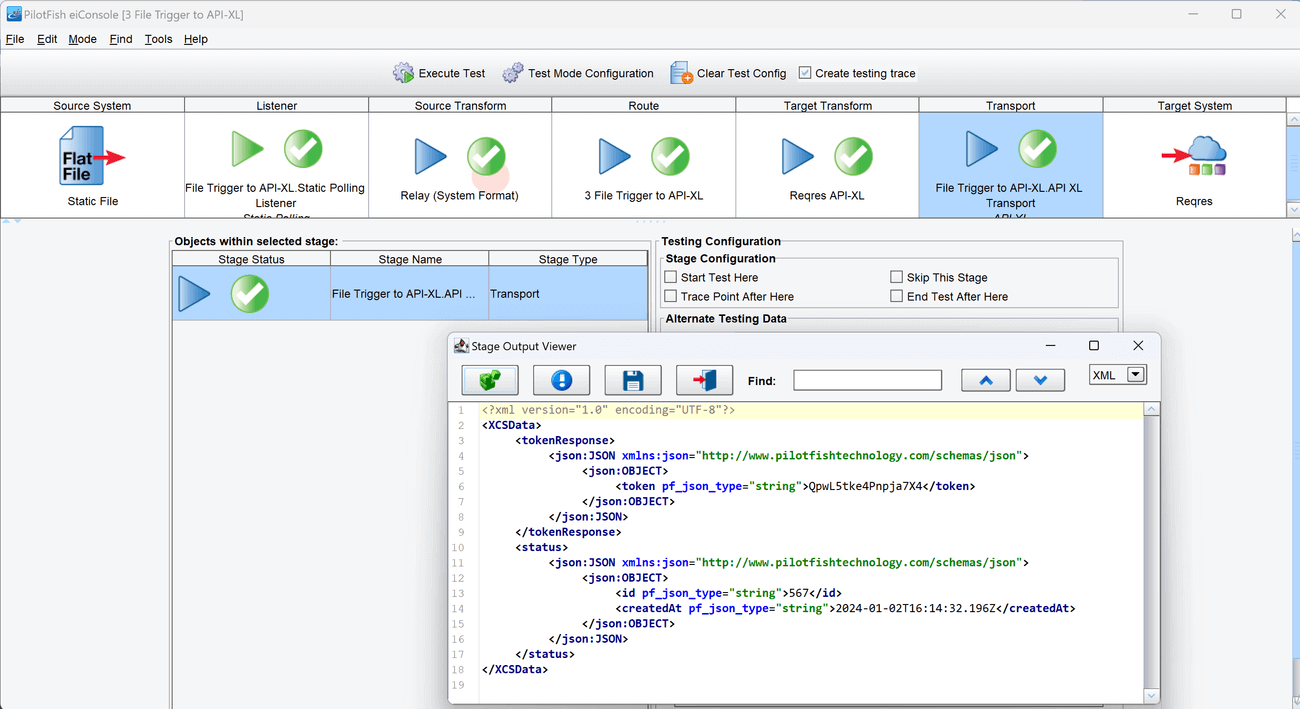
Perform the Test
- At the top of the Testing Mode screen, select the Execute Test button.
- Since it is a Static Poller, it will immediately trigger the Route.