Exercise 3.2 – Routing Transactions
Purpose:
To practice using routing to determine which Target systems a transaction is sent to
References:
Create a Route
- From the eiConsole File Management screen, select the Add Route button.
- In the dialog that appears, enter the name Routing and select OK.
- The Route should now appear in the table on the screen. Double-click it to open it.
Configure the Listener
- Select the Listener stage in the Route Editing Grid. The configuration panel will appear at the bottom.
- Select Directory / File from the Listener Type selection box. Optionally, click the … button to open the Module Search Dialog, which provides a faster way to find the module you’re looking for.
- Assign a polling directory, using the … button to open the file selector. The polling directory should NOT be the directory with all the sample files, since files will be moved/deleted by the listening process.
- Go to the Post-Process tab and select Delete from Postprocess Operation:
Configure the First Transport
- Select the Transport stage in the Route Editing Grid. The configuration panel will appear at the bottom.
- Select Directory / File from the Transport Type selection box. Optionally, click the … button to open the Module Search Dialog, which provides a faster way to find the module you’re looking for.
- In the Transport Name field, change the name to TransportA.
- Select the Target Directory, using the … button to open the file selector.
- Set outputA as the Target File Name.
- Set txt as the Target File Extension.
Document the First Target System
- Select the Target System stage in the Route Editing Grid. The configuration panel will appear at the bottom.
- Change the System Name to Output File.
- Select the Choose Target Icon button, and scroll down to select one of the generic File icons.
Configure the Second Transport
- Click the Add Target button at the top of the screen to add a second target path.
- Select the Transport stage in the Route Editing Grid for the second target. The configuration panel will appear at the bottom.
- Select Directory / File from the Transport Type selection box. Optionally, click the … button to open the Module Search Dialog, which provides a faster way to find the module you’re looking for.
- In the Transport Name field, change the name to TransportB.
- Select the Target Directory, using the … button to open the file selector.
- Set outputB as the Target File Name.
- Set txt as the Target File Extension.
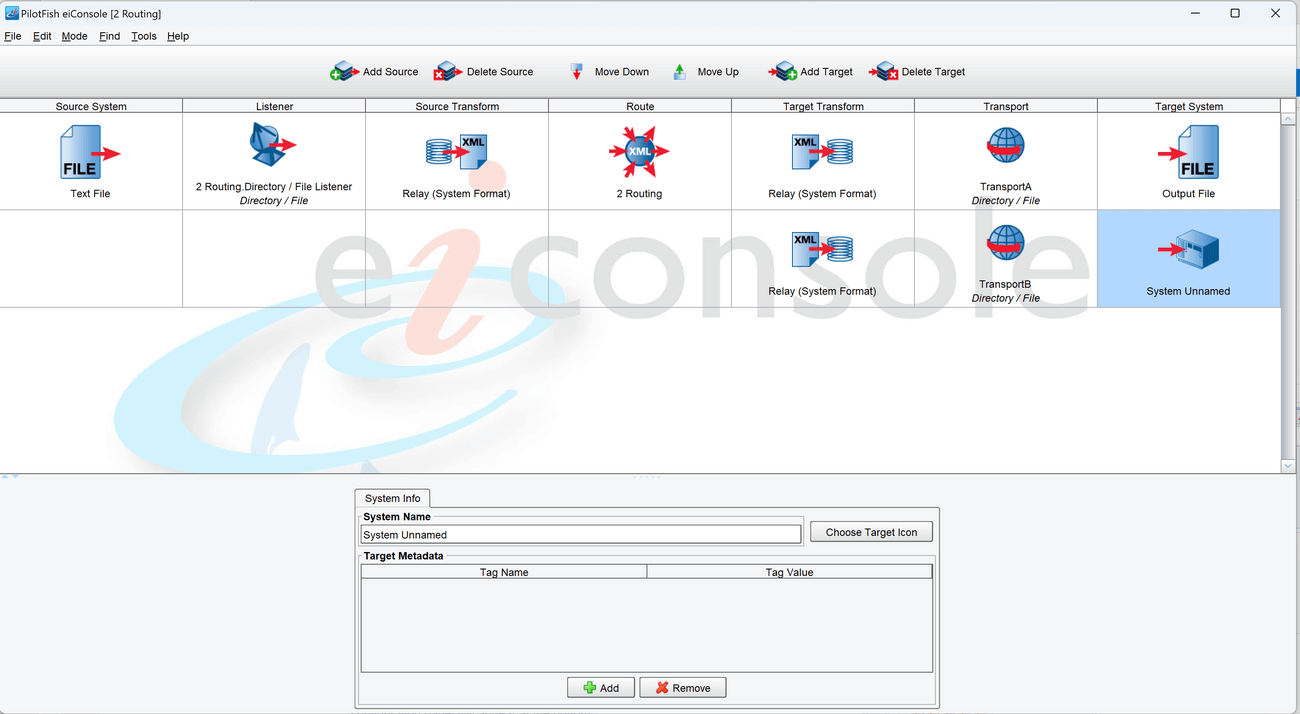
Document the Second Target System
- Select the Target System stage in the Route Editing Grid for the second target. The configuration panel will appear at the bottom.
- Change the System Name to Output File
- Select the Choose Target Icon button, and scroll down to select one of the generic File icons.
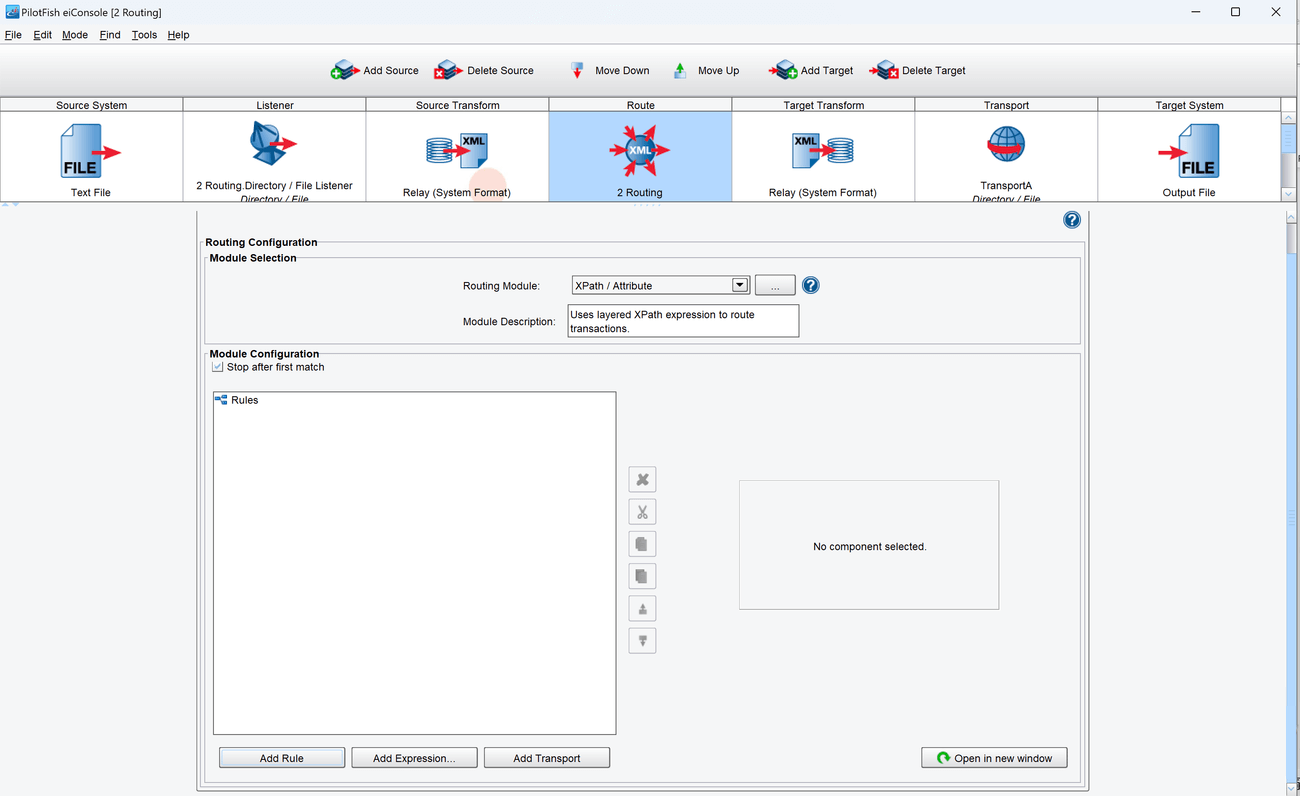
Configure the Routing Module
- Select the Route stage from the Route Editing Grid. The configuration panel will appear at the bottom.
- In the configuration panel, select the tab that says Routing Rules, to open the configuration for routing to multiple Transports.
- Enable the use of Routing Rules by selecting the XPath/Attribute option from the Routing Module selection box. The rules configuration panel will now appear.
- The left-hand section of the panel is the Rules Tree. It has only one Node right now, which simply says Rules.

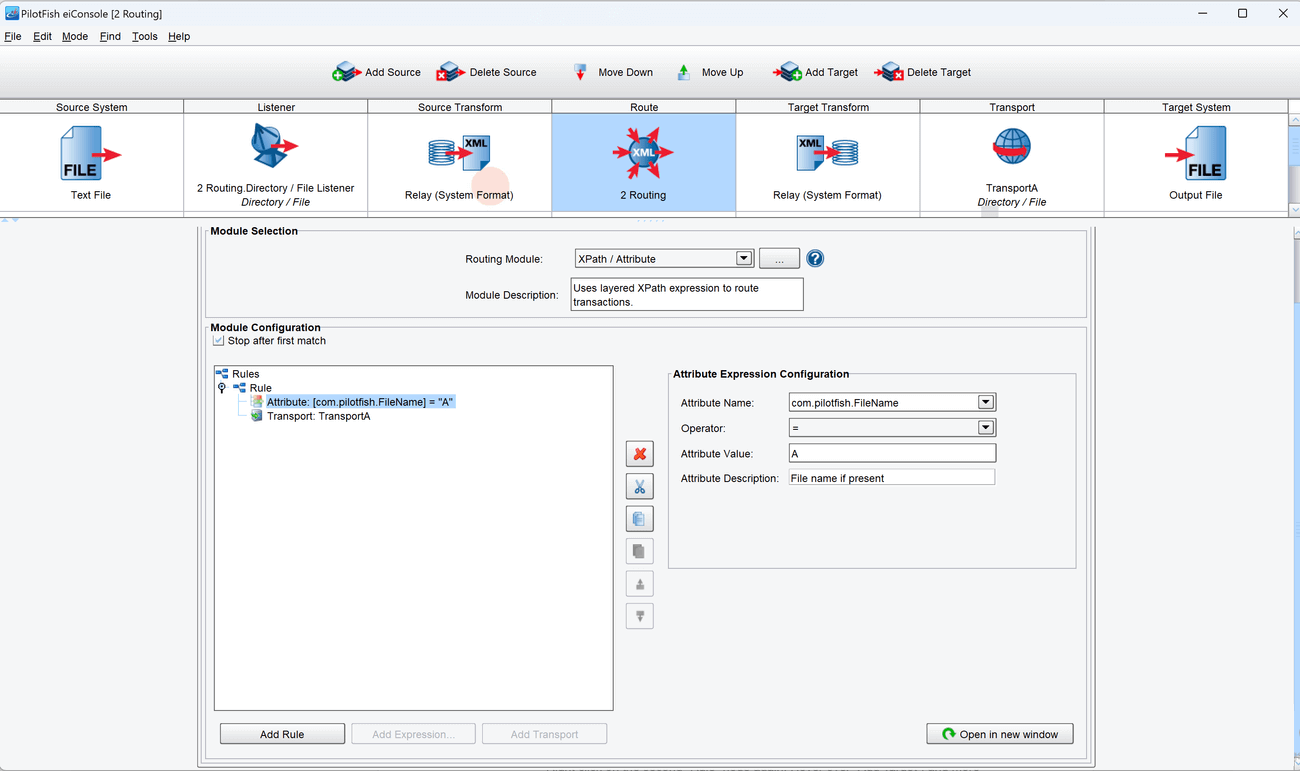
- Configure the first Rule.
- Select Add Rule. A new node, called Rule, should appear under it.
- Select the Transaction Attribute Query in the Expression Field.
- Select TransportA in the Transport Field.
- Select the new Attribute node. A new configuration panel will appear to the right.
- For Attribute Name, enter com.pilotfish.FileName. For Operator, make sure that = is selected. Finally, for Attribute Value, enter A. The expression is now configured.
- The rule is now configured.

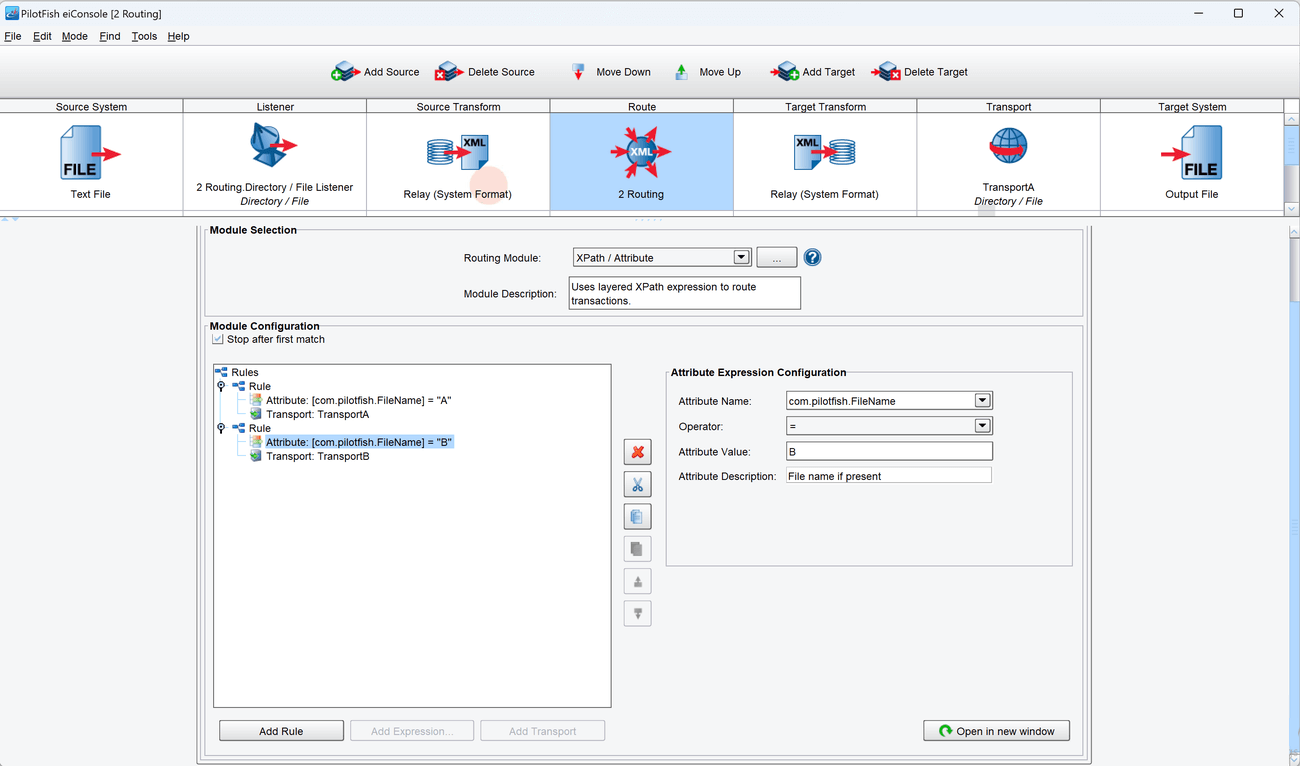
- Configure the second Rule.
- Select Add Rule. A new node, called Rule, should appear under it.
- Select the Transaction Attribute Query in the Expression Field.
- Select TransportB in the Transport Field.
- Select the new Attribute node. A new configuration panel will appear to the right.
- For Attribute Name, enter com.pilotfish.FileName. For Operator, make sure that = is selected. Finally, for Attribute Value, enter B. The expression is now configured.
- The rule is now configured.

Prepare to Test
- In the menu bar at the top, select Mode -> Testing Mode. Make sure the changes to the Route are saved.
- Find the two sample files called A.txt and B.txt. Do NOT copy them to the polling directory yet.
Execute Test
- Copy the A.txt file to the polling directory, and select the Execute Test button at the top of the Testing Mode screen.
- If the Route was configured successfully, green checkmarks should appear across the screen. However, the path of the green checkmarks should only go to TransportA. Nothing should reach TransportB.
- Stop the test. Copy the B.txt file to the polling directory, and then select Execute Test again.
- If the Route was configured successfully, green checkmarks should appear across the screen. However, this time, the path of the green checkmarks should only go to TransportB. Nothing should reach TransportA.
Output Files
- Compare the results from the exercise with the following example output files to see if they are correct.