Exercise 3.3 – Synchronous Responses
Purpose:
To practice using components that wait for a synchronous response, like HTTP Listeners.
References:
Find an HTTP Client Utility
- To complete this exercise, an HTTP Client utility application for testing web APIs will be needed.
- PilotFish recommends using Postman, a free and easy-to-use application with Windows, Mac, and Linux apps, as well as Chrome browser extensions. All instructions in this exercise will assume that Postman is being used.
- To get Postman, and for instructions on how to use it, visit their website.
- Any related tool that can manually configure HTTP calls will work as well, including command line tools like CURL.
Create a Route
- From the eiConsole File Management screen, select the Add Route button.
- In the dialog that appears, enter the name Synchronous Responses and select OK.
- The Route should now appear in the table on the screen. Double-click it to open it.
Document Source System
- Select the Source System stage in the Route Editing Grid. The configuration panel will appear at the bottom.
- Change the System Name to HTTP POST.
- Select the Choose Source Icon button, and scroll down to select one of the generic web icons.
Configure the Listener
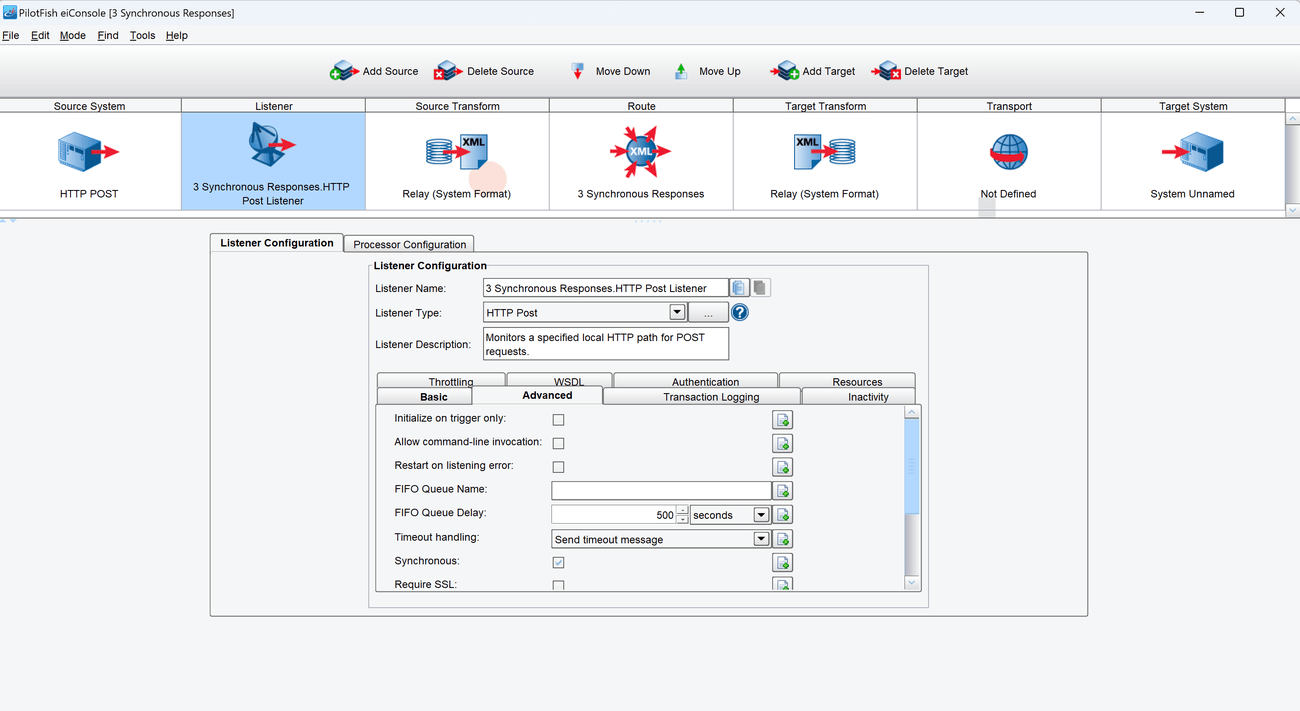
- Select the Listener stage in the Route Editing Grid. The configuration panel will appear at the bottom.
- Select HTTP Post from the Listener Type selection box. Optionally, click the … button to open the Module Search Dialog, which provides a faster way to find the module you’re looking for.
- In the Request Path configuration text field, write synchronous.
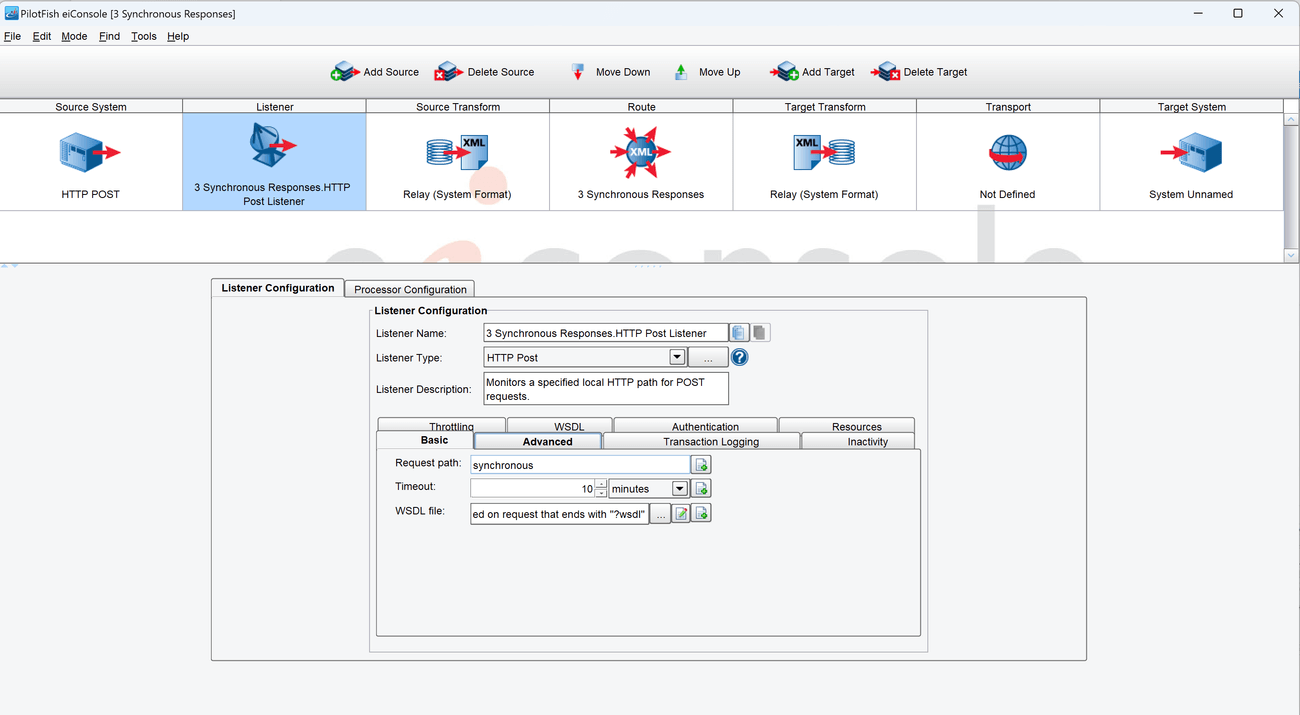
- Go to the Advanced tab and scroll down to find the Synchronous checkbox, and make sure it is checked.

Add Regex Processor
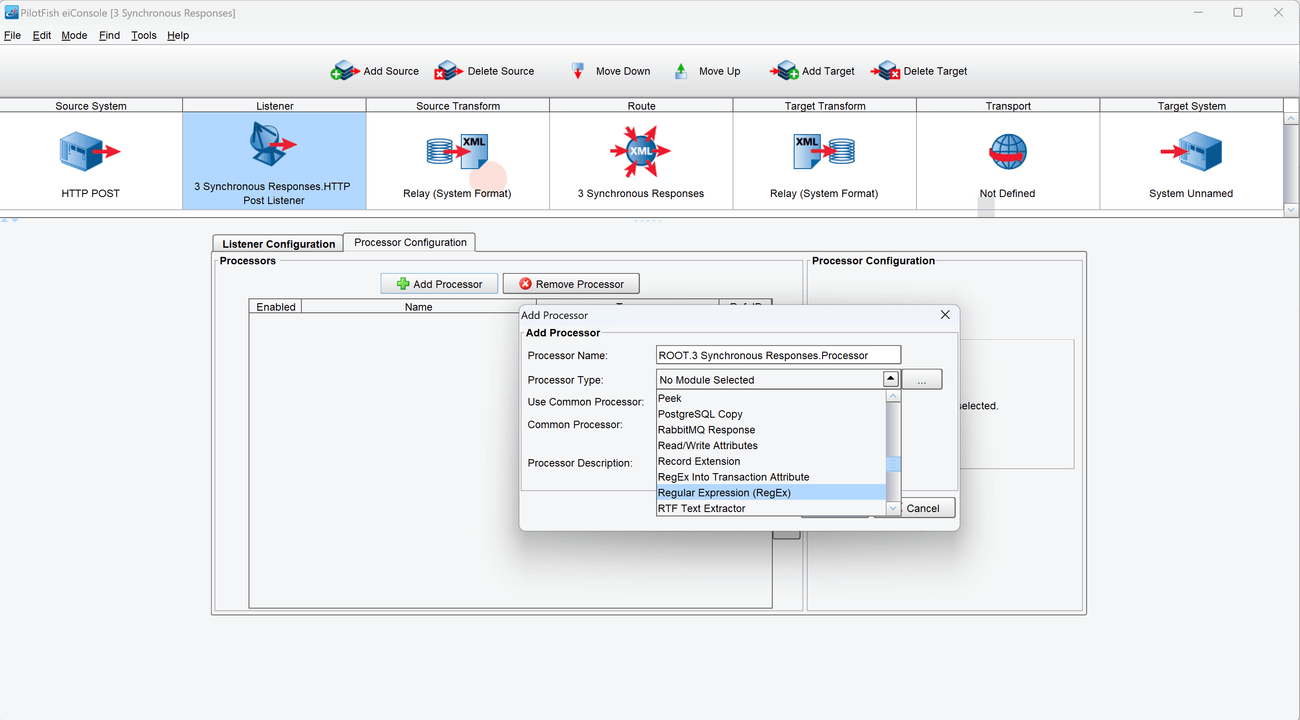
- Select the Processor Configuration tab, and click the Add Processor button.
- Select the Regular Expression (RegEx) Processor from the Processor Type selection box. Optionally, click the … button to open the Module Search Dialog, which provides a faster way to find the module you’re looking for.

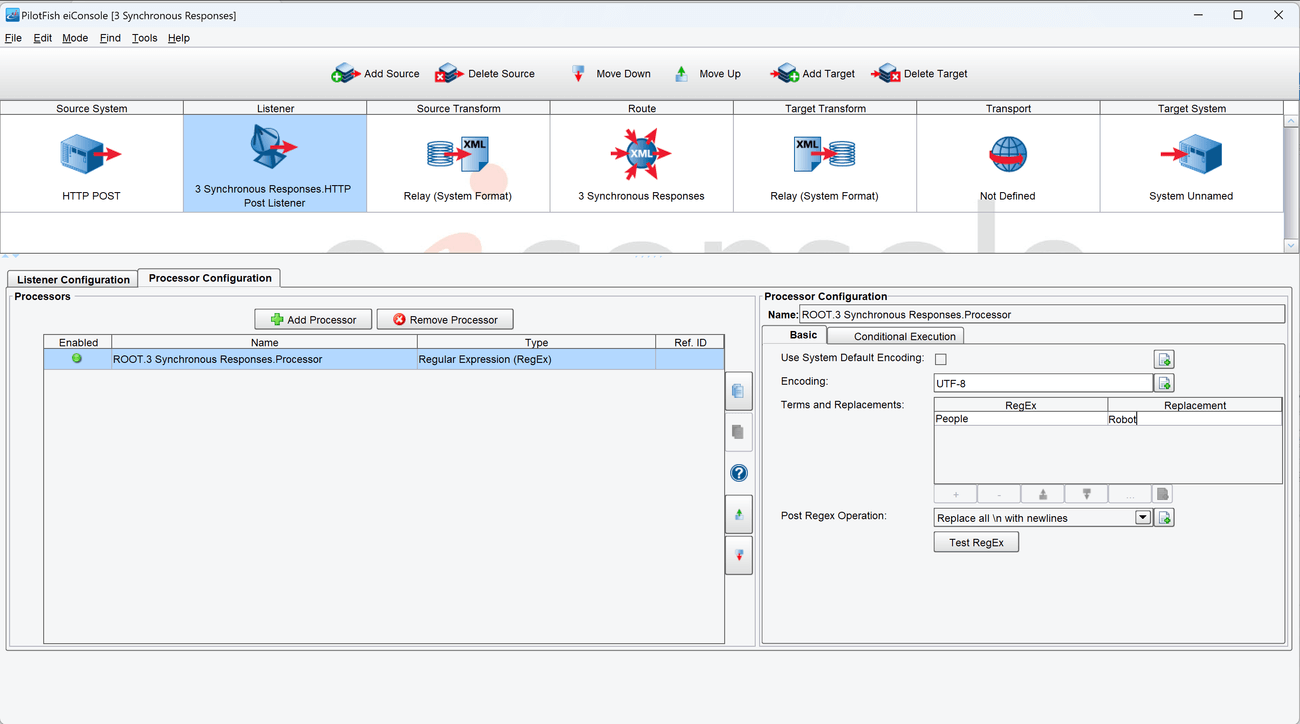
- In the configuration panel below, click the + button to add a row to the Terms and Replacements table. In the RegEx column, write People. In the Replacement column, write Robots.
- Click the + button again to add another row. In the RegEx column, write Person. In the Replacement column, write Robot.

Configure the Transport
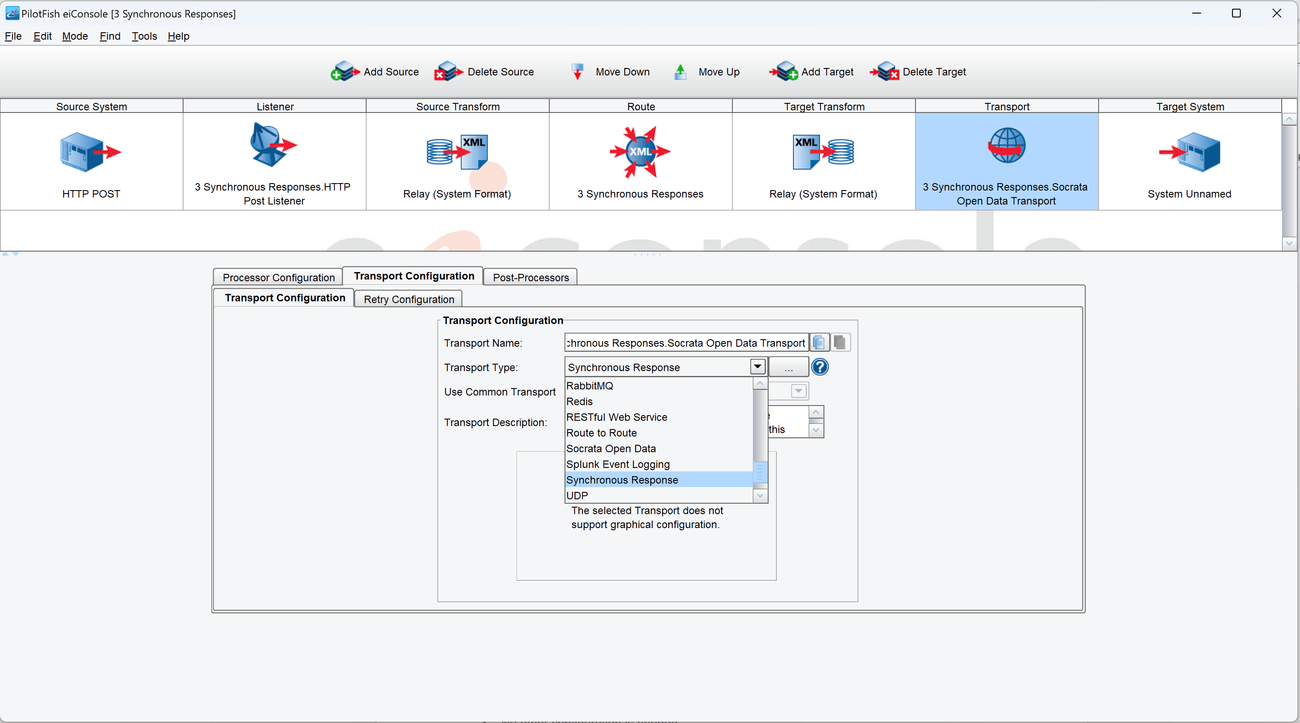
- Select the Transport stage in the Route Editing Grid. The configuration panel will appear at the bottom.
- Select Synchronous Response from the Transport Type selection box. Optionally, click the … button to open the Module Search Dialog, which provides a faster way to find the module you’re looking for.
- No other configuration is needed.

Document the Target System
- Select the Target System stage in the Route Editing Grid. The configuration panel will appear at the bottom.
- Change the System Name to Synchronous Response.
- Leave the default icon in place.
Prepare to Test
- In the menu bar at the top, select Mode -> Testing Mode. Make sure the changes to the Route are saved.
Test Route
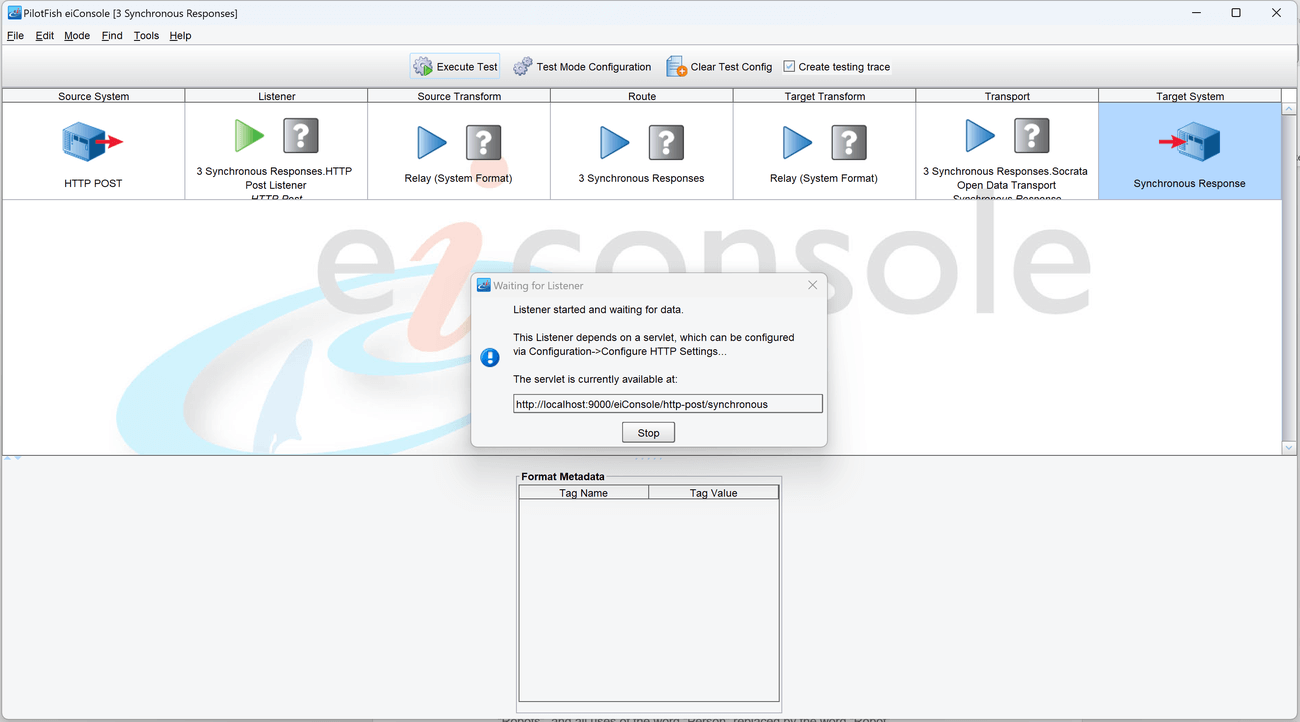
- Click the Execute Test button. A dialog will appear containing the URL for the Post Listener.

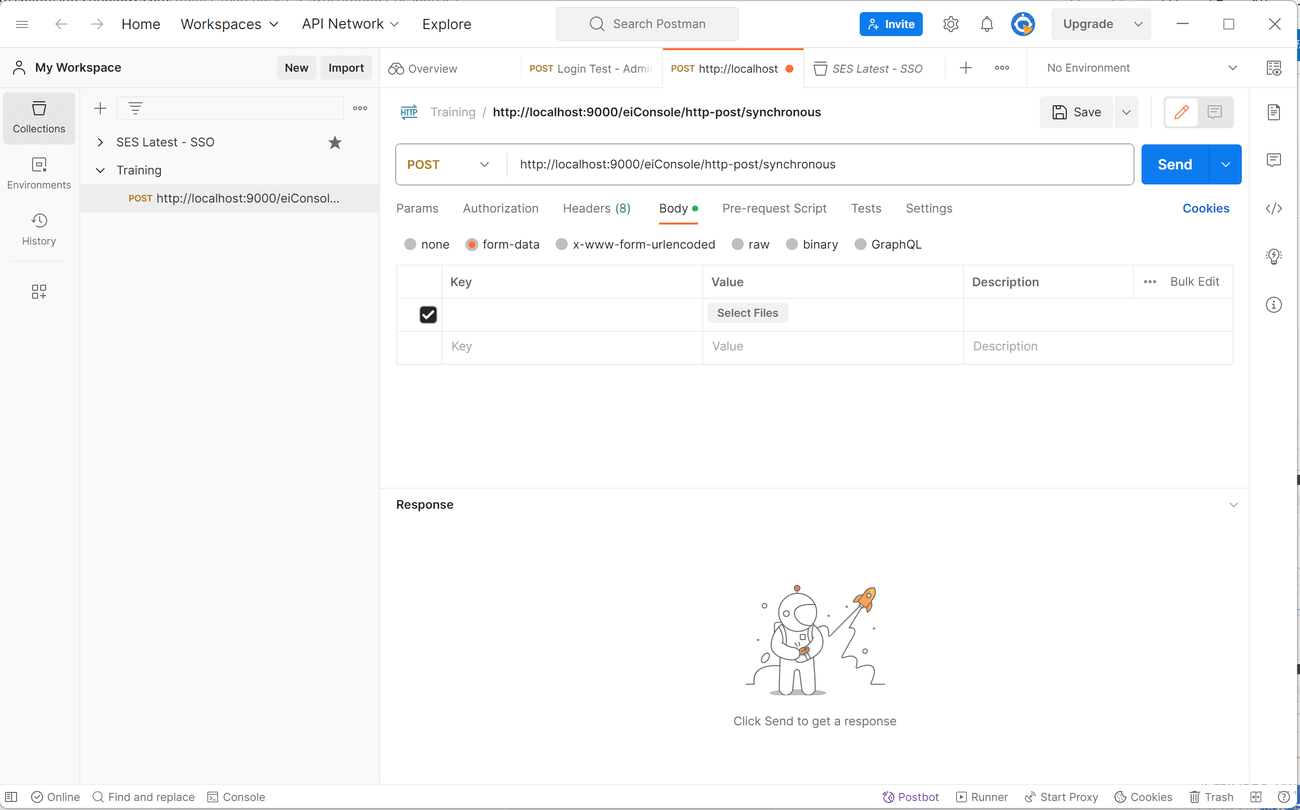
- Open Postman or whatever application is available as an HTTP Client.
- Copy and paste the URL from the eiConsole Testing Mode to use as the URL for making the HTTP call in the client application.
- Select POST as the HTTP Method to use.

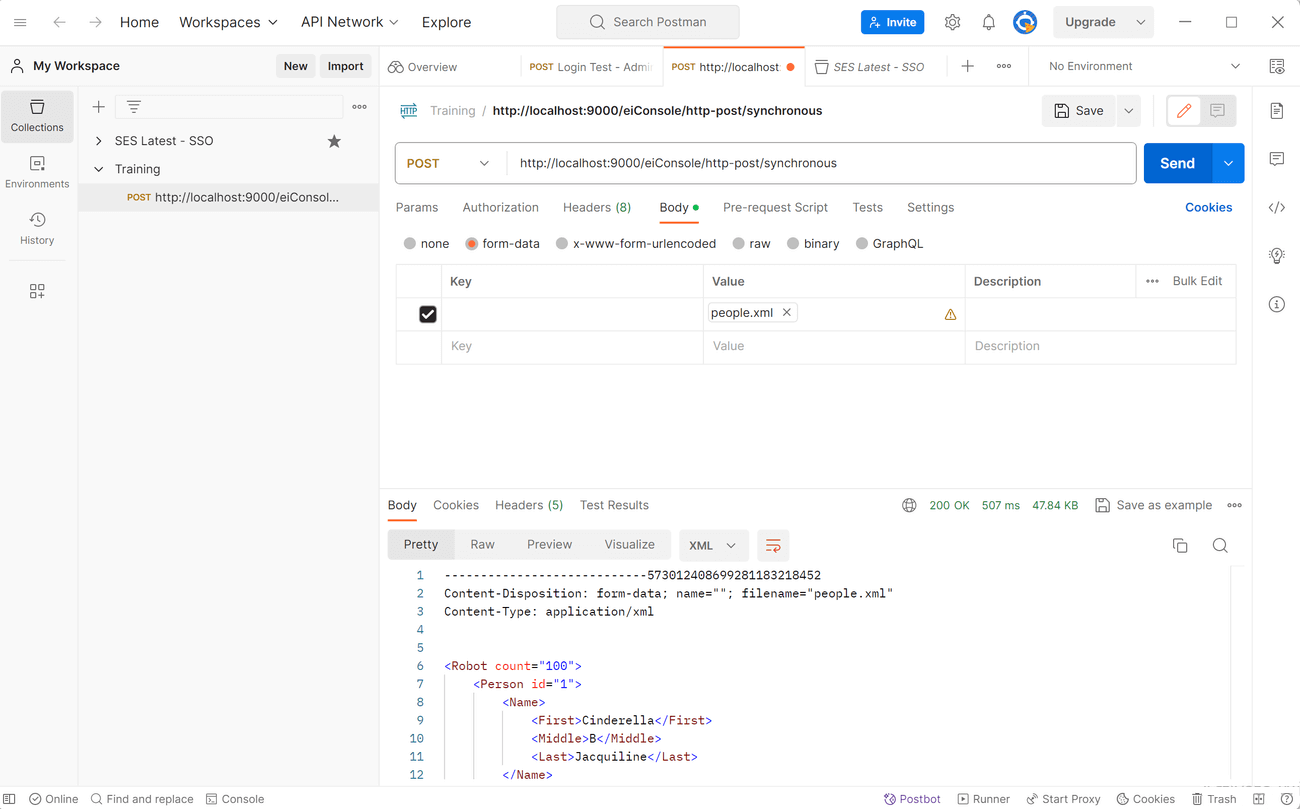
- Navigate to the sample files directory, and find the file people.xml. Its contents should be in the body of the HTTP Request. In Postman, the file can either be loaded directly or its contents can be copied and pasted into the body section of the UI.
- Send the request from the HTTP Client. 7. In the eiConsole, green checkmarks should appear as all Stages are completed. Once it is all finished, a response should be received by the HTTP Client.
- In this response, all uses of the word People in the original body were replaced by the word Robots, and all uses of the word Person replaced by the word Robot.

- Click the Execute Test button. A dialog will appear containing the URL for the Post Listener.

